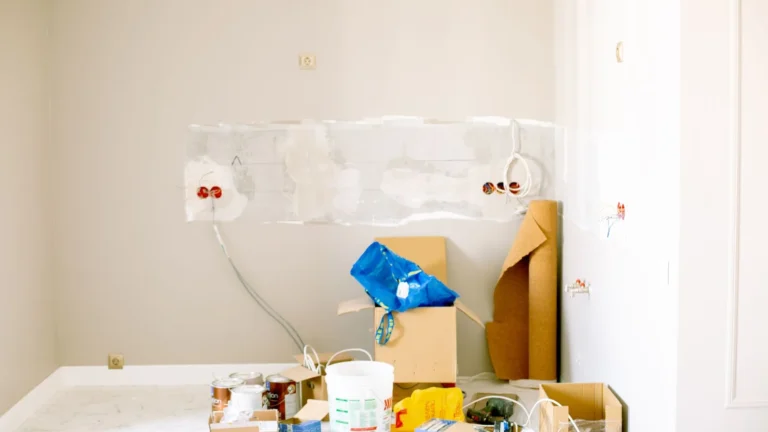
Wall damage is one of the most common sources of security deposit deductions, and also one of the most fixable if you tackle it with a plan instead of patching things as you happen to notice them. Walking through the apartment with a checklist turns a vague sense of dread into a short, manageable to-do list, and it ensures nothing gets missed in the chaos of moving week.

Walk Every Room With a Flashlight
Examine walls in good light, ideally with a flashlight held at an angle, since raking light reveals holes and dents that are invisible when you look at a wall head-on. Note every nail hole, anchor hole, scuff, and mark as you go so you can tackle them in one efficient pass rather than discovering them piecemeal on move-out day itself.
Moving Out Soon?
Get our free room-by-room move-out checklist and keep your deposit.
See the Checklist →Remove Anchors and Hooks First
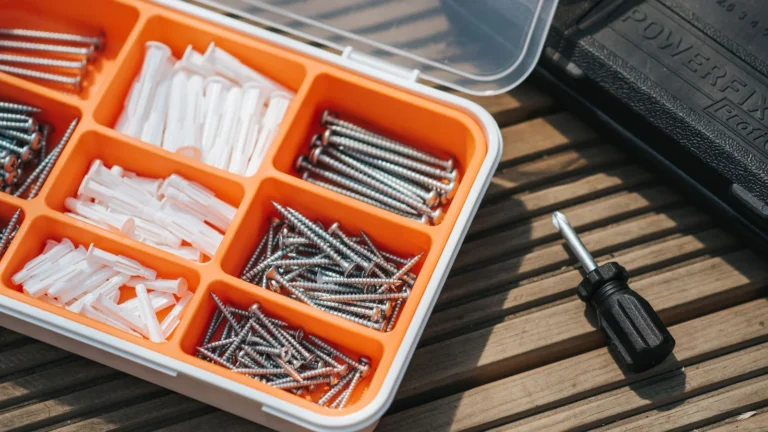
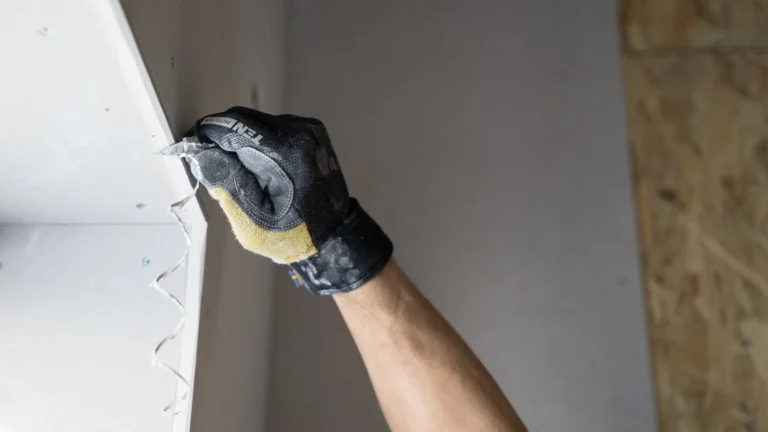
Before any filling begins, remove all wall anchors, picture hooks, and adhesive strips, easing them off slowly to avoid tearing the surrounding paint. Pulling everything down first, room by room, means you are not repeatedly switching between removal and repair mode, which is slower and easier to lose track of.
Fill, Sand, and Prime in Batches
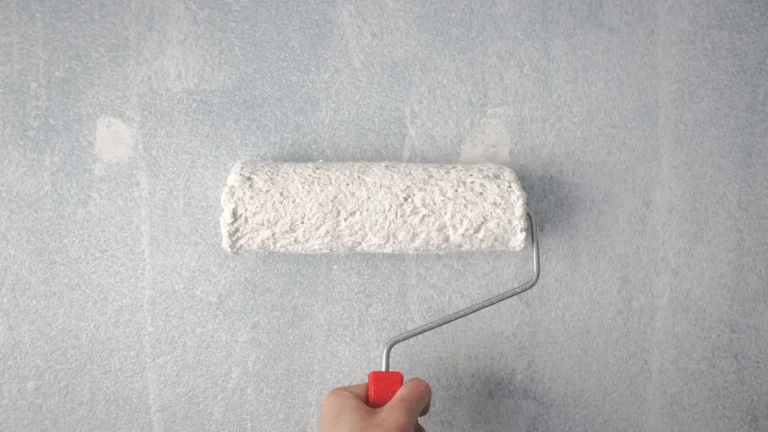
Fill every hole with lightweight spackle, working room to room so the patches cure while you move on to the next area. Once everything is dry, sand all the patches flush in a second pass, wipe down the dust, and prime any bare compound. Painting comes last, after the patches are smooth and sealed; skipping ahead to paint before compound has fully cured is one of the most common reasons a patch flashes a duller color days later.
Check the Spots People Forget
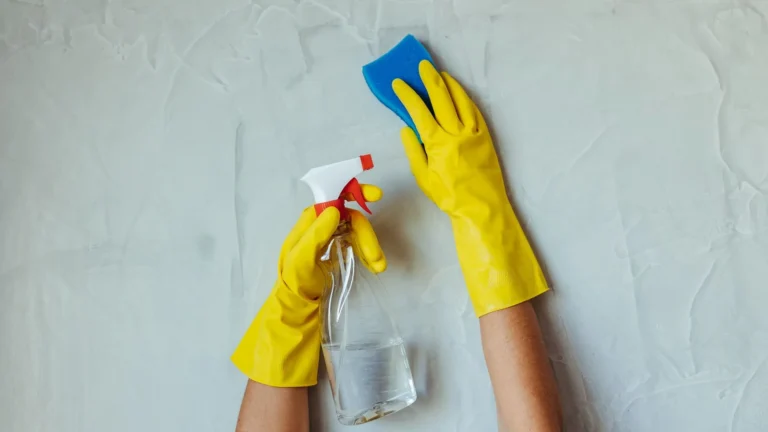
Behind doors where knobs hit the wall, along baseboards and corners that collect scuffs, around light switches where hands leave grime, and high spots where shelves or art once hung all deserve a look. Scuffs and smudges that are not actual holes still shape a landlord’s overall impression of the unit, and many wipe away with a damp cloth or a melamine eraser in seconds once you notice them.
Matching Texture
Smooth walls are the easiest to patch invisibly. If your walls have any texture, a lightly stippled pattern can be replicated with a sponge or a stipple brush, while orange-peel texture calls for a spray texture product from the hardware store. Practice on a piece of cardboard first to get the pattern right before applying anything to the wall itself, since texture that does not match is often more noticeable than the hole it was meant to hide.
Compare Against Your Move-In Photos
Anything that was already there when you arrived is not your responsibility, so do not waste effort, or risk creating new damage, chasing pre-existing flaws. Photograph the repaired walls on your last day as proof of the condition you left them in, and keep those photos alongside your move-in set so the before-and-after is easy to produce if a dispute comes up.
Work the Checklist in Order
Remove all anchors and hooks first, fill every hole in one pass so the patches cure together, then sand, prime, and paint once everything is dry. Save cleaning for after the repairs are finished, since dust from sanding will resettle on anything you wiped down earlier. Finishing a few days before the walkthrough, rather than the night before, gives patches time to fully cure and gives you a chance to catch any that shrank and need a second thin coat.
When It’s Beyond a Patch Kit
A hole larger than a fist, a section of drywall that is crumbling or water-damaged, or damage to a load-bearing feature is beyond a weekend DIY fix and is worth flagging to your landlord before move-out rather than attempting a repair that could make the underlying problem worse. Disclosing it in advance, ideally with photos and an offer to cover a reasonable materials cost, tends to produce a fairer outcome than a hidden problem discovered during the final inspection.
Find spackle, sandpaper, and primer bundled for a full wall-repair pass: wall repair kits on Amazon.
More help: Walls and Patching guides
Match the Repair to the Hole Size
Not every mark needs the same fix, and using the wrong one wastes time or leaves a visible patch. A pinhole from a thumbtack or a finishing nail closes with a single dab of lightweight spackle smoothed flush with a fingertip. Holes from wall anchors and screws are slightly deeper and need two thin coats rather than one thick one, since a heavy single fill over an anchor hole almost always cracks or shrinks because the compound has nothing solid to grip at the back of the cavity. Anything from about one to four inches calls for a self-adhesive mesh patch or the paper-backed California patch method, both of which give the spackle a backing to cure against instead of sinking into the wall. Holes larger than a fist need internal backing, typically a scrap of wood screwed to the inside of the wall through the drywall, before a cut patch can be screwed and finished over it.
Older Buildings: Plaster Instead of Drywall
Buildings older than the 1950s often have plaster walls over wood lath instead of drywall, and the two behave differently under a patch. Plaster is harder and more brittle, so a hole often has cracking radiating outward from the impact point that would not appear on drywall. Standard spackle still works for small holes in plaster, but larger repairs benefit from a plaster-specific patching compound, which bonds better to the surrounding material and is less prone to cracking along the repair’s edge as the building settles. If you are not sure which you have, tap the wall gently: plaster sounds dense and solid, while drywall has a slightly hollow, papery sound.
A Realistic Tool List
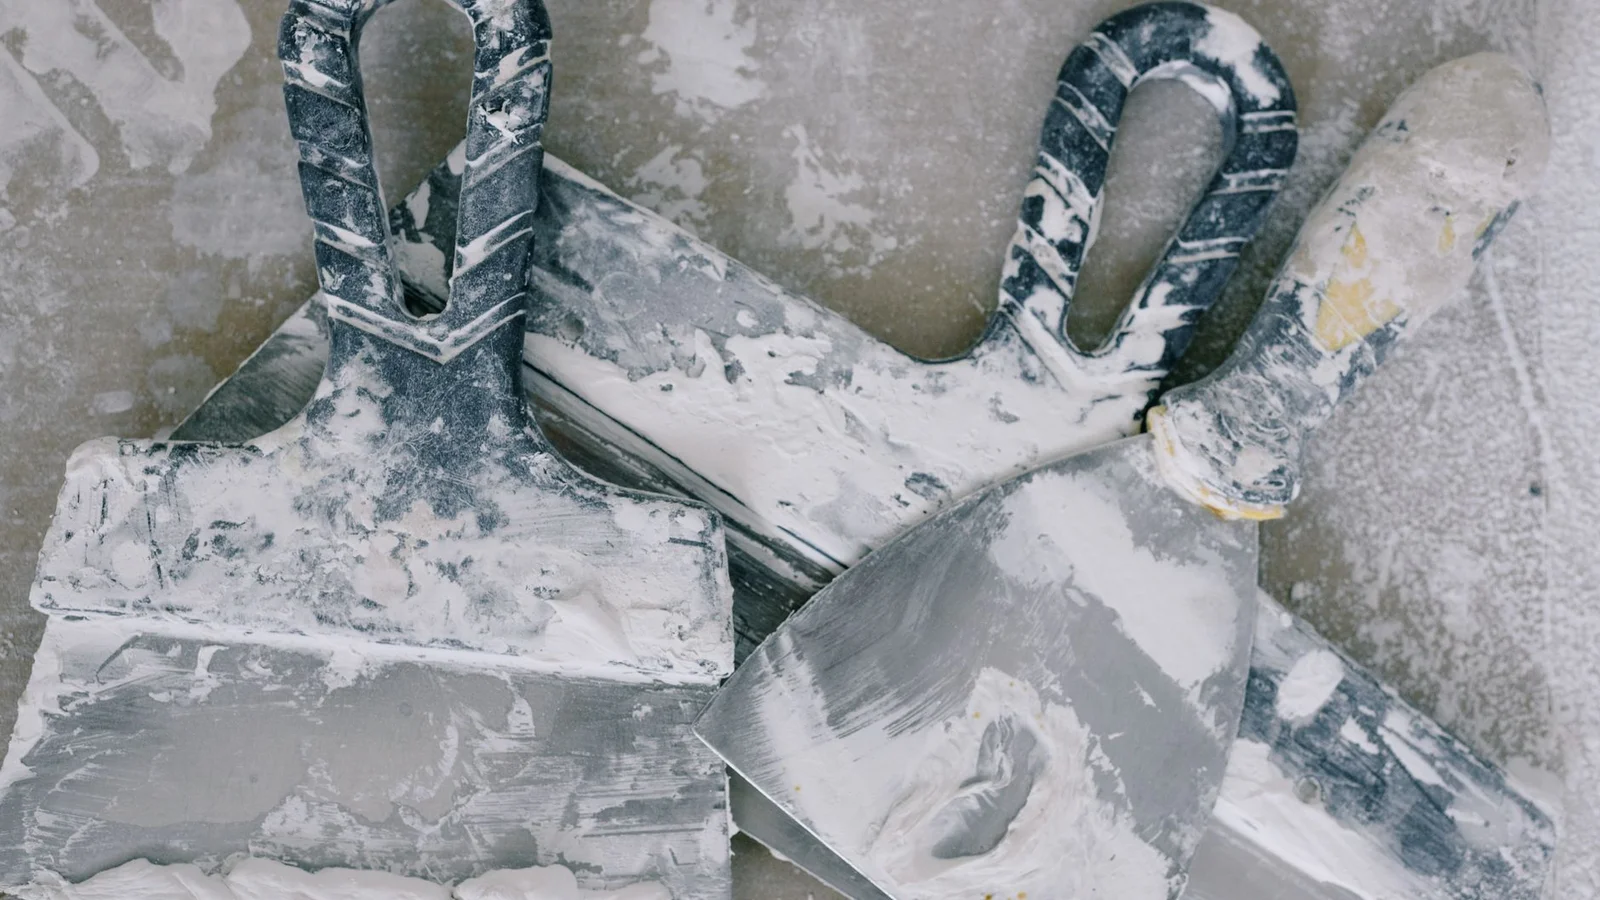
A small putty knife, a container of lightweight spackle, fine-grit sandpaper or a sanding sponge, a stipple brush or sponge if your walls are textured, a small roller or brush for touch-up paint, and painter’s tape to keep repair edges clean cover the vast majority of rental wall repairs. Buy slightly more spackle than you think you need; a container that runs out mid-patch means a second trip to the store and a delay while the current coat cures without you there to start the next one.
What This Typically Costs
A full wall-repair pass for an average one or two-bedroom apartment, covering a dozen or more small holes plus a few scuffs, usually runs under thirty dollars in materials when you already own basic tools like a putty knife and sandpaper. Compare that to what a landlord’s handyman typically charges per hole, and the math heavily favors doing it yourself even if you have never patched a wall before. The time investment is real, typically a few hours spread across a couple of days to allow for drying, but it is time that directly protects a deposit that is often worth many times the cost of materials.
Sequencing a Whole Apartment
Work room by room rather than task by task across the whole unit at once. Finish the anchor removal, filling, sanding, priming, and painting for one room before moving to the next, so you are never trying to remember which of a dozen half-finished patches is ready for its next step. This also means one fully finished room early in the process, which is reassuring if the checklist starts to feel long, and it lets you photograph completed rooms progressively instead of scrambling to document everything on the final day.
Deciding What’s Worth Disclosing Instead of Hiding
A patched hole that blends in under normal lighting is a finished repair, full stop; it does not need to be invisible under a raking flashlight beam to count as done well. But a repair you cannot get to blend, a texture mismatch that stands out, or damage you are not confident you fixed correctly is often better disclosed to your landlord upfront than left for them to discover and potentially overcharge for. A short, honest note about what you fixed and what you were not able to fully resolve, sent before the walkthrough, tends to result in a more reasonable conversation than a surprise found during a formal inspection.
A Final Walkthrough Just for Walls
Once every room is patched, sanded, and painted, do one more pass specifically focused on walls, separate from your general cleaning walkthrough. Check each repair from a raking angle with a flashlight, confirm paint has fully cured and is not tacky, and compare anything you are unsure about against your move-in photos before assuming it needs further work.
One More Thing Worth Checking
Before you call the wall repairs finished, confirm the paint you used is a genuine match under both daytime and lamp light, since some touch-up paint that looks right in one setting shifts slightly under the other.
Frequently Asked Questions
What walls should I fix before move-out?
Patch nail holes, anchors, and dents, and touch up paint and scuffs.
How do I know it is good enough?
Repairs should blend in under normal light before the walkthrough.
Does this protect my deposit?
Clean, blended walls remove a common reason for deductions.
Related reading
- How to Hide Wall Damage You Can’t Fully Repair Before Move-Out
- Move-Out Cleaning Checklist: What Landlords Want Spotless
- What Happens If You Don’t Fix Things Before Move-Out?
- How to Do a Move-Out Walkthrough Before Your Landlord Does
Official guidance & resources
For the authoritative guidance behind this advice, see:
- HUD — Rental Assistance & Tenant Rights — Tenant rights and rental-assistance guidance by state
- USA.gov — Tenant Rights — How to handle landlord disputes and deposit issues
- EPA — Protect Your Family From Lead in Your Home — Lead-paint precautions when sanding or patching pre-1978 walls