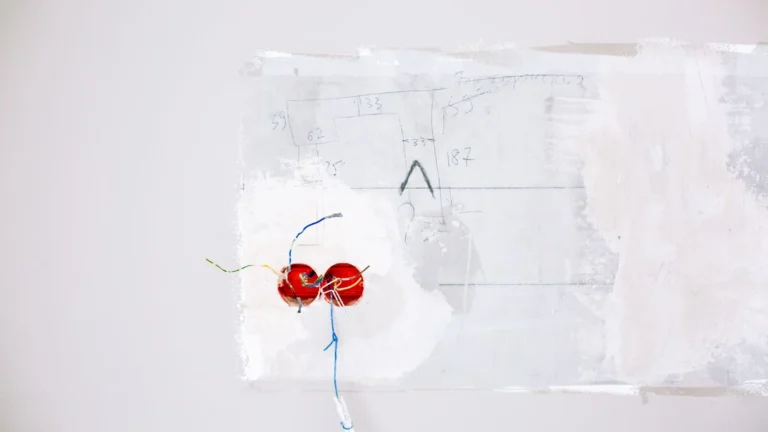
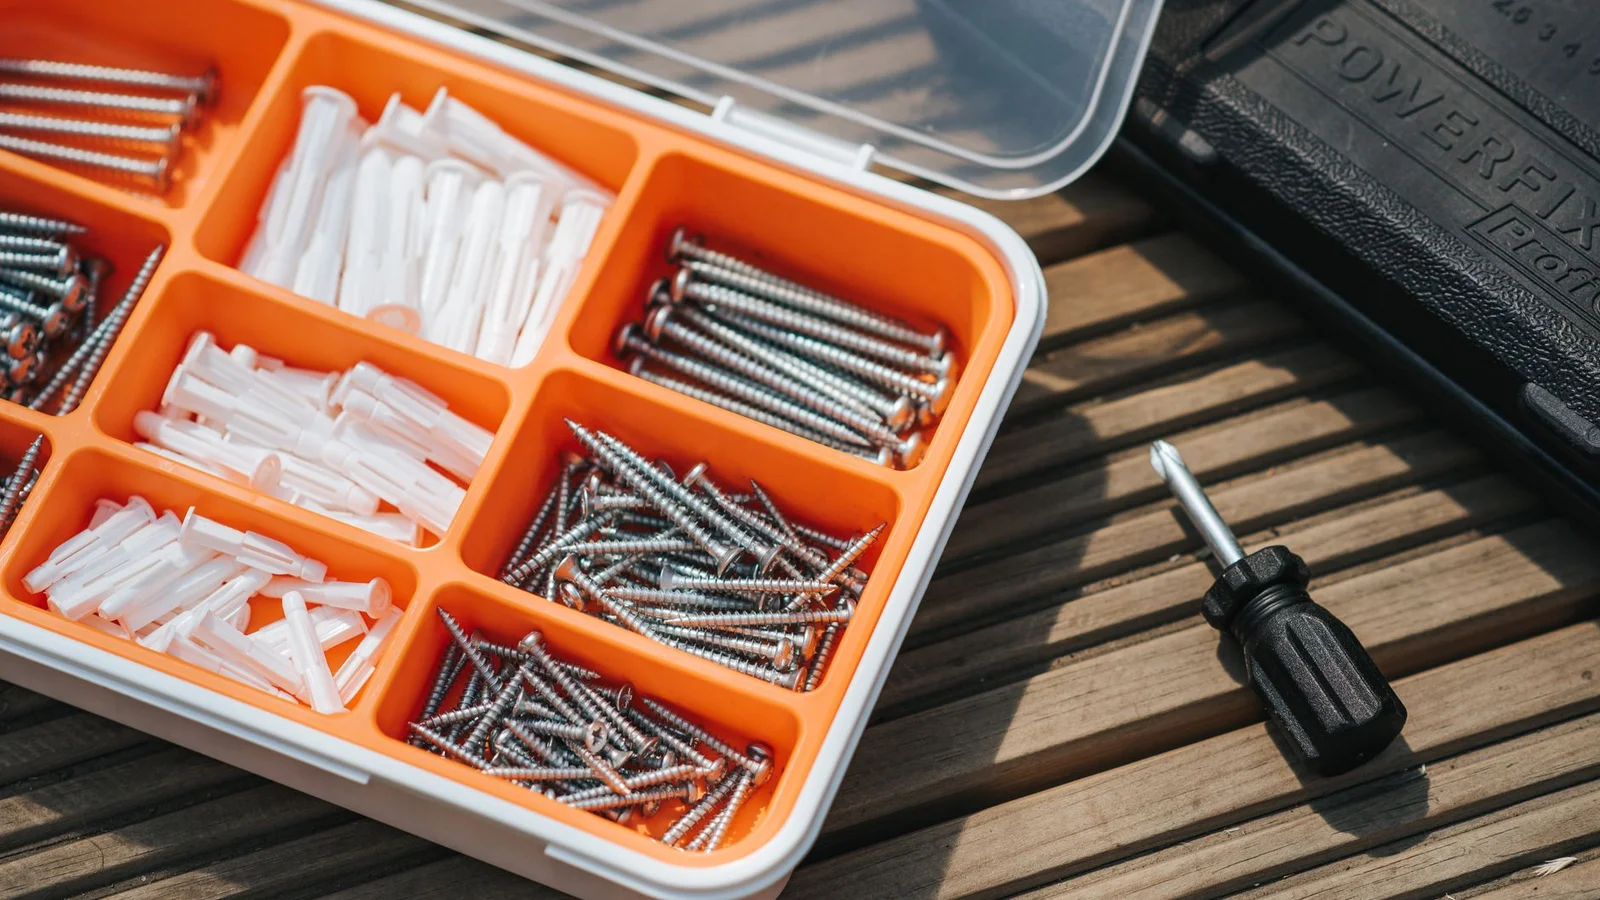
Wall patch kits range from a single self-adhesive plate to a full repair set, and choosing the right one depends entirely on the size of the hole you are fixing and how much finishing work you are willing to do. For the small-to-medium holes most renters actually face at move-out, a peel-and-stick patch is usually the fastest path to a repair that holds up under inspection.
The Self-Adhesive Mesh Plate
For the small-to-medium holes most renters face, a self-adhesive aluminum or fiberglass mesh patch is the workhorse. It comes as a flat plate with a sticky, screen-backed border that presses over the hole, giving you a rigid surface to spread joint compound across. Look for one slightly larger than your hole so the adhesive grips solid wall all the way around rather than fighting to stay flat at the edges.
Moving Out Soon?
Get our free room-by-room move-out checklist and keep your deposit.
See the Checklist →Metal Mesh vs. Fiberglass
Check that the mesh is metal rather than thin fiberglass for anything beyond a couple of inches, because a flimsy fiberglass patch flexes slightly under pressure, and the compound applied over it eventually cracks along that flex line. Metal mesh holds its shape under the same treatment and is worth the small price difference for anything larger than a typical doorknob dent.
Complete Kits vs. Buying Pieces Separately
A complete kit typically bundles the patch plate with a small tub of compound, a putty knife, and a square of sandpaper, which is convenient if you do not already own those basics. If you do already have spackle and a putty knife on hand, buying the patches on their own and pairing them with what you already have is more economical, since you are not paying again for tools and compound you will use only once from the kit.
Peel-and-Stick Spackle Pads and Repair Pens
For tiny holes, some kits sell peel-and-stick spackle-loaded patches or wall-repair pens that fill and color in one step. These are genuinely handy for a quick fix the night before a walkthrough, though the finish rarely matches as seamlessly as proper spackle, sanding, priming, and painting. Match the tool to your standards: a guest bedroom closet can take a quick patch, while a hole in the middle of a living room wall deserves the fuller treatment described below.
Applying a Mesh Patch Step by Step
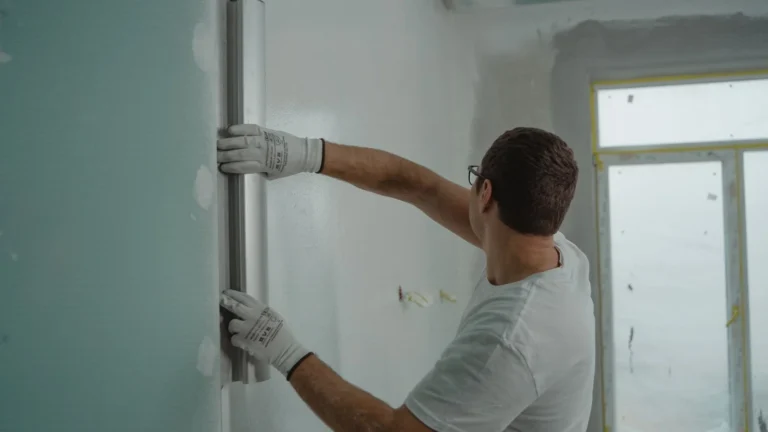
Clean any loose debris from the hole and press the patch firmly over it, centered so the adhesive border contacts solid wall on every side. Skim a thin coat of joint compound over the entire patch with a putty knife, feathering the edges out wide so there is no ridge where the compound meets the surrounding wall. Let it dry fully, then apply a second thin coat if the mesh pattern is still visible through the first, since a single coat rarely hides the texture of the mesh completely.
Sanding and Priming the Patch
Once the final coat is dry, sand with a fine-grit sponge in light circular motions until the surface is flush with the wall and any ridge is gone. Prime the patch before painting, since bare compound absorbs paint differently than the surrounding wall and will flash as a duller patch under certain lighting even when the paint color is a perfect match. This priming step is the one most renters skip, and it is the reason an otherwise well-executed patch is still visible from across the room.
When a Patch Kit Isn’t Enough
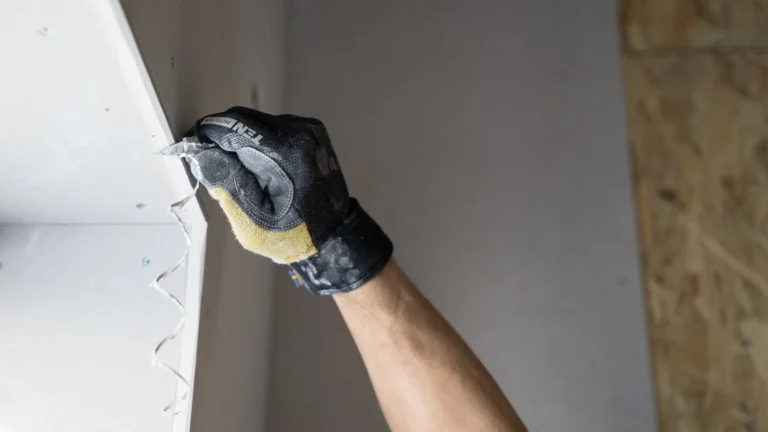
Holes larger than roughly four inches, or several holes close enough together that individual patches would overlap, are usually better served by the backing-board method, where a scrap of wood is screwed to the inside of the wall through the drywall to give a full drywall cutout something to attach to. Trying to stretch a peel-and-stick kit across damage it was not designed for often produces a repair that looks worse than a properly sized patch would have.
What This Typically Costs and How Long It Takes
A basic mesh patch kit runs a few dollars per patch, and a handful of patches plus a small tub of compound covers most apartments’ worth of medium-sized holes for well under twenty dollars total. Budget an hour of hands-on work per patch across the coating, drying, and sanding stages, though the actual drying time between coats means the whole process spans a day or two rather than one sitting.
Buying Criteria That Actually Matter
Skip brand names and focus on three things: metal rather than fiberglass mesh for anything beyond a small dent, a patch sized generously relative to your hole so the adhesive has solid wall to grip, and a compound labeled lightweight and paintable rather than a heavy-duty setting compound meant for taping seams. Kits that check those three boxes perform similarly regardless of which specific brand is on the package.
Find peel-and-stick wall patch kits sized for common apartment repairs: wall patch kits on Amazon.
More help: Walls and Patching guides
Matching the Patch to Common Rental Damage
Doorknob dents, the most common hole renters run into, sit right in the sweet spot a peel-and-stick mesh patch was designed for, since they are usually one to two inches and round with clean edges. Towel-hook and shelf-bracket holes are similar in size but often come with two or three holes close together, which is worth patching as one slightly larger repair rather than three separate tiny ones, since a single patch spanning all of them is both faster and more likely to sand flush evenly. Curtain-rod bracket holes are frequently the largest of the common rental holes and sometimes edge into backing-board territory depending on the anchor size that was used.
A Note on Textured Walls
A peel-and-stick patch works the same way on textured walls, but the finishing step changes: after priming, you need to replicate the surrounding texture before painting rather than leaving the patch smooth. A sponge dabbed with slightly thinned compound recreates a light stipple, while orange-peel texture calls for a spray texture product from the hardware store, tested on cardboard first. Skipping this step on a heavily textured wall is the single most common reason a technically well-executed patch still stands out.
Reading Patch Kit Packaging Correctly
Package sizing on patch kits is usually given by the largest hole diameter the plate is rated for, not the plate’s own dimensions, which can be misleading at a glance. A kit labeled for holes “up to two inches” typically has a plate closer to three or four inches across, since the adhesive border needs solid wall to grip beyond the edge of the hole itself. Check the actual plate dimensions against your hole before assuming a kit is too small or too large based on the headline number alone.
Comparing Peel-and-Stick Patches to Traditional Methods
A traditional California patch, cut from a spare scrap of drywall, costs essentially nothing beyond the joint compound you already have, but it requires a bit more comfort with a utility knife and a slightly longer setup. A peel-and-stick kit costs a few dollars more per patch but is faster and more forgiving for someone who has never patched a wall before, since there is no cutting or scoring involved. Neither produces a noticeably better final result once both are sanded, primed, and painted; the choice mostly comes down to whether you would rather spend a few extra dollars or a few extra minutes of technique.
What This Typically Costs Overall
A handful of peel-and-stick patches plus a small tub of joint compound and basic tools usually totals under twenty-five dollars for an average apartment’s worth of medium holes, covering everything from a single doorknob dent to several curtain-rod bracket holes. That is consistently less than what a landlord’s handyman would charge for even one properly finished patch, which is the core reason this is worth doing yourself even on a first attempt.
A Final Inspection Pass
Once every patch has been primed, textured to match if needed, and painted, walk the apartment once more with a flashlight held at a raking angle specifically looking for any ridge, dimple, or texture mismatch you might have missed during the work itself. Compare anything questionable against your move-in photos, and address small issues now rather than leaving them for your landlord to flag during the official walkthrough.
Keep the Receipt Just in Case
Hold onto the receipt for any patch materials until after your deposit is returned. It costs nothing to keep and, in the rare case a landlord disputes whether a repair was actually made, a dated receipt paired with your after photos is straightforward proof that the work happened and roughly when.
One Last Tip
Buy one extra patch beyond what you think you need. They are inexpensive, and having a spare on hand means a slightly miscut or misjudged first attempt does not turn into a delay while you go back to the store.
Frequently Asked Questions
Do peel and stick wall patches work?
Yes, for small to medium holes they provide a solid backing for compound.
How do I finish them?
Cover with thin coats of joint compound, then sand, prime, and paint.
Are they renter-friendly?
Very; they make a clean repair without professional tools.
Related reading
- Textured Wall Repair: How to Match Knockdown or Orange Peel Finish
- How to Patch a Nail Hole in an Apartment Wall (No Landlord Needed)
- How to Patch Nail Holes So Your Landlord Never Sees Them
- How to Take Move-Out Photos That Actually Protect You
Official guidance & resources
Want to dig deeper? These trusted, independent resources are worth a read before you start:
- USA.gov — Tenant Rights — How to handle landlord disputes and deposit issues
- EPA — Protect Your Family From Lead in Your Home — Lead-paint precautions when sanding or patching pre-1978 walls