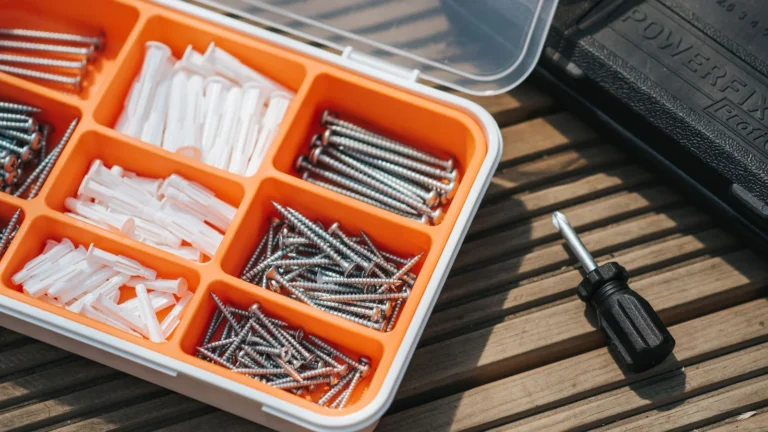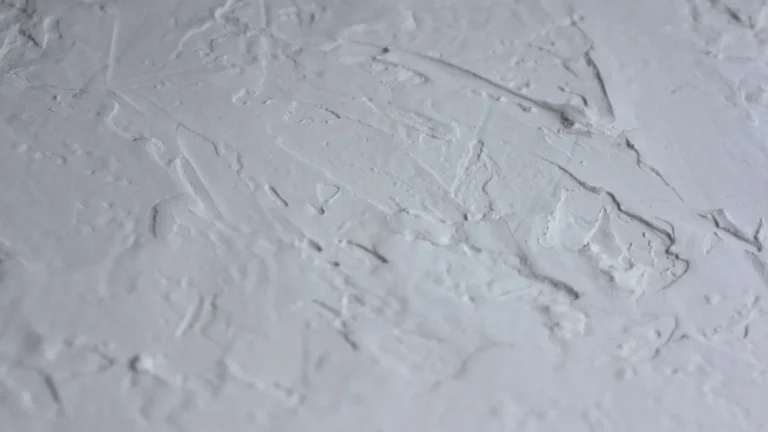
Anchor Holes Are Bigger Than Nail Holes and Need More Attention
Wall anchors are used to mount heavier items when screwing directly into a stud is not possible. They grip the inside of the drywall through various expansion mechanisms, but they always leave a larger hole than a standard nail when removed. An anchor hole is typically between a quarter inch and half an inch in diameter, sometimes with damaged drywall around the edges from a hard removal. These holes are noticeable and consistently flagged at move-out inspections. Filling them correctly takes only slightly more effort than a nail hole but makes a significant difference in the final result.

Removing the Anchor First
Before filling, remove the anchor completely from the wall. Some anchors can be pulled straight out with pliers. Others, particularly plastic toggle or Molly bolt types, need to be collapsed before removal. For a plastic expansion anchor, insert a screw partway and use it as a lever to pull the anchor out. For a metal toggle bolt, use a pair of pliers to grab the collar and pull straight out while wiggling slightly. If the anchor is truly stuck, drive it into the wall cavity with a hammer and fill over it.
Filling Small to Medium Anchor Holes
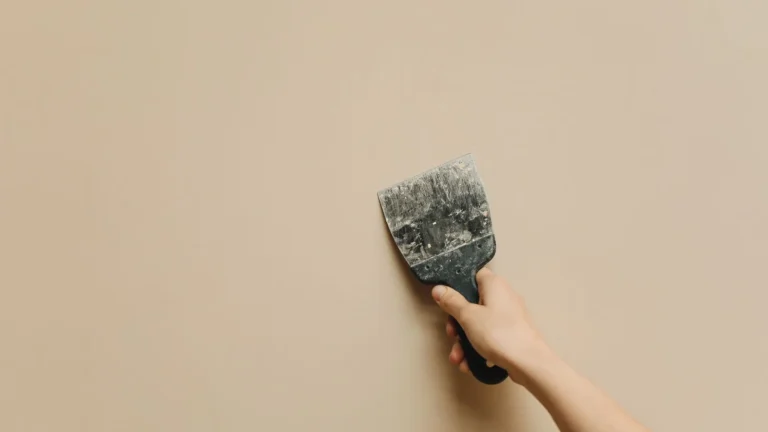
For holes up to about half an inch, use lightweight spackle. Apply it in two thin coats rather than one thick application. The first coat fills the hole and may shrink slightly as it dries. The second thin coat fills the slight depression left by shrinkage. Sand smooth between coats with fine-grit sandpaper. Wipe away sanding dust before painting.
Moving Out Soon?
Get our free room-by-room move-out checklist and keep your deposit.
See the Checklist →Filling Larger Anchor Holes with Joint Compound
For holes larger than half an inch, or holes with damaged drywall around the edges, use joint compound rather than spackle. Joint compound is less prone to cracking in larger applications and gives a more durable result. Apply in two or three thin coats, sanding lightly between each after the coat has dried fully. Feather the final coat slightly beyond the hole boundary for a smooth transition to the surrounding wall.
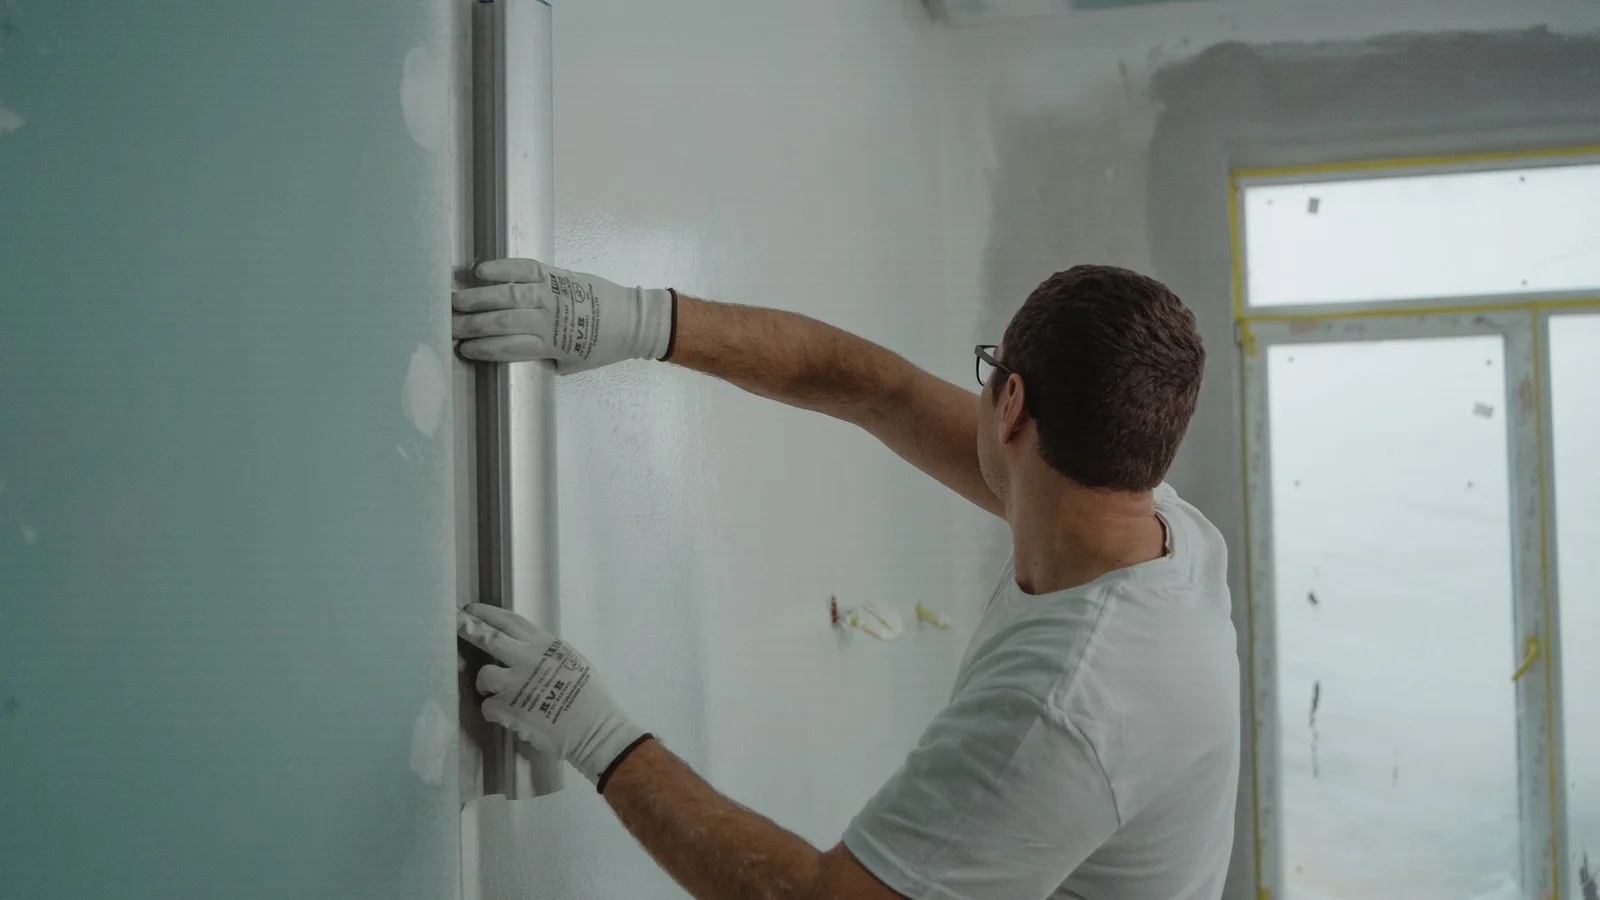
The Painting Step
After filling and sanding, prime the patched area before applying finish paint. Even a spot prime with a small brush makes the painted patch match better than painting directly over the filler. Touch up with matching wall paint and feather the edges. In most cases the repair will be invisible from normal viewing distance.
Get spackle, joint compound, and patching tools: wall patching supplies on Amazon.
More help: Walls and Patching guides
When You Can’t Fully Repair the Damage
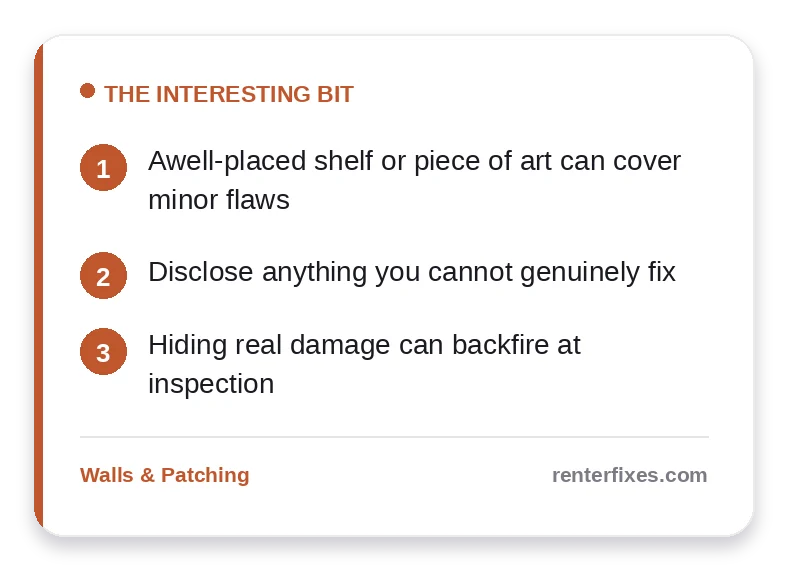
Sometimes a wall has damage you genuinely cannot fix to an invisible standard, whether it is a textured surface you cannot match, a deep gouge, or a color you painted that you have no way to return to the original. Before you panic or try to disguise it, weigh your options honestly, because a clumsy cover-up can read as worse than the original problem to a landlord who has seen every trick.
Your strongest move is often disclosure rather than concealment. Telling your landlord about damage before the final walkthrough, ideally with an offer to either repair it or accept a fair, itemized deduction, demonstrates good faith and gives you a chance to negotiate the cost down to materials rather than a marked-up contractor invoice. Surprise damage discovered during an inspection almost always costs more than damage you flagged and discussed in advance.
If you do attempt to minimize the appearance, focus on legitimate improvement rather than hiding. Filling and sanding a gouge so it is smooth, even if you cannot perfectly match the texture, looks far better than leaving it raw. Repainting a full wall corner to corner blends a patch that would otherwise stand out. What you should never do is paint over a problem like a water stain without sealing it first, or use mismatched paint that draws more attention than the damage did.
Keep documentation of your move-in condition close at hand for anything you cannot fix. If the damage existed when you arrived, or if it falls under normal wear and tear after a long tenancy, your move-in photos and inspection form may mean you owe nothing at all. For damage you did cause, a tidy partial repair plus an honest conversation usually leads to a smaller, fairer deduction than a hidden flaw uncovered later, which can sour the whole deposit return and cost you the benefit of the doubt on everything else.
Minimize What You Can’t Fully Repair
Some damage is beyond a clean restoration before move-out, but minimizing it honestly is still better than leaving it raw or trying to hide it badly. A wall you cannot perfectly patch can at least be filled flush and touched up so it reads as a minor blemish rather than a hole, which shrinks the size of any deduction.
Where a fix is genuinely out of reach, weigh disclosing it. Telling your landlord and offering a fair contribution toward the repair often costs less than a deduction loaded with their markup, and it keeps the relationship and your reference intact. A clumsy cover-up that gets discovered is what turns a small charge into a forfeited deposit.
Frequently Asked Questions
Can I just hide wall damage before move-out?
Cosmetic covering of minor flaws is fine, but disclose damage you cannot truly fix.
Is hiding damage risky?
Yes, hidden real damage often surfaces at inspection and can cost more.
What is a better approach?
Repair what you can and be upfront about the rest.
Related reading
- Rental Wall Repair Checklist: Everything to Fix Before Move-Out
- What Happens If You Don’t Fix Things Before Move-Out?
- How to Do a Move-Out Walkthrough Before Your Landlord Does
- Best Products to Clean Baseboards Before Move-Out
Further reading
A few reputable resources that back up the steps above:
- HUD — Rental Assistance & Tenant Rights — Tenant rights and rental-assistance guidance by state
- USA.gov — Tenant Rights — How to handle landlord disputes and deposit issues
- EPA — Protect Your Family From Lead in Your Home — Lead-paint precautions when sanding or patching pre-1978 walls