Baseboards: The Detail That Separates a Good Cleaning From a Great One
Baseboards are one of the most commonly overlooked surfaces during apartment cleaning, and one of the first places a thorough landlord checks. Dust, pet hair, scuffs, and grime accumulate along the base of every wall over months and years, and it shows. Clean baseboards signal a careful tenant. Dusty or scuffed baseboards signal someone who cleaned only the obvious surfaces. Spending 30 to 45 minutes on baseboards can make a real difference in how your landlord evaluates the overall cleanliness of the apartment.
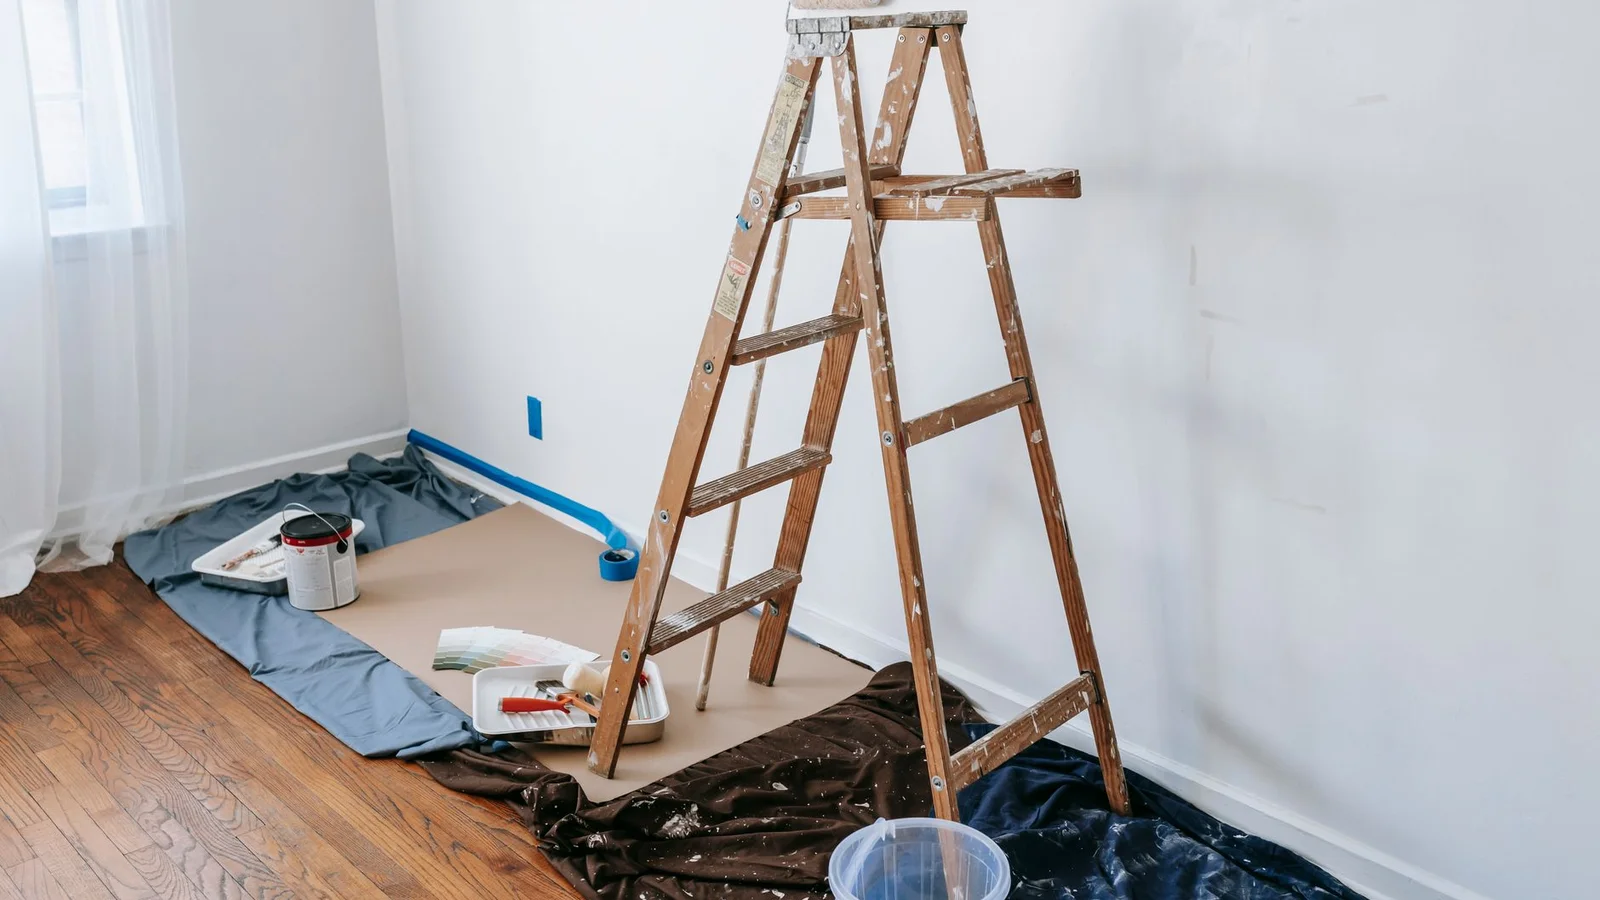
What Accumulates on Baseboards
The top edge of the baseboard collects a continuous ridge of dust that builds up over time. The vertical face accumulates scuffs from shoes, furniture, and vacuum cleaners. The bottom edge where the baseboard meets the floor traps pet hair, dust bunnies, and debris. Each of these requires a slightly different cleaning approach.
Dusting First
Start by removing loose dust and debris before applying any cleaning product. Use a vacuum with a brush attachment along the top edge and the wall junction. A dry microfiber cloth or a dryer sheet wiped along the surface lifts fine dust without spreading it around. Do this in every room before moving to the wet cleaning step.
Moving Out Soon?
Get our free room-by-room move-out checklist and keep your deposit.
See the Checklist →Wet Cleaning for Grime and Scuffs
Mix a small amount of dish soap with warm water. Dip a soft cloth or sponge and wring it nearly dry before wiping the baseboard surface. Work in sections from one end of the room to the other. For scuffs and marks, a slightly damp magic eraser is effective on painted baseboards. Rub gently in the direction of the scuff. Wipe dry with a clean cloth immediately to prevent water from sitting on painted wood and causing the paint to peel or bubble.
Touching Up Chipped or Scuffed Paint
Baseboards in high-traffic areas often have chipped or scuffed paint along the bottom edge where they meet the floor. After cleaning, check for areas where paint has chipped or where scuffs cannot be removed by cleaning alone. Touch up with matching white or off-white semi-gloss paint (the standard finish for baseboards). A small artist’s brush gives you precise control over a small chip repair without getting paint on the floor.
Doing All Rooms Efficiently
Start at one end of the apartment and work through each room in sequence. Clean as you pack, so rooms are cleared of furniture before you get to the baseboards. Working in an empty room gives you full access to the entire perimeter without moving items repeatedly.
Get baseboard cleaning and touch-up supplies: baseboard cleaning supplies on Amazon.
More help: Walls and Patching guides
Sealing a Water Stain So It Stays Hidden
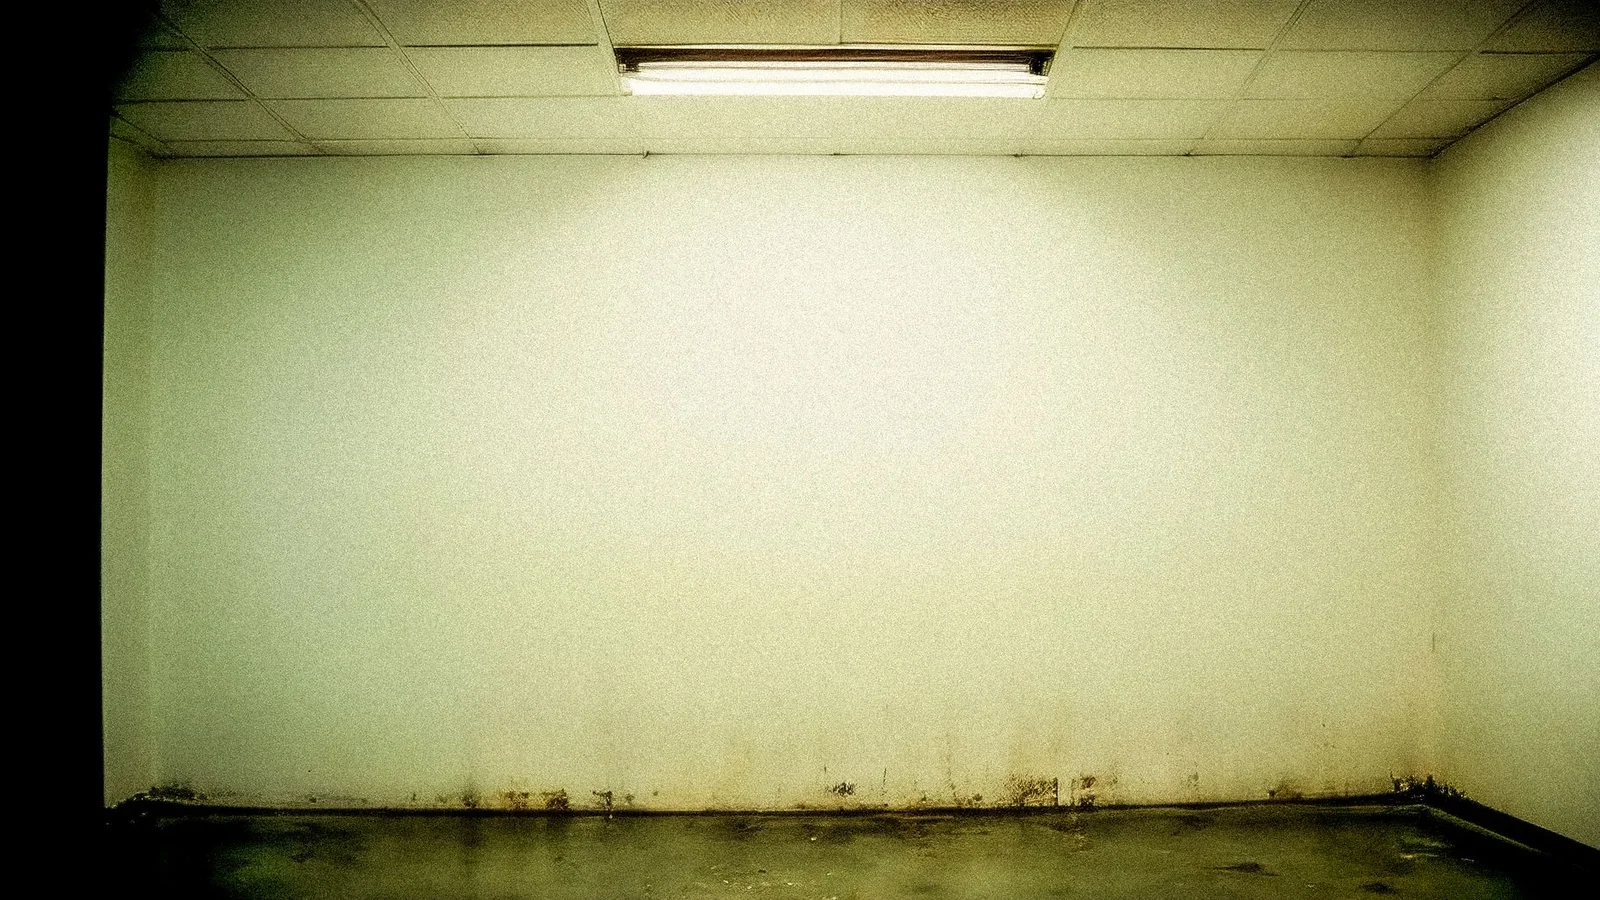
Water stains on a wall or ceiling are deceptively stubborn because the discoloration is caused by minerals and tannins carried up through the paint, and ordinary wall paint will not cover them. Renters who roll a coat of regular paint over a brown ring are dismayed to watch it bleed straight back through within a day. The only reliable way to hide a water stain is to seal it first with a stain-blocking primer.
Before you touch a brush, make sure the source of the water is actually fixed. A fresh or spreading stain means there is an active leak above, and painting over it only masks an ongoing problem your landlord needs to address. Report any active leak right away, both to get it repaired and to protect yourself from being blamed for water damage later. Only paint once the area is completely dry and the leak is resolved.
Reach for a shellac-based or oil-based stain-blocking primer, sold in both cans and convenient spray form. These seal the stain so the discoloration cannot migrate into your topcoat, which water-based primers often fail to do against the worst tannin and smoke stains. Apply one even coat over the stain, extending slightly past its edges, and let it dry fully. A spray version is ideal for a small ceiling spot where a brush would drip.
Once the primer has sealed the stain, paint over it with a color and sheen that match the surrounding surface, feathering the edges so the repair blends in. On a ceiling, repainting the entire ceiling is often easier than trying to spot-match flat ceiling white, which yellows with age. Done correctly, the stain stays gone permanently. Skipping the primer is the single mistake that turns a one-afternoon fix into a frustrating cycle of repainting a stain that keeps reappearing right before your walkthrough.
One more caution applies specifically to ceilings, where most water stains appear. Always confirm the leak above is truly fixed before you seal and paint, because a stain that returns means water is still arriving and the drywall may be quietly deteriorating out of sight. If the stained area feels soft, sags, or crumbles, that is water damage beyond a cosmetic fix and belongs in a report to your landlord rather than under a coat of primer. Sealing should only ever go over a dry, sound surface with the source resolved.
Frequently Asked Questions
How do I paint over a water stain?
Seal it with a stain-blocking primer first, then paint.
Why does the stain keep coming back?
Regular paint lets it bleed through; only a stain blocker stops it.
Should I fix the leak first?
Yes, confirm the source is repaired before painting over it.
Related reading
- How to Remove Grease Stains From Kitchen Walls in a Rental
- Removing Command Strip Damage From Rental Walls
- The Best Spackling Paste for Rental Walls
- How to Fix Scuffed and Scratched Rental Floors Without Losing Your Deposit
Sources & further reading
Helpful authoritative reading on this topic:
- USA.gov — Tenant Rights — How to handle landlord disputes and deposit issues
- EPA — Protect Your Family From Lead in Your Home — Lead-paint precautions when sanding or patching pre-1978 walls
- EPA Safer Choice — EPA-certified safer cleaning products