Ceiling Fixtures: Look Up Before Your Landlord Does
Ceiling fans and light fixtures are among the most commonly missed surfaces during apartment cleaning because they are above eye level. During a move-out inspection, a landlord walking through a unit often looks up, and a ceiling fan with visible dust buildup on each blade, or a light fixture with dead insects inside the globe, leaves an immediately negative impression. These surfaces are easy to clean and take only a few minutes each, but they are almost always missed by renters doing a final clean.
Ceiling Fan Blades
Ceiling fan blades accumulate a thick layer of dust on the top surface. Because the fan moves air, this dust sticks to the blade surface rather than falling off. When the fan runs, some of this dust gets distributed into the room as fine particles. Cleaning the blades requires either a step stool or a long-handled duster designed for fan blades. One effective method is to slide an old pillowcase over each blade and pull it back toward you. The interior of the pillowcase captures the dust so it does not fall onto the floor or furniture below. Follow this with a damp cloth wipe of each blade to remove any remaining residue. Wipe the fan motor housing and the pull chain if present.
Light Fixture Globes and Shades
Glass or plastic light fixture globes often have dead insects and dust inside them. Remove the globe by unscrewing the retaining nut or twisting it free, depending on the design. Empty the debris, wash the globe with warm soapy water, rinse, and allow to dry completely before reinstalling. Check the light bulb inside while you have the globe off, and replace any burnt-out bulbs. This is a detail that landlords always notice.
Moving Out Soon?
Get our free room-by-room move-out checklist and keep your deposit.
See the Checklist →Recessed Lighting
Recessed light cans accumulate dust on the trim ring and the interior of the can housing. Wipe the trim ring with a damp cloth. A dry cloth or vacuum with a brush attachment cleans the interior of the can. Make sure all recessed bulbs are working and replace any that are out.
Track Lighting and Other Fixtures
Track lighting heads and pendant fixtures should be wiped down with a damp cloth. Clean any visible grime from the track channel itself. For bathroom bar lights, clean the fixture arms and replace any non-working bulbs. Leave every light in the apartment functional.
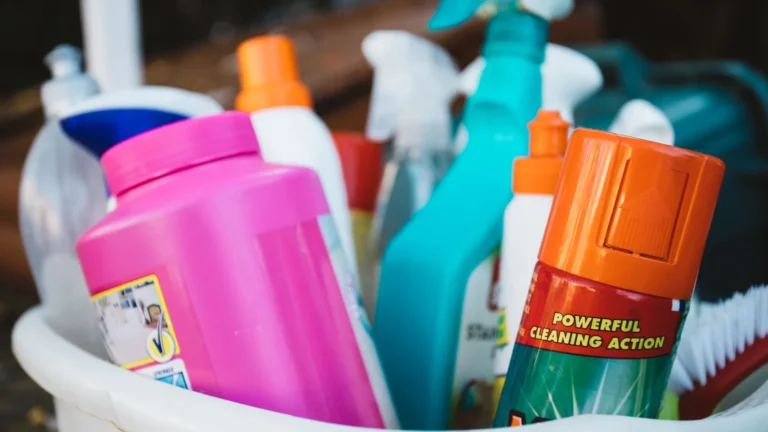
Find ceiling fan cleaning dusters and light fixture cleaning supplies: ceiling and fixture cleaning supplies on Amazon.
More help: Cleaning and Stains guides
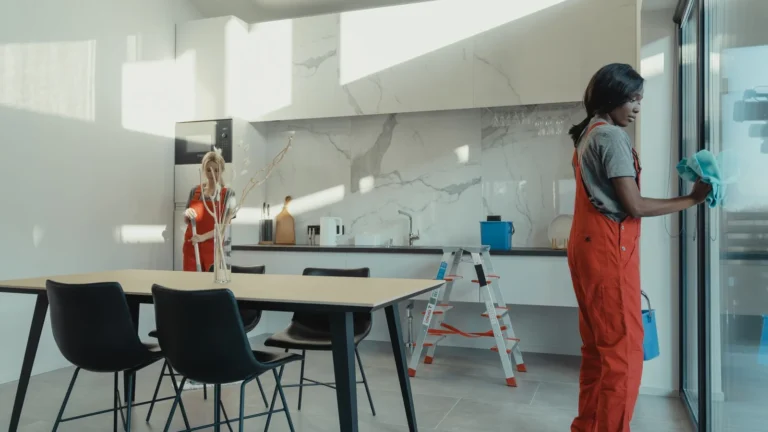
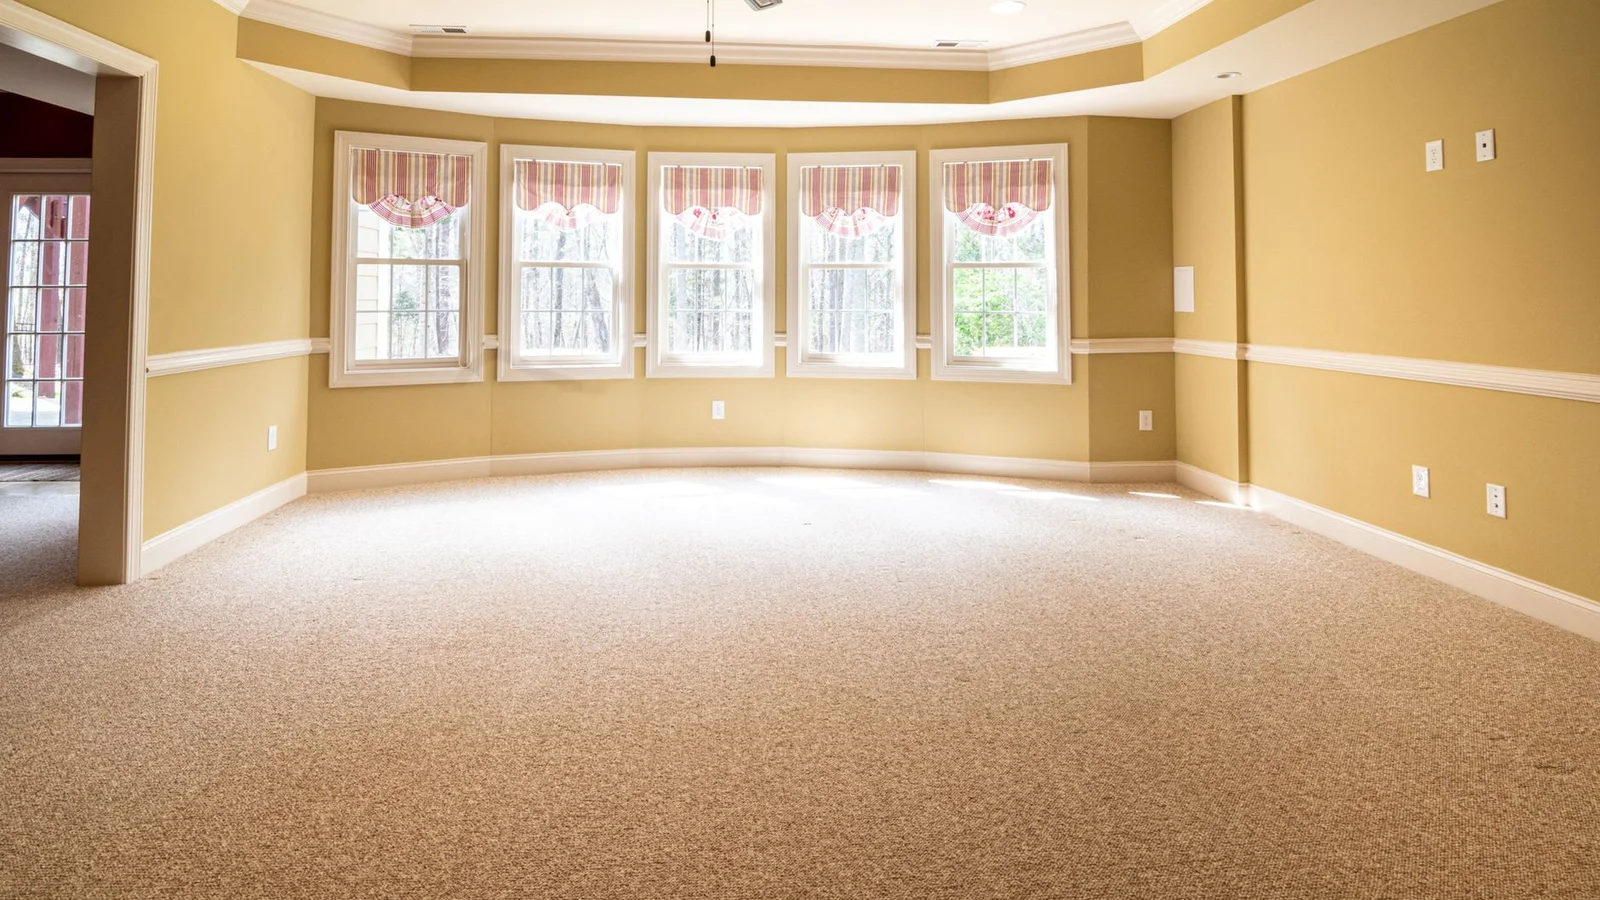
Getting Baseboards Truly Clean Before a Walkthrough
Baseboards are one of the most overlooked surfaces in an apartment and one of the first places a detail-minded landlord runs a finger during a move-out inspection, because they collect a stubborn combination of dust, scuff marks, and a sticky grime that ordinary dusting leaves behind. Getting them genuinely clean is easy once you tackle the layers in order, and bright, clean baseboards make a whole room look more cared for than the effort suggests.
Start by removing the loose dust, since wiping it while dry just smears it into mud once you add cleaner. Vacuum along the baseboards with a brush attachment, or run a dry microfiber cloth or duster along the top edge and the profile to clear the bulk of the dust. Pay attention to the top lip of the baseboard, where dust settles thickest and is easiest to miss because you do not see it at standing height.
Next, wash off the grime with a damp cloth and a little dish soap or a mild all-purpose cleaner in warm water. Wring the cloth well so it is damp, not dripping, especially on wood or painted baseboards where standing water can cause damage. Wipe along the length, getting into the grooves of detailed trim, and rinse your cloth often. For the greasy film that builds up in kitchens, a degreasing cleaner cuts it where plain soap struggles.
Scuff marks are the final layer, and they need a spot treatment rather than general washing. A melamine foam eraser, used lightly and tested first, removes black scuffs and marks from painted baseboards remarkably well, though on glossy trim a gentle touch avoids dulling the sheen. A cotton swab gets into corners and around outlets. Once everything is clean and dry, a quick pass to catch any missed spots leaves the baseboards looking sharp, and this small, often-skipped task carries real weight in the overall impression of how well you maintained the unit.
Reach the Baseboard Spots Inspectors Notice
Baseboards are a small detail that signals how carefully the whole unit was cleaned, which is exactly why inspectors glance at them. The grime collects in the top lip and the crevice where the board meets the floor, so a flat cloth that only hits the face leaves the obvious dirt behind.
Wipe the board down with a damp microfiber cloth, then run a cotton swab or an old toothbrush along the top edge and the floor seam to lift the packed dust. Dry as you go so you do not leave streaks on the paint. Clean baseboards take ten minutes and remove a deduction-worthy detail that tenants routinely skip.
Frequently Asked Questions
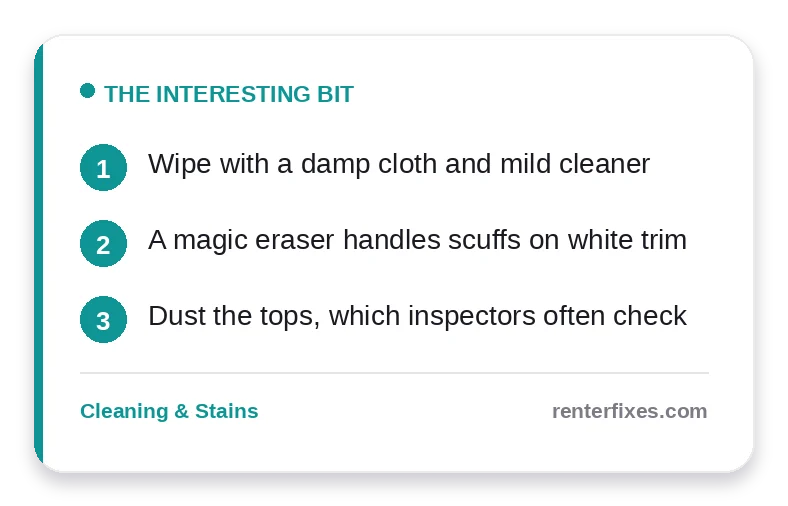
How do I clean baseboards before move-out?
Wipe with a damp cloth and mild cleaner, and use a magic eraser for scuffs.
Do inspectors really check baseboards?
Yes, dusty tops and scuffed trim are commonly noted.
What is the easiest method?
A damp microfiber cloth along each board, tops included.
Related reading
- How to Deep Clean an Apartment Before Move-Out (Room by Room)
- What Happens If You Don’t Fix Things Before Move-Out?
- How to Do a Move-Out Walkthrough Before Your Landlord Does
- How to Get Furniture Dents Out of Carpet Before Move-Out
Sources & further reading
A few reputable resources that back up the steps above:
- HUD — Rental Assistance & Tenant Rights — Tenant rights and rental-assistance guidance by state
- USA.gov — Tenant Rights — How to handle landlord disputes and deposit issues
- EPA Safer Choice — EPA-certified safer cleaning products