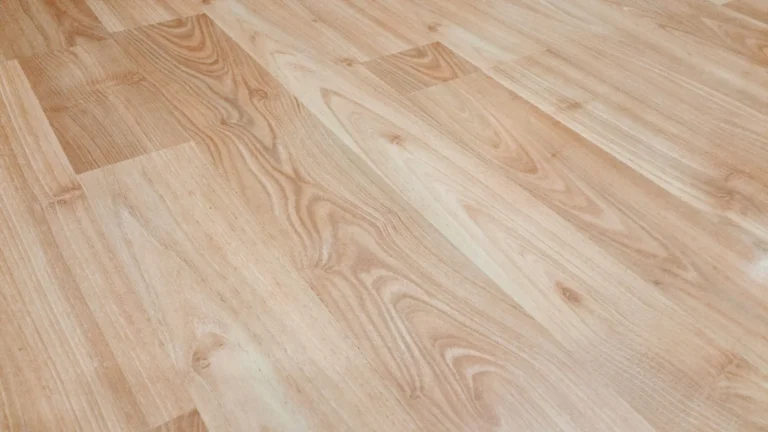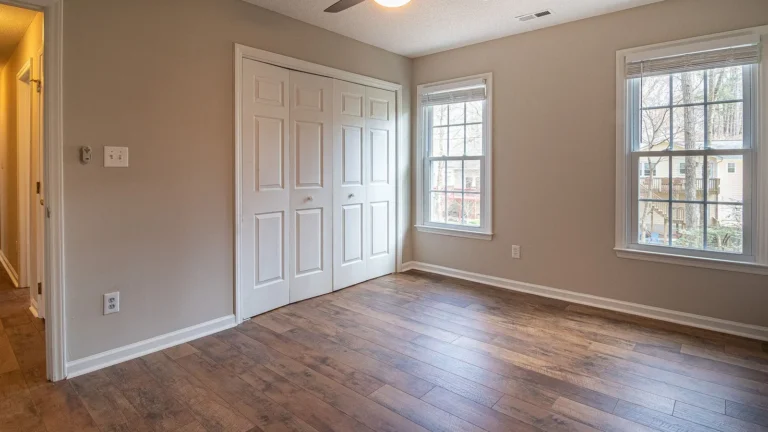
The deep dents left where a couch, bed, or bookshelf sat for months are not damage at all, just crushed carpet fibers, and they almost always spring back with a little moisture and patience. A landlord glancing at a room full of dents might otherwise mistake them for worn or matted carpet, so it is worth the few minutes it takes to lift them out.
The Ice Cube Method
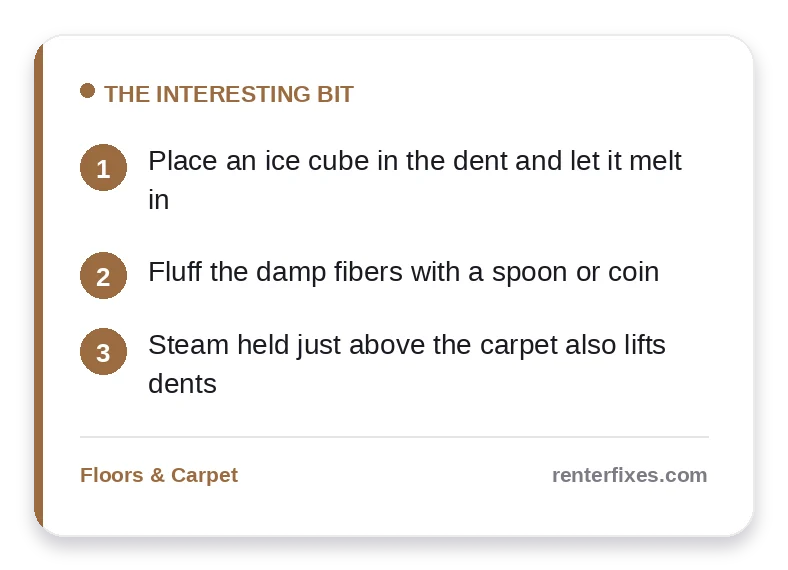
Place a cube or two directly in each dent and let it melt completely. As the carpet fibers slowly absorb the cold water, they swell back toward their original height. Once the spot is damp, blot up the excess water and fluff the fibers upright with your fingers, a spoon edge, or a stiff brush, working them back into alignment with the surrounding pile.
Moving Out Soon?
Get our free room-by-room move-out checklist and keep your deposit.
See the Checklist →Steam for Deeper Dents
For deeper or more stubborn dents, heat and moisture together work faster. Lay a damp cloth over the dent and warm it with an iron set to a low or steam setting, holding the iron just above the cloth rather than pressing down on the carpet directly. The steam relaxes the crushed fibers so they lift. Keep the iron moving and never let it touch the carpet, since direct heat can melt synthetic fibers and create a real burn where you only had a dent.
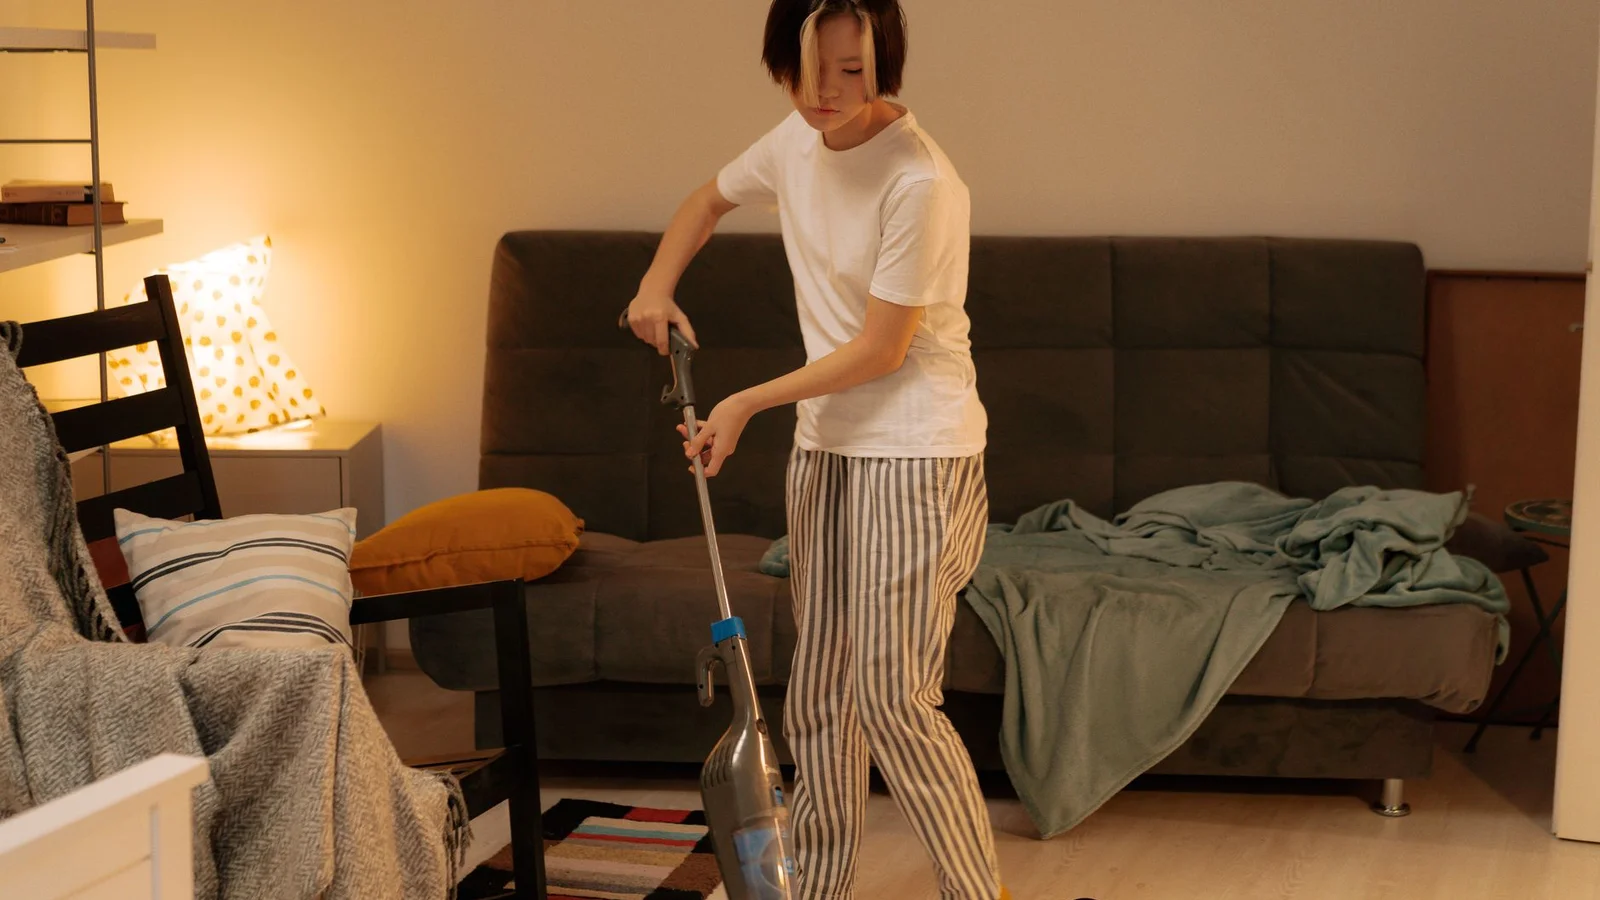
Finish With a Full Vacuum
After treating each spot, let the carpet dry and vacuum the whole room. Vacuuming blends the recovered fibers with the rest of the pile so the formerly dented areas disappear into a uniform surface. Do this as one of your final move-out steps, after furniture is gone and before the walkthrough, so the carpet reads as even and cared for.
What Actually Counts as Damage
Furniture dents are considered normal wear and tear in most jurisdictions, so they should not draw a deduction on their own. What does count is anything the furniture left behind beyond the dent itself — a tear, a burn, a rust ring from metal feet, or a stain. Treat any of those separately with a carpet stain remover, and mention them to your landlord if they are more than surface-level, rather than letting the fluffed carpet hide a problem that is still there underneath.
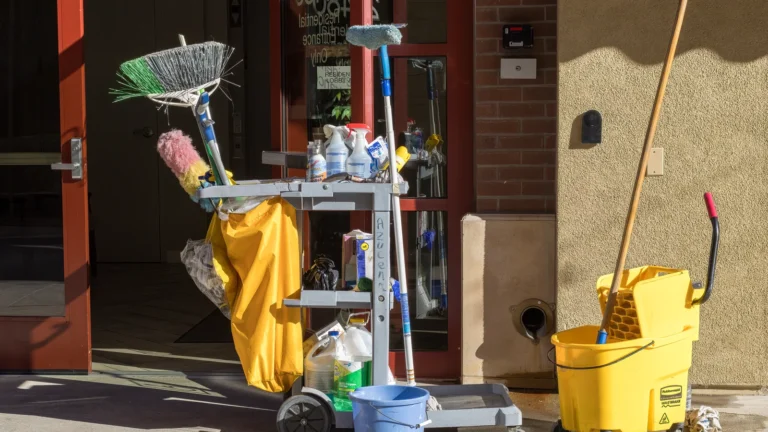
Get everything you need to lift carpet dents fast: carpet dent removal tools on Amazon.
More help: Floors and Carpet guides
Why Fibers Bounce Back at All
Carpet fibers are designed with a springy structure that resists permanent flattening under normal conditions, which is why a dent from furniture, unlike a stain or a burn, is not actually damage to the material itself. Moisture temporarily relaxes the fiber so it can return to its original shape, and heat speeds that relaxation along. Understanding that the fiber itself is intact, just compressed, is what makes this a five-minute fix rather than something to worry about at all.
Timing It Right
Treat dents after the furniture is out but before your final vacuum, since the fluffing step works best right before that last pass ties the whole room together. Doing it too early, while furniture is still nearby, risks a new dent forming in roughly the same spot before you move out for good.
Frequently Asked Questions
How do I remove furniture dents from carpet?
Melt an ice cube in the dent, then fluff the fibers as they dry.
Does steam work too?
Yes, steam held just above the carpet helps lift the pile.
Will the dents fully disappear?
Most shallow dents recover well with moisture and fluffing.
Related reading
- What Happens If You Don’t Fix Things Before Move-Out?
- How to Do a Move-Out Walkthrough Before Your Landlord Does
- Best Products to Clean Baseboards Before Move-Out
- How to Deep Clean an Apartment Before Move-Out (Room by Room)
Official guidance & resources
Helpful authoritative reading on this topic:
- USA.gov — Tenant Rights — How to handle landlord disputes and deposit issues
- EPA Safer Choice — EPA-certified safer cleaning products