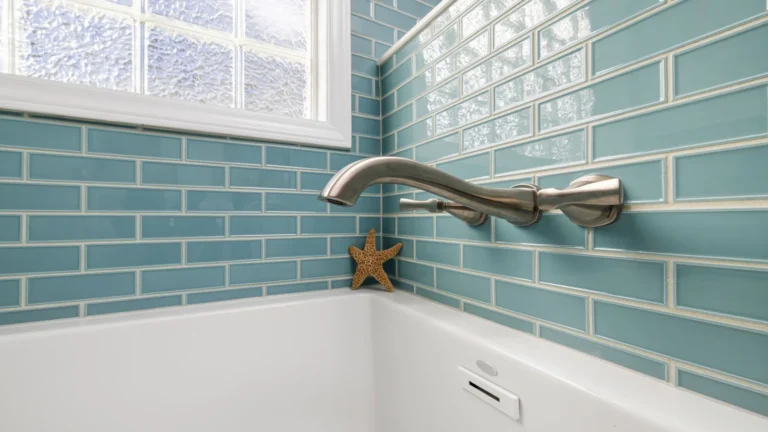
Wall Stains Beyond Normal Wear: How to Address Them
Not all wall marks are created equal. Light scuffs and small smudges are expected wear. Grease splatters, crayon, marker, food stains, and dark discoloration from furniture or smoke are in a different category and are consistently flagged at move-out inspections. The good news is that most stubborn wall stains respond to one of a handful of proven cleaning or repair approaches. Working through them systematically before your inspection removes these items from your deduction risk list.
Grease Stains
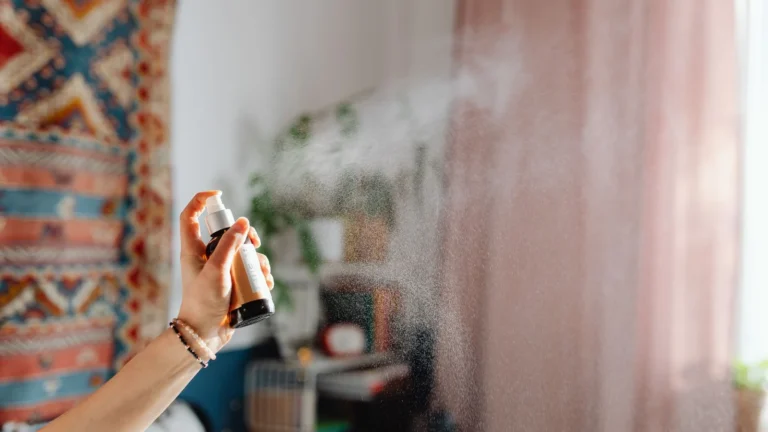
Grease stains near the kitchen, above counters, or beside the stove are extremely common. Apply a small amount of dish soap directly to the stain and work it in with a soft cloth using gentle circular motions. The surfactants in dish soap break down grease effectively. Wipe clean with a damp cloth and repeat if needed. For older set grease stains, a spray degreaser allowed to dwell for several minutes before wiping is more effective than dish soap alone. Avoid scrubbing too hard on flat paint finishes since aggressive scrubbing removes paint along with the stain.
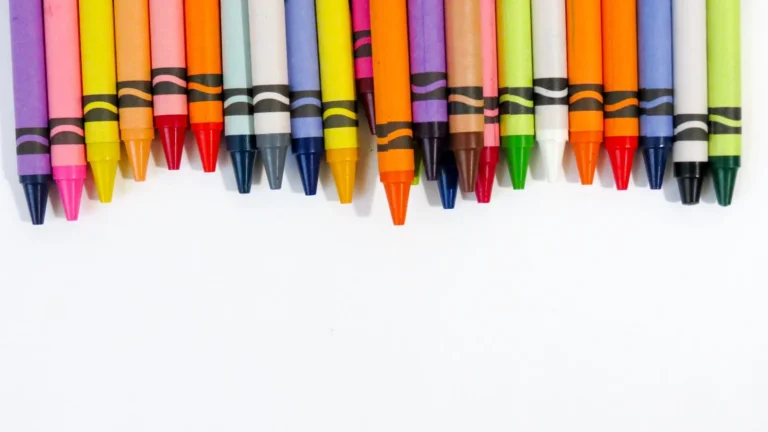
Crayon and Marker
Crayon responds well to a magic eraser used with gentle pressure. A small amount of WD-40 applied to crayon marks, left for a minute, and wiped away is also very effective since the oil in WD-40 dissolves the wax crayon binder. Wipe away the WD-40 residue with a dish soap solution. Permanent marker on walls is harder to remove completely and usually requires painting over after minimal cleaning. Apply a stain-blocking primer over the marker before repainting to prevent bleed-through.
Moving Out Soon?
Get our free room-by-room move-out checklist and keep your deposit.
See the Checklist →Food Stains and Splatter
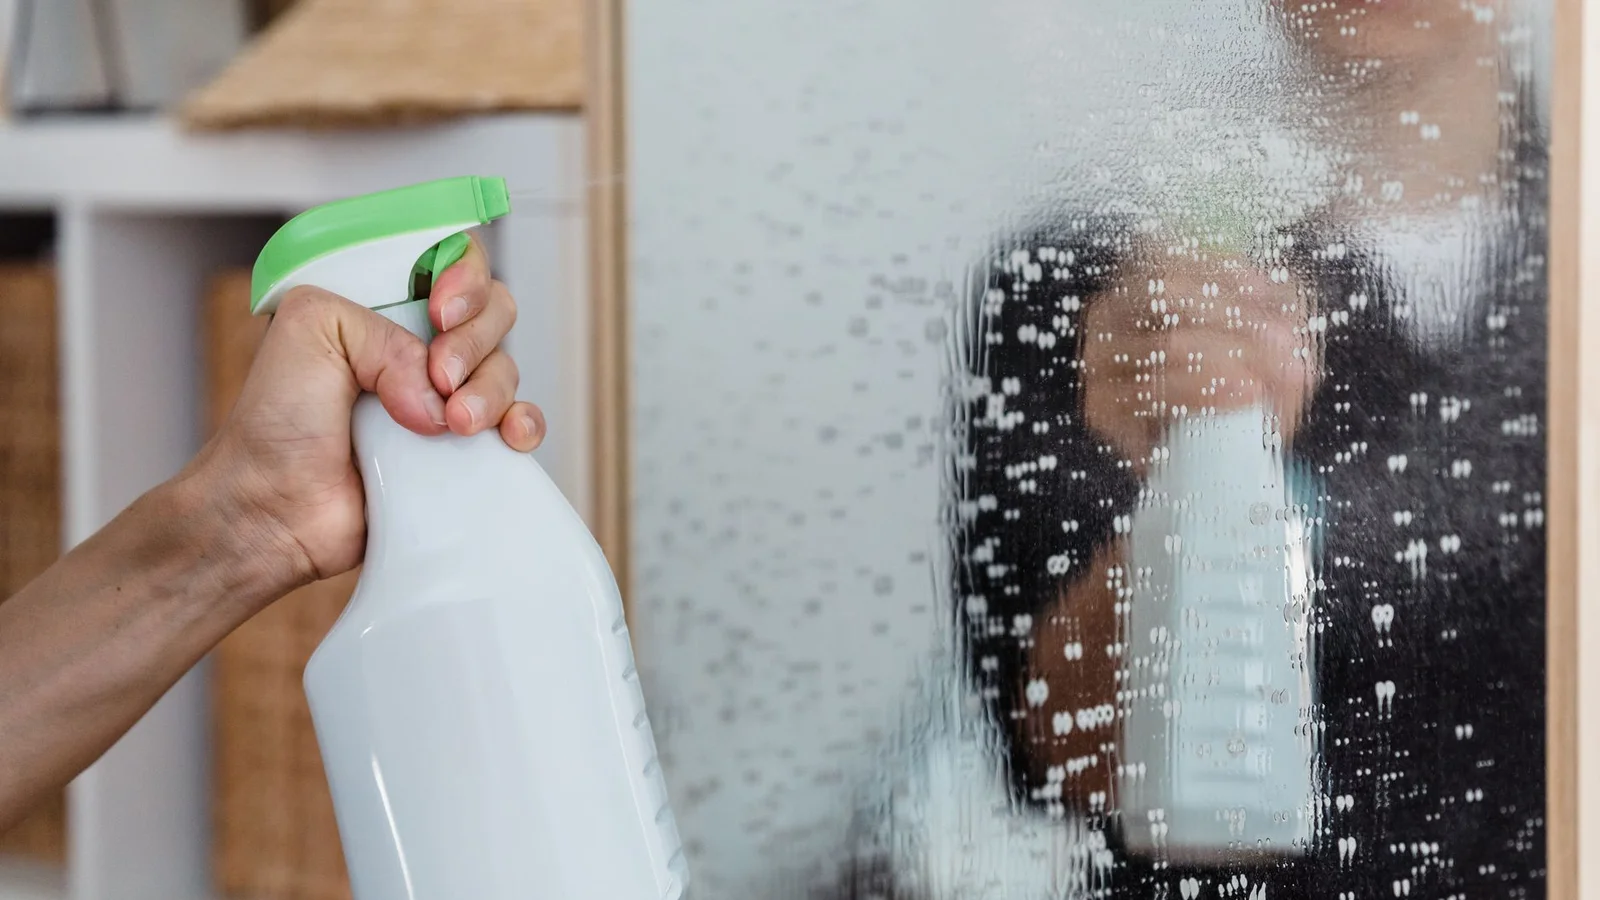
Food splatter on walls, common near dining areas and the kitchen, usually responds to warm water and dish soap applied with a soft cloth. For dried stains, dampen the stain with a wet cloth for a few minutes before scrubbing to rehydrate the residue. Tomato-based and acidic food stains can leave a faint discoloration even after cleaning. If cleaning does not fully remove the color, a spot of matching touch-up paint applied after the area has dried covers the remainder.
Smoke and Nicotine Stains
Smoke staining on walls is one of the most pervasive and difficult to address. Yellow or brown discoloration from cigarette smoke penetrates the paint and cannot be removed by cleaning alone. The entire affected area needs to be primed with an oil-based stain-blocking primer and repainted. If the smoke smell is embedded in the walls and ceiling throughout the unit, this is a more significant remediation issue that should be disclosed to your landlord rather than addressed cosmetically with paint alone.
Find wall cleaners, stain removers, and stain-blocking primer: wall stain removal supplies on Amazon.
More help: Cleaning and Stains guides
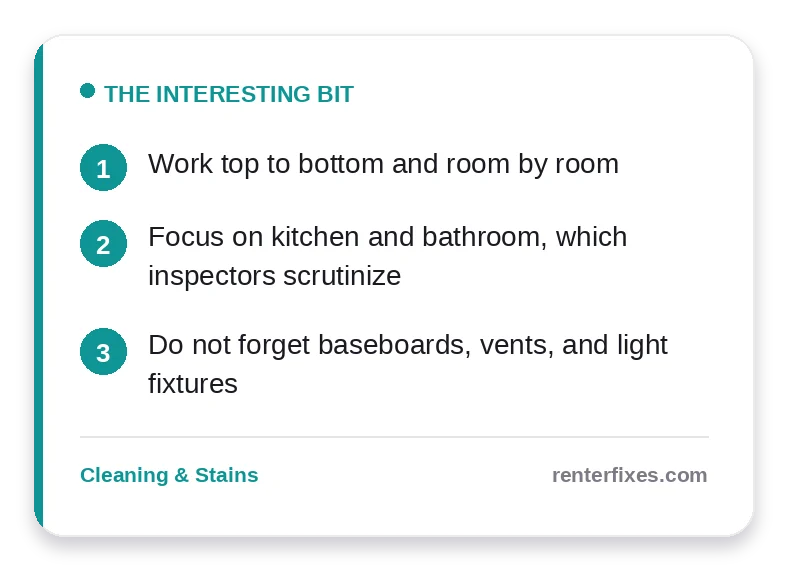
Building an Efficient Room-by-Room Cleaning Order
A move-out deep clean feels overwhelming until you give it a sequence, and the renters who finish fastest follow two principles: work top to bottom within each room, and clean rooms in an order that lets surfaces dry while you move on. Cleaning top to bottom means dust and crumbs you knock down from shelves and counters land on floors you have not cleaned yet, so you never re-dirty finished surfaces. It is the single habit that prevents doubling your work.
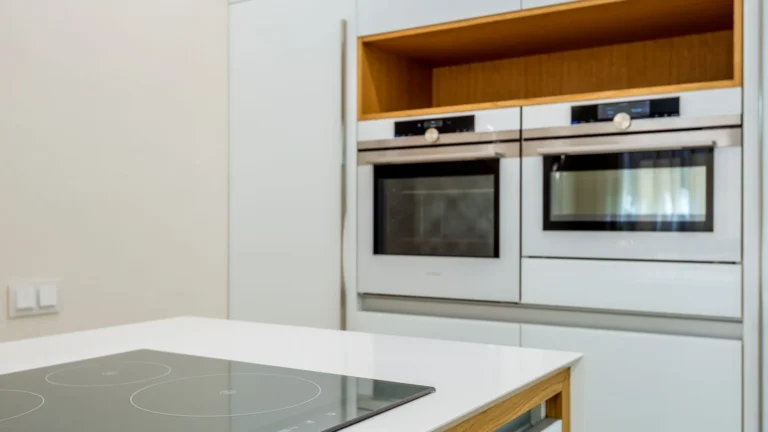
Start with the rooms that need to soak. In the kitchen, spray the oven interior and let the cleaner work while you tackle other areas, and in the bathroom apply cleaner to the tub, toilet, and grout so it dwells. These soaking jobs run in the background while you wipe cabinets, counters, and appliance exteriors, so you are never standing around waiting. Saving the heavy scrubbing for after the cleaner has loosened the grime turns a brutal task into a manageable one.
Move through the living spaces and bedrooms next, where the work is mostly dusting, wiping down walls and baseboards, cleaning windows and tracks, and addressing marks on walls. These rooms go quickly once they are empty of furniture, which is why cleaning after you move out, not before, is far more effective. An empty room lets you reach every corner, baseboard, and closet shelf that furniture normally hides.
Finish with the floors, working from the far corner of each room back toward the door so you do not walk across what you just cleaned. Vacuum carpet thoroughly, then mop hard floors last of all, ending at the exit. Doing floors as the final step in the whole apartment means the dust and debris from every other task has already been dealt with. A logical order like this is what separates a clean that takes a focused afternoon from one that drags into an exhausting, repetitive weekend.
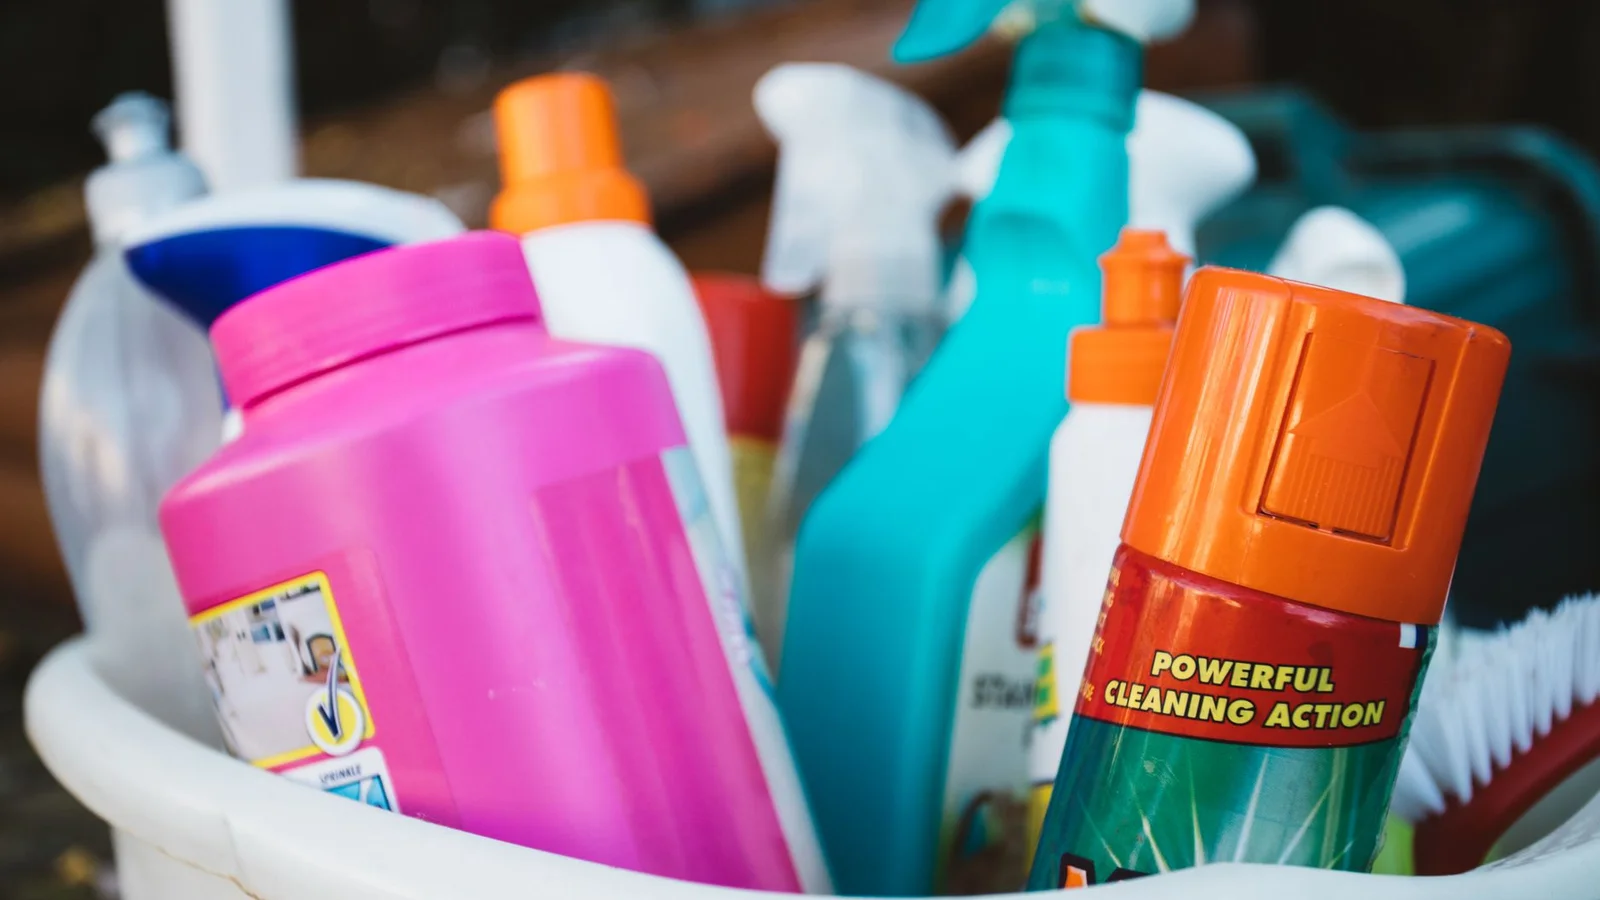
Give yourself the right tools before you start so momentum is not broken by missing supplies. A vacuum, a mop and bucket, microfiber cloths, a degreaser, an all-purpose and a bathroom cleaner, baking soda and white vinegar, a scrub brush, an old toothbrush for detail work, and a melamine eraser for scuffs handle virtually every surface. Staging them in a caddy you carry from room to room keeps the clean moving as one continuous effort rather than a stop-and-start chore, which is what makes the whole apartment achievable in a focused day.
Frequently Asked Questions
How should I deep clean before move-out?
Work room by room and top to bottom so nothing gets missed.
What gets checked most?
The kitchen and bathroom receive the most scrutiny at inspection.
What do people forget?
Baseboards, vents, light fixtures, and the insides of appliances.
Related reading
- Best Products to Clean Baseboards Before Move-Out
- What Happens If You Don’t Fix Things Before Move-Out?
- How to Document Your Apartment Before Moving Out
- How to Do a Move-Out Walkthrough Before Your Landlord Does
Further reading
Helpful authoritative reading on this topic:
- HUD — Rental Assistance & Tenant Rights — Tenant rights and rental-assistance guidance by state
- USA.gov — Tenant Rights — How to handle landlord disputes and deposit issues
- EPA Safer Choice — EPA-certified safer cleaning products