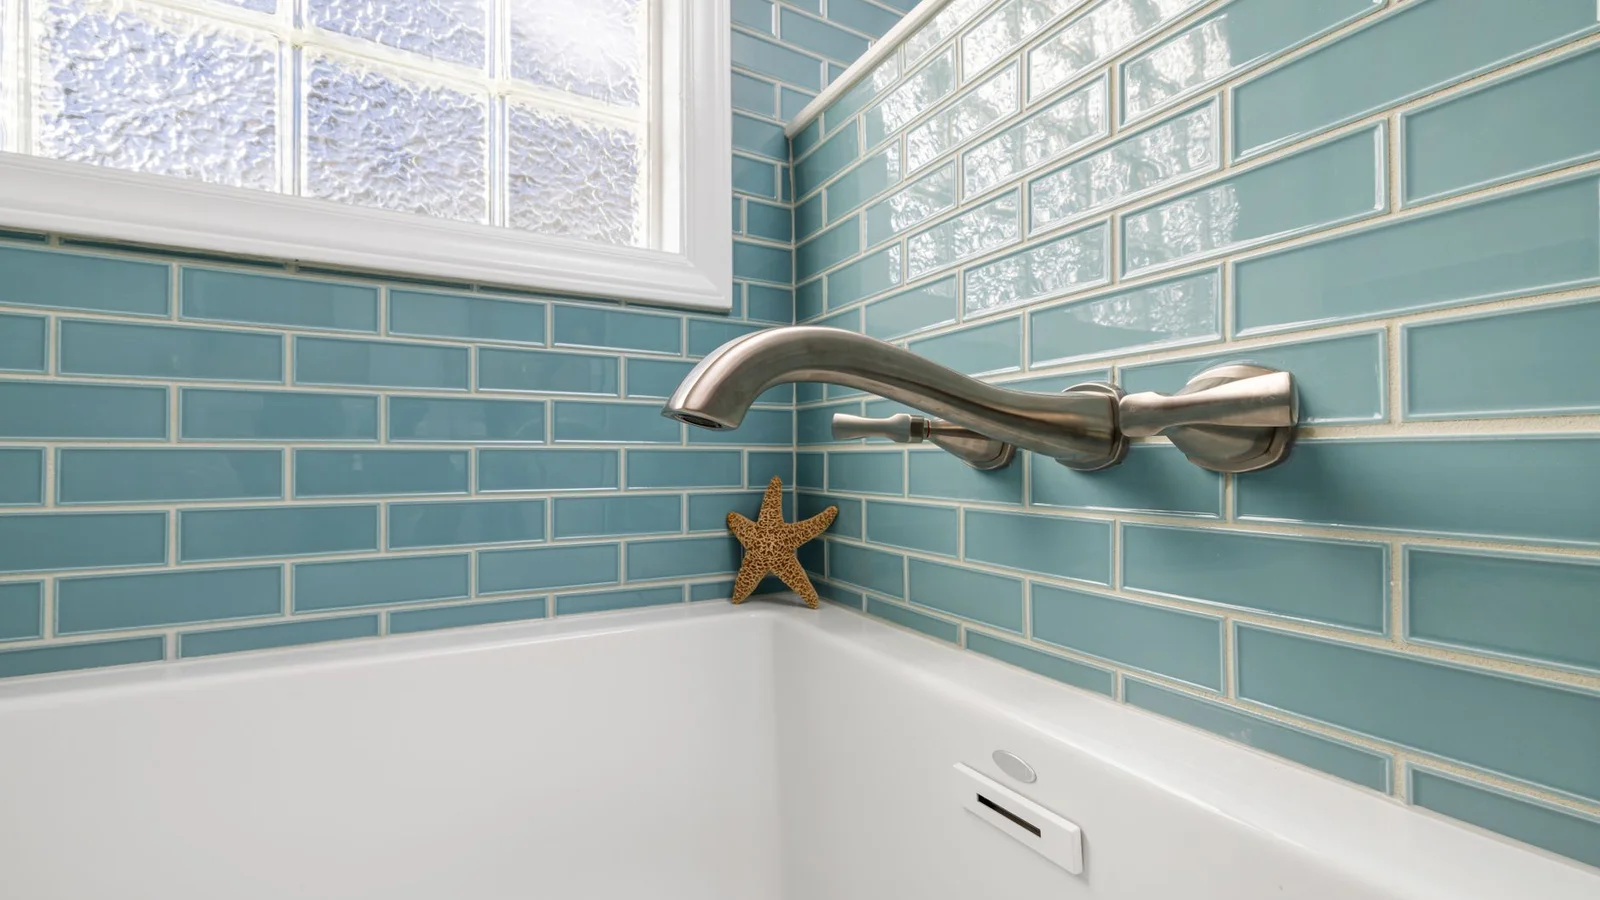
The black or pink discoloration along the caulk line where a tub or shower meets the wall is mold and mildew growing in and under the caulk bead, and the right response depends on how far it has gone. Surface mildew on otherwise sound caulk can often be cleaned, while caulk that is cracked, peeling, or has mold growing underneath where you cannot reach needs to be removed and replaced. Knowing which situation you have saves you from scrubbing caulk that is past saving.
Why Bathtub Caulk Grows Mold in the First Place
Caulk sits in one of the most consistently damp spots in the entire apartment, and the seam where it meets the tub or tile creates a tiny gap that trapped moisture cannot fully evaporate from between showers. Mold spores are present in ordinary household air, and given a damp surface and organic residue from soap or skin, they take hold quickly, especially in bathrooms with weak ventilation or a fan that renters rarely run for as long as they should.
Moving Out Soon?
Get our free room-by-room move-out checklist and keep your deposit.
See the Checklist →Cleaning Surface Mildew
If the caulk is intact and the discoloration is on the surface, try cleaning first. Make a paste with baking soda and a little water, or soak strips of paper towel in a mildew-cleaning solution and press them onto the caulk line so the cleaner stays in contact rather than running off immediately. Let it dwell for fifteen to thirty minutes, then scrub with an old toothbrush and rinse. This lifts surface mildew and often restores the caulk to a clean white, especially when caught early before it has had time to root deeper.
A Safety Note on Cleaning Products
Never mix bleach with ammonia-based cleaners or with vinegar, since the combination produces dangerous fumes. Stick to one product at a time, ventilate the bathroom with the fan running and a window or door open if possible, and wear gloves when working with any bleach-based mold cleaner. If you are sensitive to fumes or the mold covers a large area, a mask rated for mold spores is worth the few dollars it costs.
When Cleaning Won’t Hold: Removing Old Caulk
When mold has grown deep into or behind the caulk, or the bead is cracked and pulling away, replacement is the real fix. Run a utility knife or a plastic caulk-removal tool along both edges of the bead to cut it loose, then peel and scrape it away completely. Clean the exposed joint thoroughly with rubbing alcohol or a caulk remover spray, let it dry fully, and make sure no old mold remains, since new caulk applied over hidden mold will simply discolor again within weeks.
Choosing the Right Replacement Caulk
Apply fresh caulk made specifically for kitchens and baths, which contains mildew-resistant additives that standard caulk does not. Silicone caulk is more flexible and holds up better to the constant expansion and contraction around a tub, while acrylic latex caulk is easier to apply and clean up but tends to crack sooner in a wet environment. For a tub or shower seam, silicone or a silicone-latex hybrid rated for bathrooms is generally the better choice despite being slightly harder to smooth.
Applying a Clean Bead
Cut the tube tip small, lay a steady bead along the joint, and smooth it with a wet fingertip in one continuous stroke for a clean line. Painter’s tape applied along both sides of the joint before caulking makes this dramatically easier for a first attempt, since it gives you a straight edge to work against and can be peeled away immediately after smoothing for a crisp result. Let the new caulk cure fully, usually twenty-four hours per the product label, before exposing it to water again.
Fixing the Ventilation Problem, Not Just the Mold
Recaulking without addressing why the mold appeared in the first place just resets the clock. Run the bathroom exhaust fan during every shower and for a full fifteen to twenty minutes afterward, and wipe down the tub and tile surfaces after use if the fan alone does not clear the humidity quickly. If the fan seems weak or barely moves air, a quick tissue test at the vent tells you whether it is worth mentioning to your landlord as a maintenance issue rather than something you can fix yourself.
When It’s a Landlord Issue
Mold that keeps returning within days despite good ventilation habits, or mold that appears to be coming from behind the tile rather than on the caulk surface, points to a moisture problem in the wall itself, such as a slow leak. This is worth reporting in writing rather than repeatedly recaulking over a problem that a bead of silicone cannot solve, since ongoing hidden moisture can eventually cause damage well beyond the bathroom.
Find bathroom deep cleaning supplies and mildew-resistant caulk: bathtub caulk and mold cleaning supplies on Amazon.
More help: Cleaning and Stains guides
What You Need for a Full Recaulking Job
A tube of mildew-resistant silicone or silicone-latex bathroom caulk, a caulk gun if the tube is not a squeeze tube, a utility knife or dedicated caulk-removal tool, rubbing alcohol or a caulk remover spray for the cleanup step, painter’s tape, and a box of disposable gloves cover the entire job. Buy one extra tube if this is your first time; a botched first attempt at a smooth bead is common enough that having a spare on hand saves a second trip to the store mid-project.
What This Typically Costs
A full tub-to-tile recaulking job runs under fifteen dollars in materials for most bathrooms and takes about two hours including drying time between removal and application. Compare that to what a landlord’s maintenance contractor typically charges for the same job, and doing it yourself is one of the more cost-effective repairs on any move-out checklist, especially since mold and mildew are among the most consistently flagged bathroom items on inspection reports.
Common Mistakes That Ruin a Recaulking Job
Applying new caulk over a surface that is not completely dry is the single most common failure, since trapped moisture underneath will eventually push through and cause the new bead to fail early or grow mold again almost immediately. Rushing the smoothing step, or trying to fix a mistake by adding more caulk on top rather than removing and restarting, usually makes the line look worse rather than better. Using standard caulk instead of a mildew-resistant bathroom formula is a quieter mistake that will not show up as immediately, but it does mean the mold problem is likely to return sooner than it would with the right product.
A Faster Interim Fix If You’re Short on Time
If a full recaulking job is not realistic before your walkthrough, a thorough cleaning plus a fresh, thin bead of clear silicone caulk applied directly over sound existing caulk, in spots where it has only lightly discolored rather than cracked or separated, can meaningfully improve the appearance in under an hour. This is not a substitute for a full replacement where the caulk has actually failed, but it is a reasonable stopgap when time is the limiting factor rather than the extent of the damage.
A Note on Renters Insurance
Mold remediation from a building-related moisture problem is generally the landlord’s responsibility rather than something your renters insurance would cover, since standard policies address your belongings and liability, not the landlord’s fixtures. If a slow leak behind the tile has caused mold you cannot address with surface cleaning or recaulking, documenting it and reporting it in writing is the right move rather than searching for an insurance angle that likely does not apply.
Preventing Mold From Coming Back After You Fix It
Beyond running the exhaust fan, squeegeeing the shower walls after each use takes less than a minute and removes most of the standing moisture that mold needs to take hold. Leaving the shower curtain or door open slightly after use lets the enclosure air out rather than staying sealed and humid. These two habits, adopted even just in the final weeks before move-out, noticeably reduce how quickly new mildew reappears on freshly cleaned or replaced caulk.
If Mold Returns Right After You Clean It
Mold that comes back within a few days despite thorough cleaning and good ventilation habits is a signal worth acting on rather than repeating the same clean over and over. Photograph it, note the date, and send your landlord a short written message describing what you have tried, since a documented pattern of quick recurrence is what supports a claim that the underlying cause is a building issue rather than something you are failing to maintain.
One Small Addition
A cheap hygrometer placed in the bathroom for a few days can confirm whether humidity is genuinely staying elevated after showers, which is useful evidence if you end up needing to report a ventilation issue to your landlord.
Frequently Asked Questions
How do I deal with moldy bathtub caulk?
Clean light mold with a bleach solution, or replace cracked, blackened caulk.
Can I recaulk it myself?
Yes, removing old caulk and applying new is a manageable renter task.
Anything to watch for?
Let new caulk cure fully before using the tub.
Related reading
- How to Clean Window Tracks That Are Caked With Grime
- Best Products to Clean Baseboards Before Move-Out
- How to Clean Stainless Steel Appliances Without Streaks
- How to Clean Grout in a Rental Bathroom (Landlord-Ready)
Helpful resources for renters
Related official resources:
- HUD — Rental Assistance & Tenant Rights — Tenant rights and rental-assistance guidance by state
- USA.gov — Tenant Rights — How to handle landlord disputes and deposit issues
- EPA — A Brief Guide to Mold, Moisture and Your Home — When mold is a DIY job and when it isn’t
- CDC — Mold Cleanup Guidelines — Cleaning up household mold safely