Your Pre-Inspection Walkthrough Is the Key Preparation Step
A move-out walkthrough you conduct on your own, at least a week before your landlord does theirs, gives you the most valuable thing possible: time to fix what you find. When you discover issues during your own walkthrough, you can repair them before they become deductions. When your landlord discovers them first, they get to decide the cost. This simple time investment is one of the highest-return things you can do in the weeks before move-out.

What to Bring
Bring your move-in inspection report or move-in photos, a notepad for your punch list, a flashlight for dark corners and closets, and your phone for photos. The move-in documentation is essential because it lets you distinguish between issues that existed before your tenancy and issues you caused. Pre-existing damage documented at move-in is not your financial responsibility regardless of what condition it is in now.
Starting High and Working Low
Begin each room by looking up at the ceiling for water stains, mold, or damage. Then look at the walls at eye level and lower. Check baseboards, floors, and corners last. This top-to-bottom approach ensures you do not miss ceiling issues by focusing on floor level, and you do not miss floor issues by spending all your attention on walls.
Moving Out Soon?
Get our free room-by-room move-out checklist and keep your deposit.
See the Checklist →What to Write Down
For each room, note every imperfection regardless of whether you caused it. After the walkthrough, go back through the list and mark each item as either pre-existing (in your move-in photos) or needs repair. Focus your repair effort on the needs-repair items. Pre-existing items get photographed and noted in your move-out letter to the landlord so they cannot be attributed to you.
Areas That Are Easy to Miss
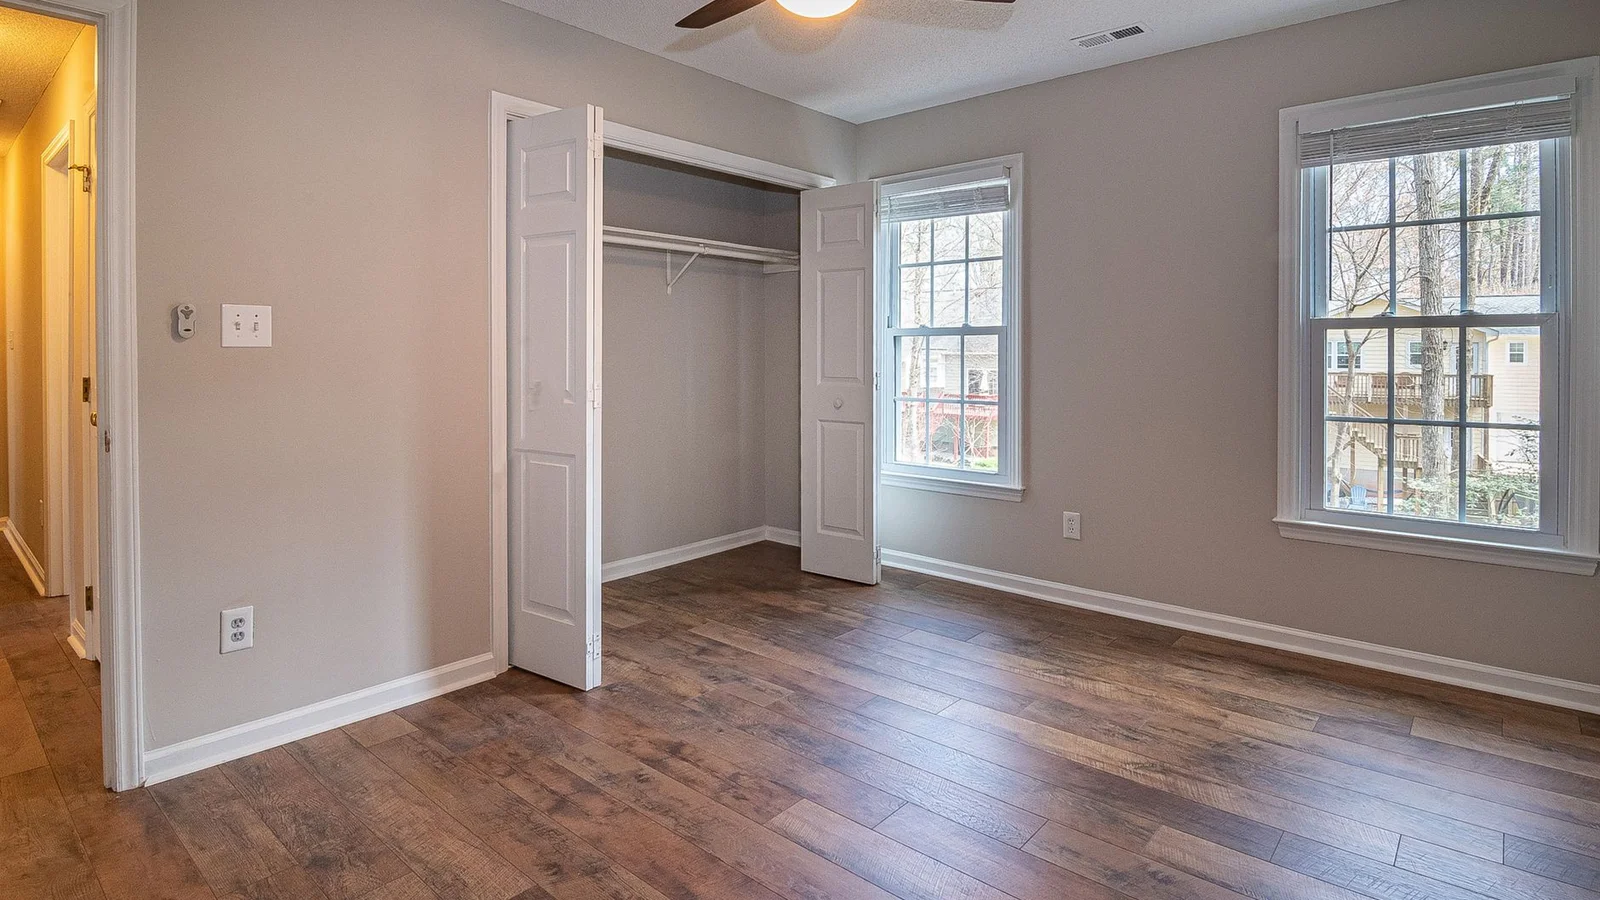
Pay particular attention to these commonly missed areas: inside closets, behind doors (where door handles hit walls), under bathroom sinks, window tracks, the area behind toilet bases, grout lines in all tile areas, ceiling fan blades, and the inside of appliances. These are the spots landlords look at specifically because renters consistently miss them. Addressing them during your walkthrough eliminates the most common inspection surprises.
Making the Punch List Actionable
After your walkthrough, prioritize your repair list by effort and cost. Group similar tasks (all wall patching, then all painting, then all cleaning) so you can complete them efficiently over your available time before move-out. Assign a day to each group. Having a written plan is more effective than an unstructured cleanup effort in the final days.
Get repair and cleaning supplies before your walkthrough: move-out repair supplies on Amazon.
More help: Moving Out Checklist guides
Running Your Own Walkthrough Like an Inspector
The most useful move you can make before your landlord’s inspection is to conduct your own walkthrough first, looking at the apartment the way an inspector will rather than the way you have grown used to seeing it. Living somewhere makes you blind to its flaws, so the goal is to switch perspectives: pretend you are seeing the unit for the first time and you are looking for reasons to withhold money. That mindset surfaces the issues your landlord will flag while you still have time to address them.
Go room by room with good lighting and your move-in documentation in hand. In each room, check the walls for holes and marks, the floors for stains and scratches, the windows and tracks, the fixtures, and the corners and baseboards where grime hides. Open every closet, look on top of high surfaces, and get down low to see what an inspector crouching to check a baseboard would see. Compare what you find to how the room looked when you arrived, since anything pre-existing is not your responsibility.
Pay special attention to the kitchen and bathroom, which receive the closest scrutiny because they show wear and neglect most clearly. Look inside the oven and refrigerator, behind and under appliances if you can move them, at the grout and caulk, and at the exhaust fan. These are the high-value areas where deductions concentrate, so finding a problem here during your own walkthrough is far better than having it found during the official one.
Write down everything you find and triage it into fix, clean, and report. Tackle the fixable items, clean what needs cleaning, and for anything that is pre-existing or a building issue, note it so you can raise it with documentation rather than being blamed for it. Doing this self-walkthrough a few days before move-out, not the night before, gives you the runway to actually resolve what you find. Walking in prepared also changes the tone of the landlord’s inspection, since a unit that has clearly been gone over carefully invites far less nitpicking.
Run Your Walkthrough Like the Inspector Will
Doing your own walkthrough before the landlord’s gives you a chance to catch deductions while you can still fix them. Move through the unit room by room with the same critical eye an inspector uses: look at walls at an angle in good light, open the oven and fridge, and check the corners and behind doors where damage hides.
Make a punch list as you go and knock out what you can, then photograph anything you cannot fix so there is a dated record of its condition. Renters who self-inspect a week out almost always find a few things they would have been charged for, and fixing them quietly beats explaining them later.
Frequently Asked Questions
Why do my own walkthrough first?
To catch and fix issues before the landlord’s official inspection.
How do I do it?
Inspect each room as a landlord would and make a punch list.
What do I look for?
Damage, cleanliness, and odors in every room.
Related reading
- How to Write a Move-Out Letter to Your Landlord
- What Happens If You Don’t Fix Things Before Move-Out?
- Best Products to Clean Baseboards Before Move-Out
- How to Deep Clean an Apartment Before Move-Out (Room by Room)
Sources & further reading
For the authoritative guidance behind this advice, see:
- USA.gov — Tenant Rights — How to handle landlord disputes and deposit issues