Wallpaper Removal in a Rental: Proceed Carefully
If your rental has wallpaper and you are wondering whether you can remove it or have already done so, the key issue is whether you have damaged the underlying drywall. Aggressive wallpaper removal tears the paper facing off drywall, which creates a rough, absorbent surface that takes significant work to repair. If you are dealing with this situation, or need to safely remove wallpaper as part of move-out prep, a careful approach protects both the wall and your deposit.

Before You Remove Anything: Check Your Lease
Some rental leases explicitly prohibit tenants from making alterations including removing wallpaper. If your lease includes this restriction and you have already removed or damaged wallpaper, document the pre-existing condition thoroughly with your move-in photos. If wallpaper removal is not prohibited and you want to remove it before move-out, proceed with the right technique to avoid wall damage.
Scoring and Soaking Method
Score the wallpaper surface lightly with a wallpaper scoring tool. This creates small perforations that allow a removal solution to penetrate to the adhesive backing. Mix a wallpaper removal solution according to the product instructions, or make a DIY version with fabric softener and warm water. Apply it generously with a sponge or spray bottle and allow it to soak for 10 to 15 minutes. The wallpaper should then peel away in larger sections without excessive force.
Moving Out Soon?
Get our free room-by-room move-out checklist and keep your deposit.
See the Checklist →Working in Sections
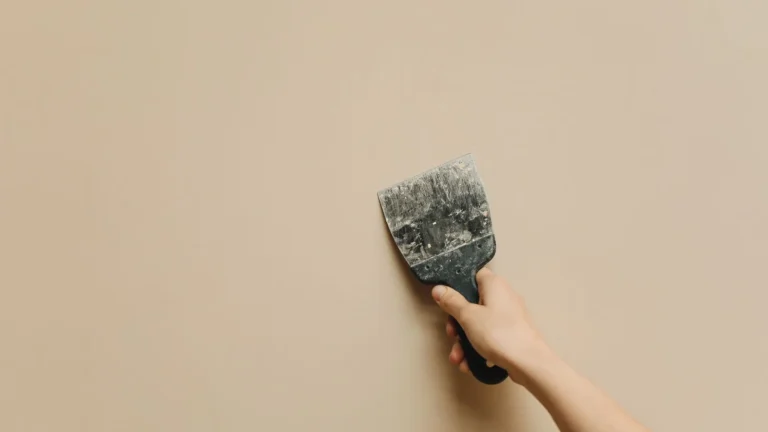
Work from the top down and from one side to the other. Use a wide putty knife held at a shallow angle to slide under the wallpaper and lift it away from the wall. Avoid digging the corner of the knife into the wall surface. Rewet any sections that have dried before attempting to remove them. Pulling dry wallpaper tears the drywall facing. Patience and adequate soaking time is the key to clean removal.
Repairing Damaged Drywall After Removal
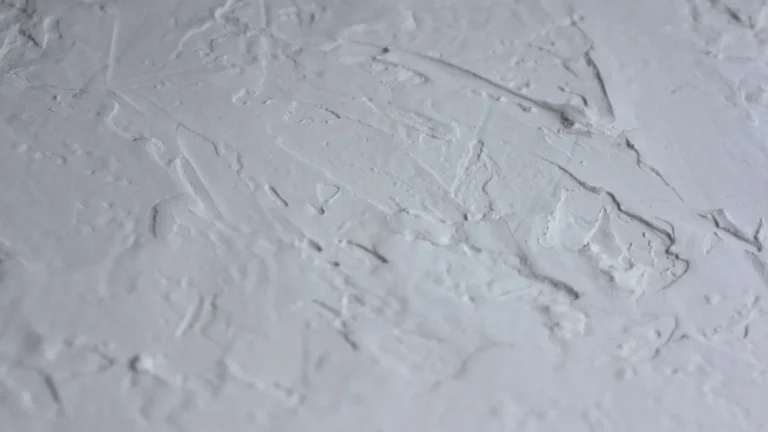
If removal damaged the paper facing on the drywall, the affected areas need to be sealed with a drywall primer before any paint or skim coat is applied. Painting directly over torn drywall facing causes the paper to bubble and peel. Apply an oil-based primer or a dedicated drywall sealer to all damaged areas, allow to dry fully, skim coat with joint compound to smooth any rough texture, sand, and repaint.
Find wallpaper removal solutions and repair supplies: wallpaper removal supplies on Amazon.
More help: Walls and Patching guides
Diagnosing Why a Rental Door Sticks or Won’t Latch
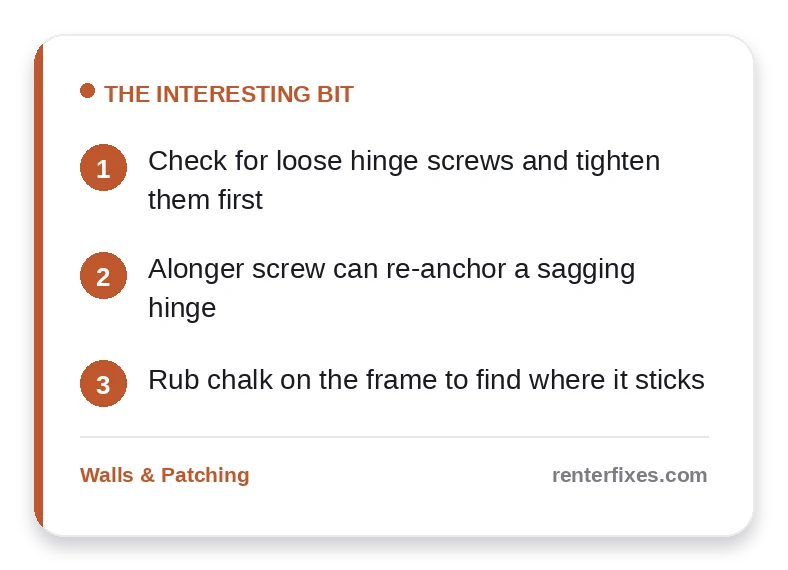
A door that drags on the frame, swings open on its own, or refuses to latch is one of the more annoying rental quirks, but it is usually a quick fix once you identify the cause. The first thing to check is the hinges. Over time, screws back out slightly and the door sags, dropping the latch side so it scrapes the floor or misses the strike plate. Open the door, hold it level, and tighten every hinge screw firmly; this alone resolves a surprising number of sticking doors.
If the screws spin without biting because the holes have worn out, you do not need new hardware. Tap a few wooden toothpicks or a golf tee dipped in wood glue into the stripped hole, snap them off flush, let the glue set, and drive the screw back in. The screw now has fresh wood to grip and the door lifts back into alignment. For a sagging door, replacing one short top-hinge screw with a longer one that reaches the framing behind the jamb pulls the door up and back toward the frame.
When the latch lines up but the door still will not close, the strike plate on the frame may be slightly out of position. Look for a shiny rub mark on the plate that shows where the latch is hitting. You can often file the strike opening a little larger or move the plate a fraction of an inch so the latch drops in cleanly. A door that swings open or shut by itself usually means the frame is slightly out of plumb, which you can counter by bending one hinge pin very slightly or shimming a hinge.
For a door that sticks only in humid weather, the wood has swelled, and the fix is to find the exact rub point with a piece of paper or a pencil rub along the edge, then sand just that spot lightly. Resist the urge to plane large amounts off; over-sanding leaves a gap when the wood dries and shrinks back. Most of these adjustments use tools you already have and restore a door to smooth operation, which is exactly the kind of detail a landlord notices during a walkthrough.
Diagnose Why the Door Won’t Close
A door that will not latch usually has one of a few simple causes, and identifying the right one saves you from forcing it. If the door drags on the frame, the hinges may have loosened; tightening the screws or fitting longer ones often pulls it back into alignment. If it closes but will not catch, the strike plate and latch are not meeting.
For a misaligned latch, mark where it hits and file the strike plate opening slightly, or shim a hinge to shift the door a hair. Humidity-swollen doors may just need the sticking edge rubbed with a candle or lightly sanded. These are reversible adjustments that restore function without altering the door a landlord will inspect.
Frequently Asked Questions
Why won’t my rental door close properly?
Often loose hinge screws or a sagging hinge throwing off the alignment.
How do I fix it?
Tighten the hinge screws, or use a longer screw to re-anchor a sagging hinge.
How do I find where it sticks?
Rub chalk on the frame and close the door to mark the contact point.
Related reading
- How to Fix Scuffed and Scratched Rental Floors Without Losing Your Deposit
- How to Fix a Running Toilet in Your Rental (No Plumber, No Drama)
- What to Do With Furniture Damage You Caused in a Rental
- How to Make Rental Blinds Look New Again
Helpful resources for renters
For the authoritative guidance behind this advice, see:
- HUD — Rental Assistance & Tenant Rights — Tenant rights and rental-assistance guidance by state