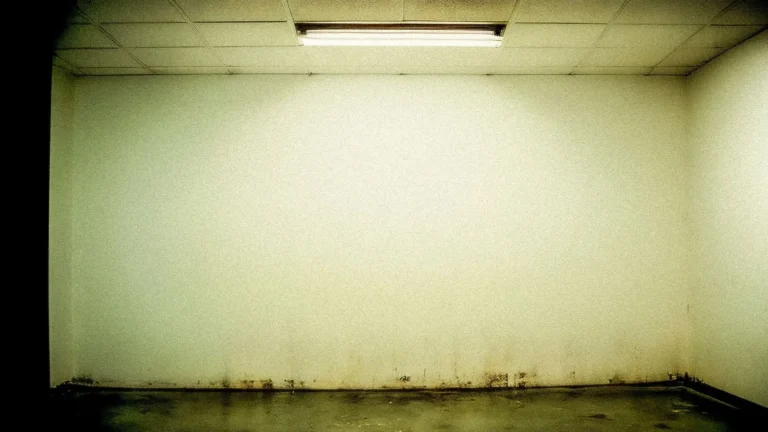
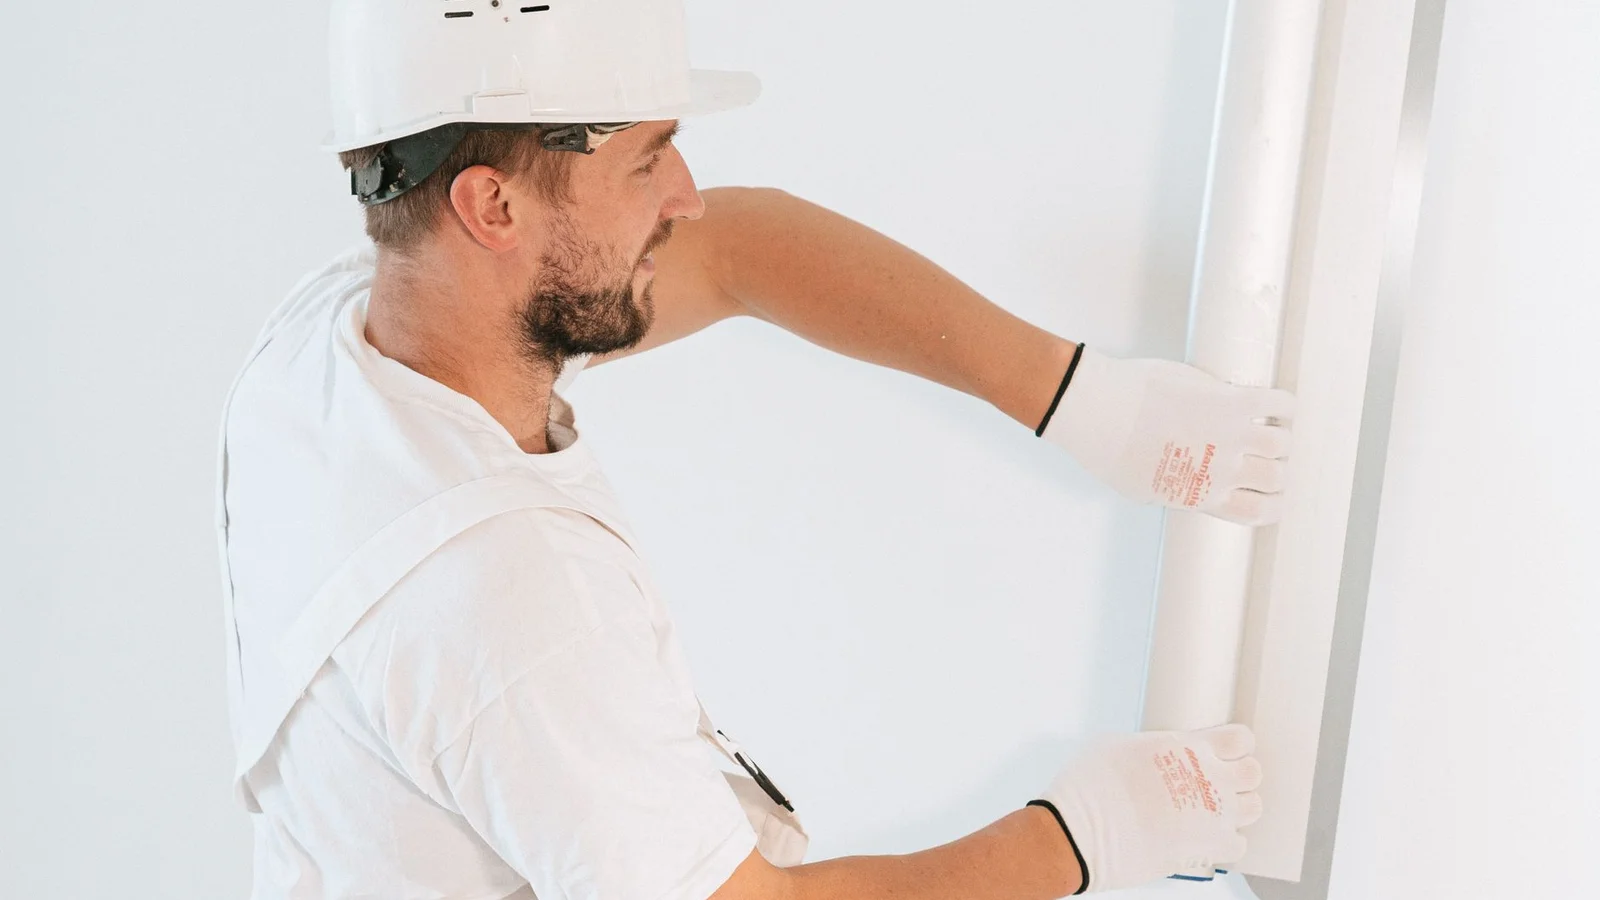
Nail holes and small anchor holes are among the most common reasons renters lose part of their security deposit. Landlords treat each unpatched hole as chargeable damage, and the repair bill from a handyman is almost always far more than the cost of doing it yourself. The good news is that small drywall holes are one of the easiest apartment repairs you can make, even if you have never done any home repair before.
What You Need
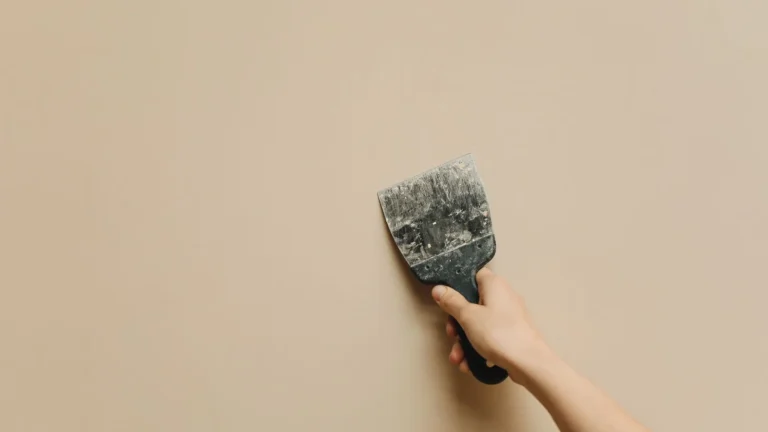
For holes up to about the size of a dime, you need lightweight spackle or spackling compound, a small putty knife or even a credit card to apply it, fine-grit sandpaper in 120 or 150 grit, and matching touch-up paint. Most hardware stores sell small tubs of spackle that are more than enough for an entire apartment’s worth of nail holes. If you do not have matching paint, check under your kitchen sink or in a closet for any leftover paint the previous tenant or landlord may have left. If there is none, bring a paint chip to a hardware store and they can mix a close match.
Moving Out Soon?
Get our free room-by-room move-out checklist and keep your deposit.
See the Checklist →Step 1: Clean the Hole
Before applying spackle, make sure the area around the hole is clean and free of loose debris. If there are any torn paper edges on the drywall around the hole, press them flat or trim them with a utility knife, since loose paper edges will show through the spackle if you leave them. Wipe the area with a dry cloth to remove any dust.
Step 2: Apply Spackle
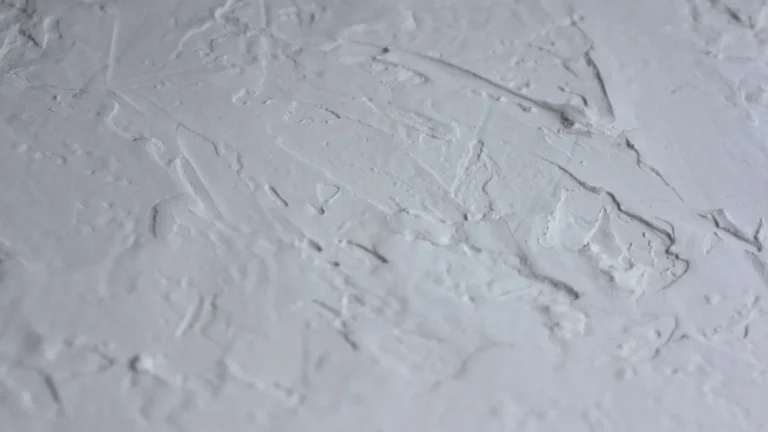
Load a small amount of spackle onto your putty knife, press it firmly into the hole, and drag the knife flat across the surface to remove the excess. The goal is to fill the hole completely while keeping the spackle as flush with the surrounding wall as possible. For nail holes, a single thin application is usually enough; for slightly larger holes from drywall anchors, apply spackle, let it dry, and add a second thin coat if it shrinks slightly.
Step 3: Sand Smooth
Once the spackle is fully dry, lightly sand the patched area with fine-grit sandpaper until it is smooth and flush with the surrounding wall, using gentle circular motions. You are not trying to remove the spackle, just smooth out any ridges or high spots. Wipe away the sanding dust with a slightly damp cloth and let the wall dry completely before painting.
Step 4: Touch Up the Paint
Apply a small amount of matching paint over the patched area with a small brush or a piece of folded foam roller, feathering the edges outward slightly so the patch blends into the surrounding wall. Let the first coat dry completely before deciding if a second coat is needed; in most cases one coat is sufficient for a clean result.
Matching the Filler to the Hole Size
Not every wall blemish needs the same treatment, and matching your filler to the actual damage saves time and gives a cleaner result. A pinhole from a thumbtack or a finishing nail closes with a single dab of lightweight spackle smoothed flush with a fingertip. Holes left by a picture-hanging nail or a small brad are slightly deeper, so press the compound in firmly to fill the cavity rather than just bridging the surface, or it will sink and leave a dimple as it cures. Holes from wall anchors and screws are the ones renters most often underestimate; pull the anchor straight out with pliers, press the torn paper flat, and apply spackle in two thin coats instead of one thick one, since a single heavy fill over an anchor hole almost always cracks or shrinks because the compound has nothing solid to grip at the back of the cavity.
Matching Paint Sheen, Not Just Color
Getting the color right is only half the job; the sheen matters just as much and is easy to overlook. A patch painted with the correct color but the wrong sheen, flat where the wall is eggshell, or satin where the wall is matte, catches light differently than the surrounding paint and remains visible even with a perfect color match. Check your paint can’s label or ask the hardware store to match sheen as well as color, and if you are unsure what sheen your walls currently have, look at a can from the original paint job if one was left behind, or compare how light reflects off a small test patch before committing to touch-up paint for the whole apartment.
Plaster Walls Behave Differently
Buildings from before the 1950s often have plaster over wood lath instead of drywall, and holes in plaster can have small cracks radiating outward from the impact point that would not appear on drywall. Standard lightweight spackle still works for small holes in plaster, but pack it in a little more firmly than you would on drywall, since plaster’s harder surface means the compound needs full contact with the edges of the hole to bond properly rather than just bridging the gap.
Doing Several Holes Efficiently
If your apartment has more than a few holes to patch, work in a batch rather than one at a time from start to finish. Fill every hole across the whole apartment first, then sand all of them once they have dried, then paint all of them in one pass. This means you mix or open your spackle and paint only once each, and the drying time between steps overlaps across all the holes instead of being wasted while you wait on a single patch.
Lighting Reveals What You Missed
A repair that looks invisible head-on can show up clearly when light rakes across the wall from a window or a lamp, revealing a dimple or a raised ridge you missed while sanding. Before you call a patch finished, check it from a sharp angle with a flashlight held close to the wall; that low-angle light exposes high and low spots immediately, and catching them now is far easier than repainting after your landlord points one out.
Pre-Existing Holes Are Not Your Job
Compare any hole you find against your move-in photos before assuming it is something you need to patch. A hole that was already there when you arrived is not your responsibility, and being able to point to dated photos showing the same spot on day one is the simplest way to avoid being charged for damage a previous tenant left behind.
Get everything you need for apartment patching in one kit: drywall patch kits on Amazon.
More help: Walls and Patching guides
What Happens If You Rush the Drying Time
Sanding damp spackle smears rather than powders, clogging your sandpaper and leaving a rough surface instead of a flush one. Painting over a patch that has not fully cured traps the remaining moisture under the paint film, which can bubble, dent, or discolor within days, often right around the time your landlord does the final walkthrough. Color-changing spackle, which goes on pink or blue and turns white when ready to sand, removes the guesswork entirely and is worth the small price difference if you are patching the night before an inspection and cannot afford to redo a botched patch.
What This Typically Costs
A small tub of lightweight spackle, a putty knife, sandpaper, and a bit of matching touch-up paint together run well under ten dollars and cover every nail hole in a typical apartment with plenty of material left over. Compare that to what a landlord’s handyman would charge per hole, often ten to twenty-five dollars each depending on the market, and the savings on even a handful of holes easily justifies the twenty minutes of hands-on work involved.
A Final Check Before the Walkthrough
Once every hole is filled, sanded, and painted, do one last walk of the apartment specifically looking for anything you missed the first time through, since a hole behind a door or hidden by furniture placement during your initial walk is easy to overlook. Bring your move-in photos along on this pass to double-check that you have not accidentally patched something that was already there before you moved in, since there is no reason to spend time and touch-up paint fixing a mark you were never responsible for in the first place.
Keep a Small Kit on Hand Even After Move-Out
The same small tub of spackle and putty knife used here handles nail holes in a next place just as easily, so there is little reason to toss what is left over after this repair pass. A few dollars of spackle that lasts through more than one lease is a better outcome than buying a fresh tub every time a hole needs filling.
Frequently Asked Questions
Can I patch nail holes without telling my landlord?
Yes, filling small nail holes is routine renter upkeep and usually expected before move-out.
What do I use to patch them?
Lightweight spackle and a small putty knife, then sand and touch up with matching paint.
Will nail holes cost me my deposit?
Small holes are normal wear, but unpatched ones can still draw a deduction, so fill them.
Related reading
- How to Patch Nail Holes So Your Landlord Never Sees Them
- Best Peel and Stick Wall Patch Kits Renters Actually Use
- What Kind of Wall Damage Will Your Landlord Charge For?
- What to Do If Your Landlord Keeps Your Security Deposit Unfairly
Further reading
For the authoritative guidance behind this advice, see:
- HUD — Rental Assistance & Tenant Rights — Tenant rights and rental-assistance guidance by state
- USA.gov — Tenant Rights — How to handle landlord disputes and deposit issues
- EPA — Protect Your Family From Lead in Your Home — Lead-paint precautions when sanding or patching pre-1978 walls