Documentation Is Your Best Defense Against Unfair Deductions
Thorough move-out documentation is the single most important thing you can do to protect your security deposit from disputed or unfair charges. In any landlord-tenant dispute, the party with better documentation almost always wins. A systematic photo record of your apartment on move-out day, combined with a written move-out condition statement sent to your landlord the same day, creates an independent timestamped record that is very difficult to dispute.

When to Document
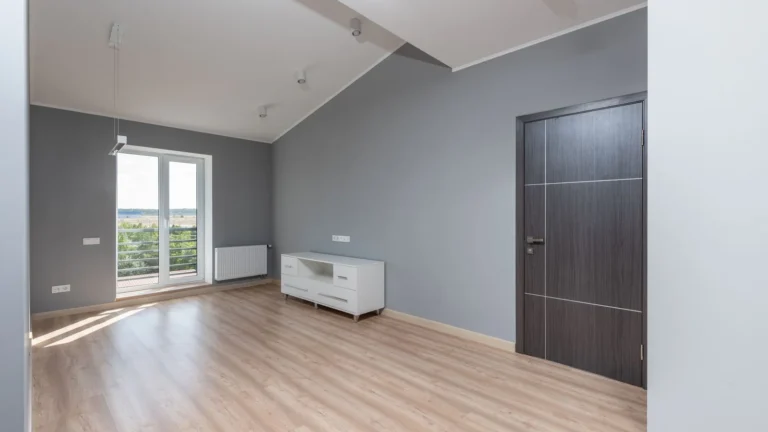
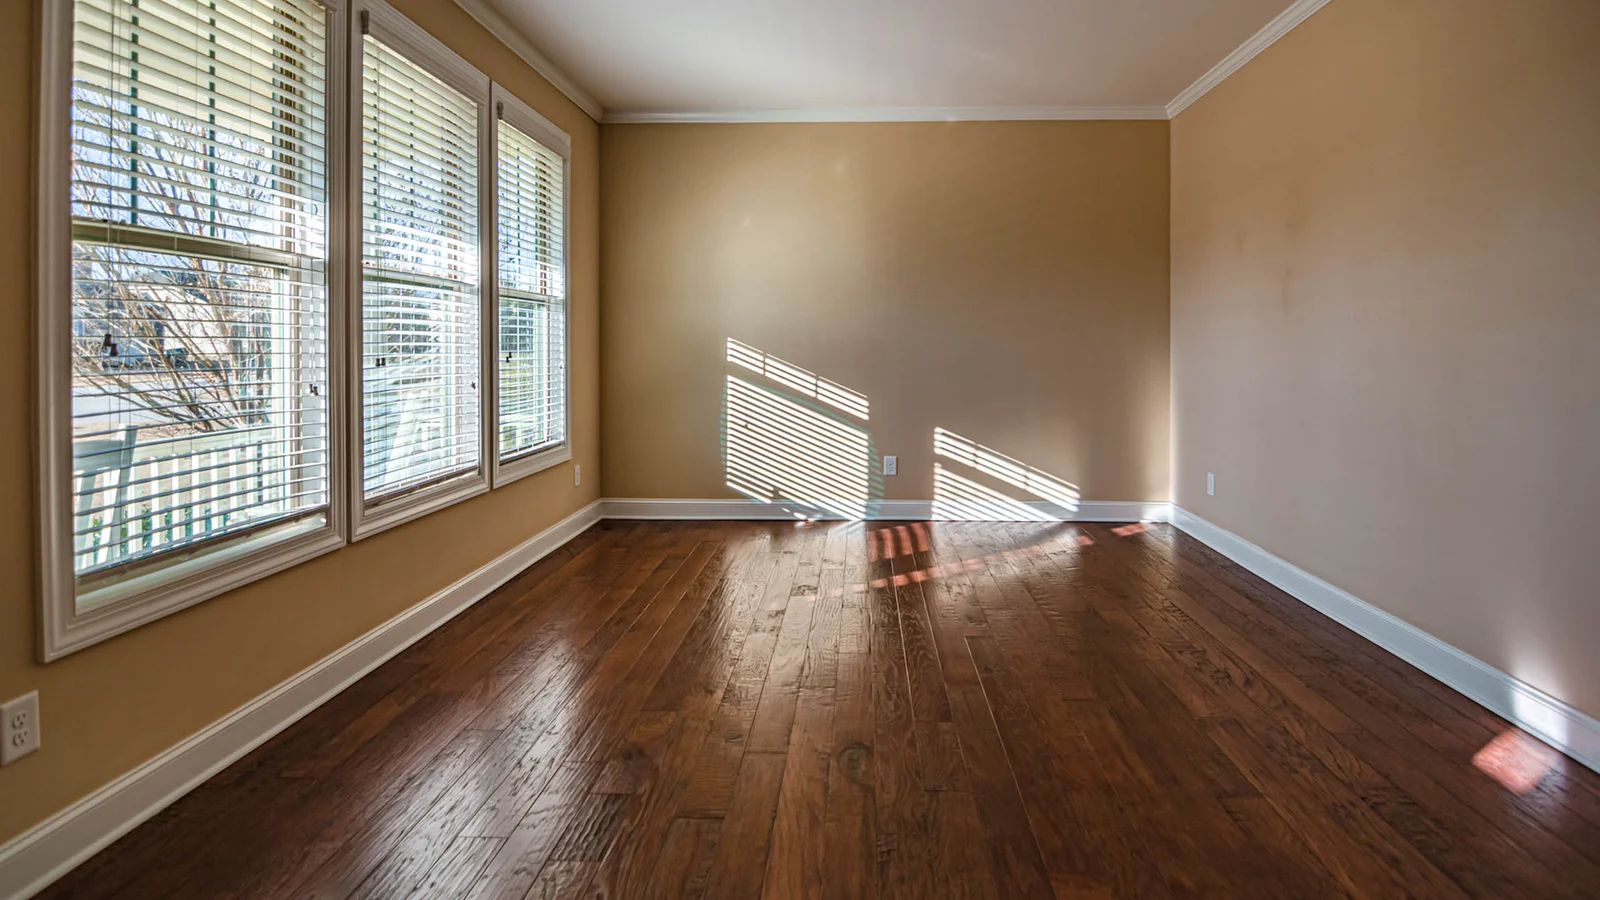
Document your apartment in two stages. The first stage is move-in documentation: photograph every room and note any pre-existing damage on the move-in condition report. This establishes the baseline condition you inherited. The second stage is move-out documentation, which should happen on your final move-out day after all cleaning and repairs are complete and the unit is empty. Empty rooms photograph better and show surface conditions more clearly than furnished rooms.
Camera Settings and Technique
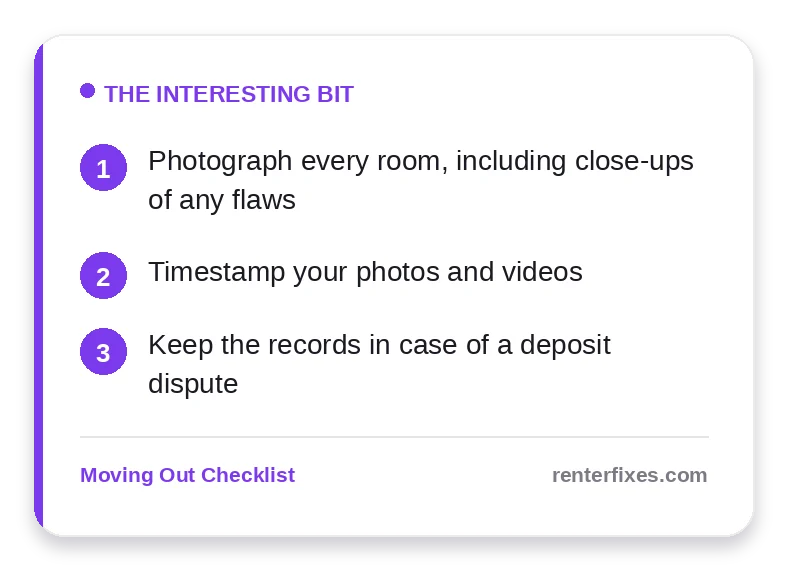
Use your smartphone with location services and timestamp settings enabled so all metadata is embedded in each photo. Turn on every light in the room before shooting. Use additional lighting (a flashlight or portable LED) for dark corners, closets, and under-sink cabinets. Take each room from multiple angles: a wide shot from the doorway, individual wall shots, floor shots, and close-ups of any repairs you made or any pre-existing damage you are noting.
Moving Out Soon?
Get our free room-by-room move-out checklist and keep your deposit.
See the Checklist →What to Photograph
Every wall in every room. All floors including carpet, hard floors, and tile. Every ceiling (particularly in bathroom and kitchen). All appliances open and closed. Bathroom including grout, caulk, fixtures, and under-sink cabinet. All window sills and tracks. Closet interiors. The front door interior and exterior. Any storage spaces included in your lease. Any repairs you made during your tenancy should be specifically photographed to show the completed work.
Sending the Documentation
Email all photos to your landlord on move-out day, along with a brief written move-out condition statement confirming the date of vacancy and the condition of the unit. This creates an email server timestamp that is independent of the timestamp on your phone. Keep the original copies in a dedicated folder for at least two years after move-out in case a dispute arises after the fact.
Find portable lighting tools for better documentation photos: documentation lighting tools on Amazon.
More help: Moving Out Checklist guides
Building a Documentation Record That Holds Up
Documentation is the renter’s single strongest protection at move-out, because in any dispute the question comes down to evidence of condition, and the tenant with clear, dated proof almost always prevails. The goal is to create a record so thorough that there is no room to argue about what the apartment looked like when you left it. Photos and video are the backbone, but how you capture them determines whether they actually help you.
Photograph and film systematically, room by room, capturing both wide shots that establish the overall condition and close-ups of any specific areas, the corners, fixtures, appliances, walls, and floors. Document the spots most likely to be disputed: the oven interior, behind appliances, carpet, walls, and bathroom surfaces. A walking video narrating each room as you go is powerful because it shows continuity and context that individual photos can miss, and it is hard to argue against a single continuous recording of an empty, clean unit.
Timestamps and timing matter enormously. Take your documentation on your last day, after cleaning is finished and your belongings are out, so the photos show the actual final condition you are handing back. Make sure your phone’s date stamp is accurate, and capturing the images with the metadata intact, or photographing a dated newspaper or your phone showing the date, removes any doubt about when they were taken. Compare them against your move-in photos to highlight that pre-existing conditions were not your doing.
Store the record where it cannot be lost and back it up. Keep the photos and video in the cloud and email a copy to yourself, which creates an independent timestamp. Hold onto your move-in inspection form, any condition reports, and your move-out documentation together, along with notes of dates and any communications with the landlord. Should the landlord later claim damage that was not there or that pre-dated you, this organized, dated evidence is what turns a he-said dispute into a clear case, and often what gets a wrongful deduction reversed without ever going to court.
Back everything up the moment you finish, because documentation that exists only on a single phone is one cracked screen away from useless. Upload the photos and video to the cloud and email a copy to yourself, which creates an independent, timestamped record that is hard to dispute. Keep this move-out set together with your move-in photos and inspection form so the before-and-after sits side by side, ready to produce on demand if a landlord later claims damage that the record shows was not there.
Build a Move-In and Move-Out Photo Record
Documentation only protects you if it is dated and complete. Photograph every room, closet, and fixture, then capture close-ups of any pre-existing marks, worn carpet, or appliance dents. Timestamps on the files matter; if your phone embeds dates, leave that setting on, and email the photos to yourself so there is a clear record of when they were taken.
The most useful record is a before-and-after pair. If you have move-in photos, shoot the same angles at move-out so the comparison is obvious at a glance. When a landlord can see a wall looked exactly the same the day you arrived and the day you left, normal wear is far harder to bill as damage.
Frequently Asked Questions
How do I document my apartment before moving out?
Photograph every room with close-ups of any flaws.
Should photos be timestamped?
Yes, timestamps strengthen your record in a dispute.
How long do I keep them?
Until your deposit is returned.
Related reading
- How to Deodorize a Rental Apartment Fast Before Inspection
- How to Deep Clean an Apartment Before Move-Out (Room by Room)
- What Happens If You Don’t Fix Things Before Move-Out?
- How to Do a Move-Out Walkthrough Before Your Landlord Does
Official guidance & resources
A few reputable resources that back up the steps above:
- USA.gov — Tenant Rights — How to handle landlord disputes and deposit issues