When an inspection is close and time is short, you can make an apartment smell genuinely fresh, not just masked, by attacking odor at its source and moving air through the space — all in well under an hour. Spraying air freshener everywhere is a mistake, because it layers a perfume over the smell and often reads as someone trying to hide something.

Air It Out First
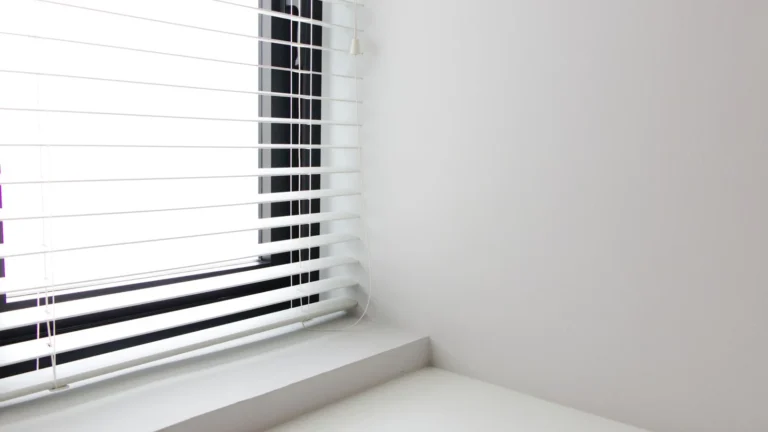
Open the windows and get air moving with fans. Trapped stale air is half the problem, and fresh air clears it fast while you handle everything else.
Moving Out Soon?
Get our free room-by-room move-out checklist and keep your deposit.
See the Checklist →Hit the Biggest Sources
Take out all the trash and wipe the bin, since a kitchen trash can is often the single worst offender. Clear the kitchen sink and run the garbage disposal with a few citrus peels or some baking soda and water to freshen it, and check the refrigerator for anything spoiled.
Treat Soft Surfaces
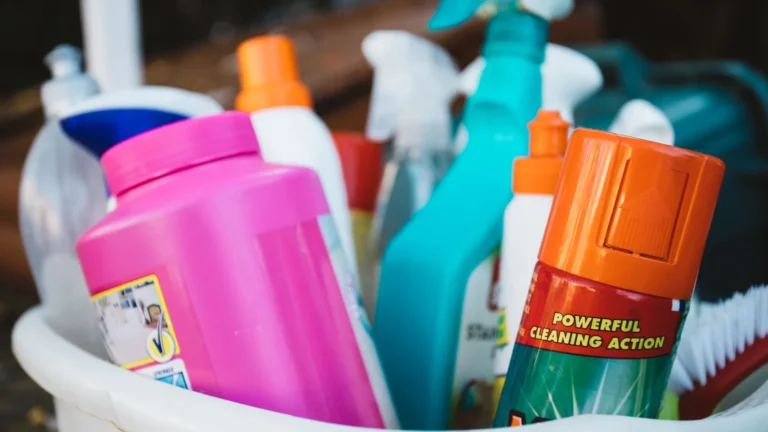
Sprinkle baking soda on carpet and rugs, let it sit while you do other tasks, and vacuum it up; even fifteen minutes helps. Wipe down surfaces that harbor odor — the inside of the microwave, the stovetop, and any sticky counters — with a vinegar-and-water solution, which deodorizes as it cleans instead of leaving a fragrance behind.
Finish With a Natural, Neutral Scent
Simmer a small pot of water with citrus slices, a cinnamon stick, or a little vanilla on the stove; it sends a clean scent through the apartment far more pleasantly than aerosol spray. Setting out a bowl of baking soda or coffee grounds in a problem room absorbs odor in the background. The combination of fresh air, removing the worst sources, and a subtle natural scent leaves an apartment smelling clean and cared for, which is exactly the impression you want when someone walks in to inspect it.
Find odor absorbers and enzyme sprays for a fast deodorizing pass: odor elimination supplies on Amazon.
More help: Cleaning and Stains guides
What Actually Causes Lingering Odors
Most stubborn apartment smells trace back to a handful of sources: a trash can that was not emptied recently enough, food residue in the disposal or drain, pet areas, or a bathroom that needed more ventilation than it got. Identifying which of those applies to your unit before you start means you spend your limited time on the source instead of guessing your way through the whole apartment.
If the Smell Persists After One Pass
A lingering smell after airing out and treating the obvious sources usually means something soft absorbed it deeply, like carpet, curtains, or upholstery in a furnished unit. Give those surfaces a second baking-soda treatment with a longer dwell time, and check that nothing spoiled is hiding behind furniture or in a cabinet you have not opened in a while.
One Thing to Skip Entirely
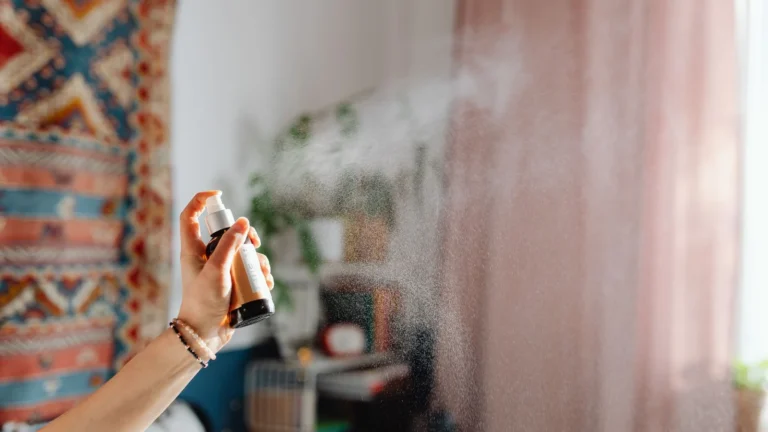
Scented plug-ins and heavy aerosol sprays are worth skipping during a move-out clean specifically, even if you use them day to day, since a strong fragrance layered over an unaddressed source reads to an inspector as covering something up rather than actually cleaning. A neutral-smelling apartment consistently makes a better impression than a heavily perfumed one.
Frequently Asked Questions
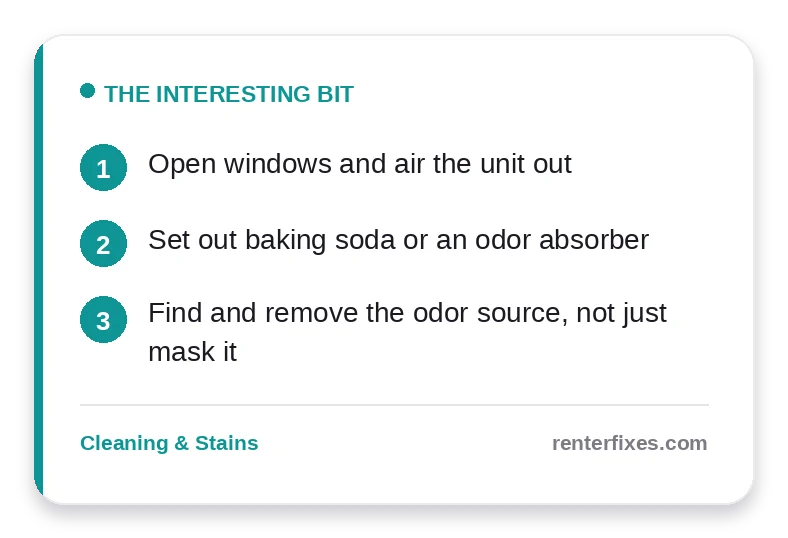
How do I deodorize an apartment fast?
Air it out and set out baking soda or an odor absorber.
Should I just spray air freshener?
Find and remove the source; masking it only lasts briefly.
What if the smell lingers?
Clean soft surfaces and check the trash, drains, and fridge.
Related reading
- How to Document Your Apartment Before Moving Out
- Cleaning a Rental Refrigerator Top to Bottom Before You Leave
- How to Get Smoke Smell Out of a Rental Apartment
- How to Deep Clean an Apartment Before Move-Out (Room by Room)
Sources & further reading
Want to dig deeper? These trusted, independent resources are worth a read before you start:
- USA.gov — Tenant Rights — How to handle landlord disputes and deposit issues
- EPA Safer Choice — EPA-certified safer cleaning products