Unraveling Carpet Edges: What Causes Them and How to Fix Them
Carpet edges and seams unravel when the binding tape or seam adhesive fails, when carpet is caught on furniture legs, or when heavy traffic wears down the edges over time. Loose carpet edges and open seams look like neglect during a move-out inspection even when the rest of the carpet is in good condition. The fix is straightforward and inexpensive, and the result is a carpet that looks properly maintained from edge to edge.
Transition Strip Edges
The most common place for carpet edges to fail is at transition strips between carpet and hard flooring. The carpet is tucked under a metal or plastic transition strip that holds it in place. When the transition strip loosens, the carpet edge lifts and begins to unravel. To fix this, press the carpet back under the strip edge, and if the strip has lifted, press it back down or reinstall the screws or nails holding it to the subfloor. Tap the carpet firmly back under the lip of the strip with a rubber mallet.
Seam Repairs
Open seams in the middle of a room, where two pieces of carpet are joined, require carpet seam repair tape and an iron to activate the heat-sensitive adhesive. Pull back the carpet slightly along the open seam, slide the repair tape underneath with the adhesive side up, run a hot iron over the carpet surface above the tape to activate the adhesive, and press the carpet edge firmly down onto the tape. Hold with pressure until the adhesive cools and grips. A seam roller tool pressed along the seam immediately after helps achieve a tight bond.
Moving Out Soon?
Get our free room-by-room move-out checklist and keep your deposit.
See the Checklist →Fraying Edges at Room Perimeters
Carpet at room perimeters is typically tucked under the baseboard or held with tack strips. If the carpet has pulled off the tack strips and the edge is fraying, use a knee kicker tool to re-stretch the carpet edge back over the tack strip. For small sections, a carpet stair tool can be used to tuck the carpet back under the baseboard. Prevent further fraying by trimming any loose fibers with scissors before tucking the edge.
When Fraying Is Pre-Existing
Check your move-in photos for any documentation of fraying or loose carpet edges that existed when you moved in. Pre-existing edge issues are the landlord responsibility. If the fraying developed during your tenancy, address it before inspection. Either way, document the current condition with move-out photos regardless of whether you make the repair.
Find carpet seam tape, transition strip hardware, and carpet tools: carpet edge and seam repair supplies on Amazon.
More help: Floors and Carpet guides
Clearing Black Mold Stains From Floor Grout
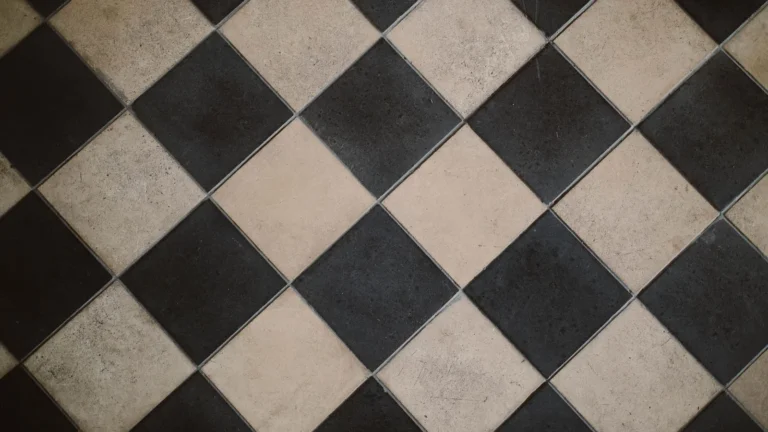
The dark stains creeping along the grout lines of a bathroom or kitchen floor are usually mold and mildew that have taken hold in the porous grout, fed by moisture and trapped humidity. Because grout is absorbent, the discoloration sinks below the surface, which is why a quick wipe never fully removes it. Clearing it takes a cleaner that can penetrate and kill the mold, plus a little scrubbing to lift it out of the texture.
Start with the gentlest effective approach. A paste of baking soda and water, or baking soda with a little white vinegar, brushed into the grout lines with an old toothbrush and left to sit for several minutes, lifts a surprising amount of mildew staining. Scrub along the lines, rinse, and assess what remains. For many bathrooms this alone restores the grout to a clean, uniform color and is safe to use regularly.
For stubborn black staining that resists the mild approach, oxygen bleach or a dedicated mold-and-mildew grout cleaner does more. Apply it to the grout, let it dwell so it can break down the staining, then scrub and rinse thoroughly. If you use a stronger product, ventilate the room well, wear gloves, and never mix cleaners, especially bleach with anything containing ammonia, which produces toxic fumes. Test any strong cleaner on a small area first to be sure it will not discolor the surrounding tile.
Once the grout is clean, sealing it helps the result last and is worth doing if you will be in the unit a while, since sealed grout resists moisture and mold far better. Improving ventilation, running the exhaust fan during and after showers and wiping down wet floors, attacks the humidity that lets mold return. If the staining keeps coming back despite cleaning, or if you suspect mold extends beyond the surface grout, that can point to a moisture problem worth reporting to your landlord rather than scrubbing indefinitely.
Tackle Floor-Tile Grout the Safe Way
Black staining in floor grout is usually mildew feeding on trapped moisture, and it lifts with the right approach. Work a baking soda paste or an oxygen-based cleaner into the lines, let it sit so it can penetrate, then scrub with a stiff grout brush. For deeper staining, a diluted bleach solution clears it, but ventilate well and never mix it with other cleaners.
Once the grout is clean, sealing it keeps the stain from returning and signals good upkeep at inspection. If the discoloration is in the grout itself rather than on it, a grout pen can refresh the lines to an even color. Clean, uniform grout removes a detail landlords notice in any tiled room.
Frequently Asked Questions
How do I remove black mold from floor grout?
Scrub with a baking soda paste, then a diluted bleach solution for stubborn spots.
Will it come back?
Sealing the grout afterward helps resist regrowth.
Is it safe to clean myself?
Surface mold is, with gloves and ventilation; report widespread mold.
Related reading
- How to Remove Toilet Bowl Stains That Won’t Budge
- How to Remove Grease Stains From Kitchen Walls in a Rental
- How to Remove Red Wine Stains From Carpet (Step by Step)
- How to Remove Old Tape Residue From Walls and Windows
Sources & further reading
Related official resources:
- USA.gov — Tenant Rights — How to handle landlord disputes and deposit issues
- EPA — A Brief Guide to Mold, Moisture and Your Home — When mold is a DIY job and when it isn’t
- CDC — Mold Cleanup Guidelines — Cleaning up household mold safely