Door Handle Holes Are Common and Fixable
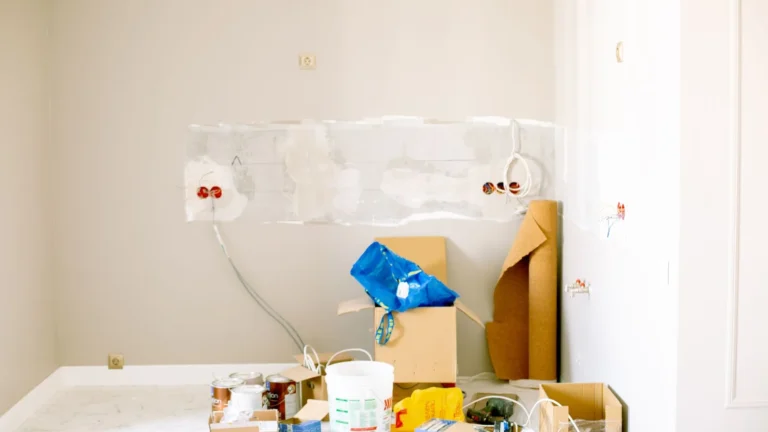
A door swung open with too much force hits the wall and punches through the drywall surface, leaving a round hole or deep dent that is hard to miss during a move-out inspection. This is one of the most common types of wall damage in apartments, and landlords know exactly what caused it. The good news is that a door handle hole is a well-defined repair with several proven methods depending on the size of the damage.
First: Install a Door Stop
Before repairing the hole, address the cause. Install a door stop to prevent the door from swinging back and hitting the wall again. A baseboard door stop screws into the baseboard and catches the door before it reaches the wall. A hinge-pin door stop clips onto the door hinge. Either type costs under five dollars and takes five minutes to install. This is relevant at move-out because it shows the repair was thoughtfully done.
Assessing the Damage
Door handle holes typically range from one to four inches in diameter depending on the style of handle and the force of the impact. A smaller hole may just be dented drywall with no actual breach. Press on the center of the damage to determine whether the drywall is intact or actually broken through. Dented but intact drywall can sometimes be popped back with pressure and filled with spackle. A hole that goes through requires a patch.
Moving Out Soon?
Get our free room-by-room move-out checklist and keep your deposit.
See the Checklist →Patching Holes Up to Two Inches
For holes up to about two inches, a self-adhesive fiberglass mesh patch works well. Clean away any loose drywall around the hole, press the mesh patch over the hole, and apply joint compound over the mesh in thin coats. Two or three coats with sanding between each gives a smooth finish. Allow the final coat to dry completely before sanding and painting.
Patching Larger Holes
For holes larger than two inches, you need internal backing. Cut a piece of scrap wood or a 1×4 slightly longer than the hole is wide. Insert it through the hole and hold it against the inside of the drywall while you drive drywall screws through the wall surface on both sides of the hole to hold the backing in place. Cut a drywall patch to fit the hole and screw it into the backing. Apply joint compound over the seams, tape the edges, and apply additional coats of compound. Feather the edges and sand smooth before painting.
Final Tip: Paint the Entire Affected Area
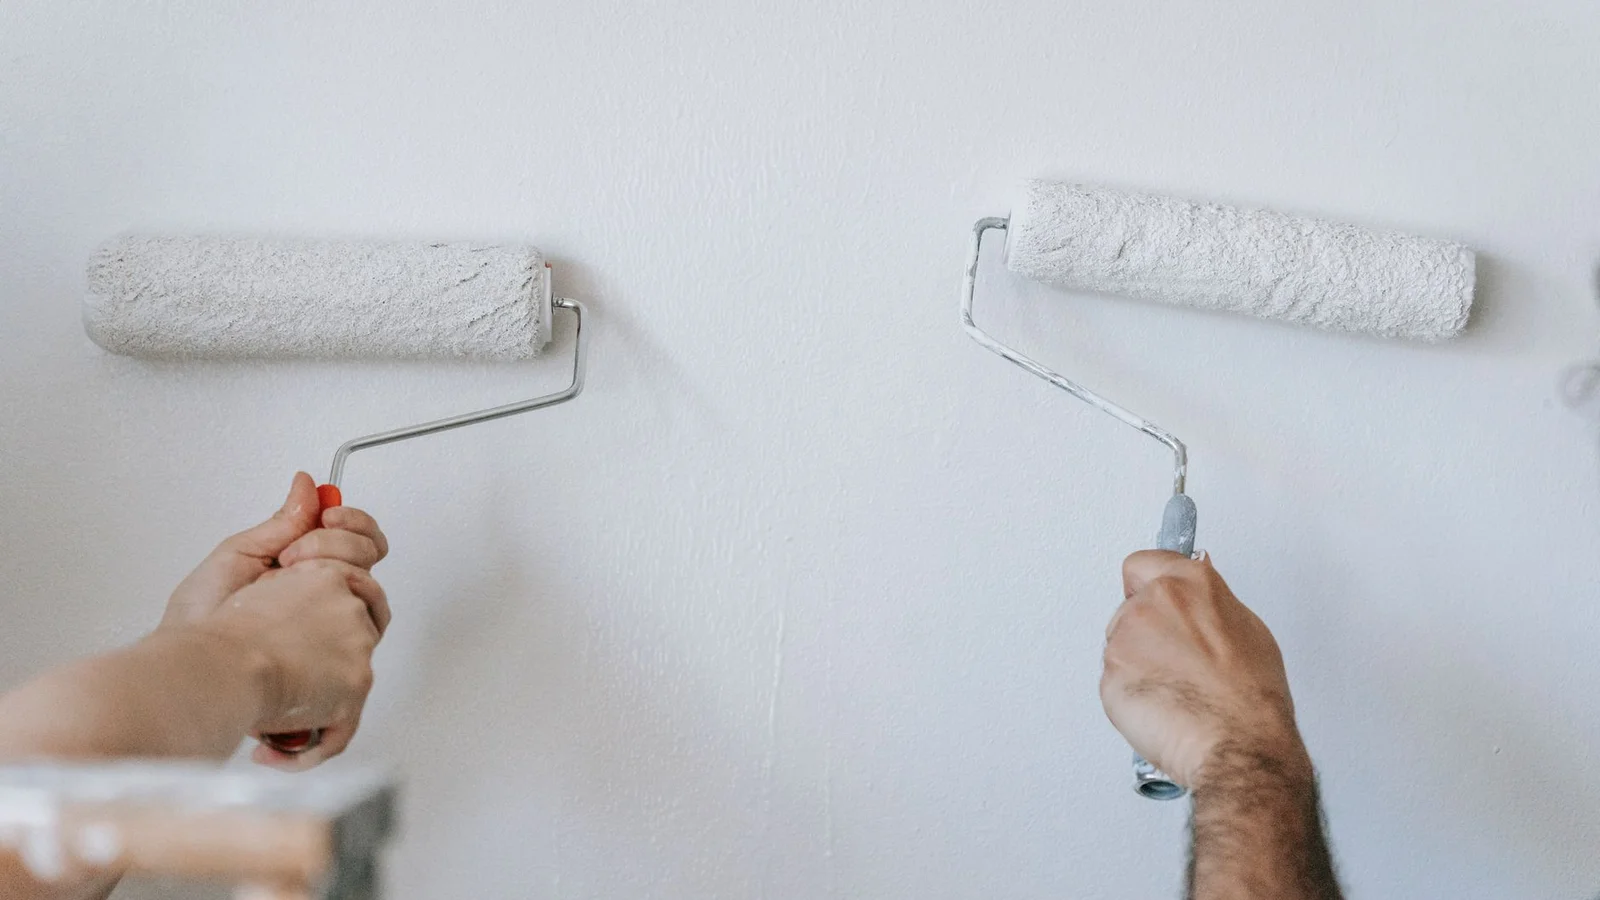
After patching and priming, paint the repaired area and feather outward. If the patch is near a corner or in a small section of wall, painting from corner to corner produces the most seamless result and eliminates any visible boundary between new and old paint.
Get everything you need for wall hole repairs: drywall patch and repair supplies on Amazon.
More help: Walls and Patching guides
Removing Adhesive Strips Without Tearing the Paint
Adhesive picture-hanging strips are marketed as damage-free, and they are when removed exactly as intended, but the moment someone rips one off the wall in a hurry it lifts a strip of paint and sometimes the paper face of the drywall with it. The single most important rule is to remove them by the stretch-release tab, not by pulling the hook straight off the wall. Pull the tab slowly straight down, parallel to the wall surface, and the adhesive releases its grip cleanly.
If a strip has been on the wall a long time, or the tab snapped off, heat softens the adhesive so it lets go more willingly. Warm the strip with a hair dryer for thirty seconds or so, then work a thin plastic card or a guitar pick under one edge and ease it free while keeping the pull low and slow. Patience here is everything; the faster you pull, the more likely you are to take paint with the adhesive.
When damage has already happened, assess what you are dealing with. A spot where only paint lifted can be lightly sanded smooth and touched up. A spot where the drywall paper tore needs a coat of primer or a sealing product first, because exposed gypsum and torn paper will bubble and fuzz if you paint straight over them. Seal it, let it dry, skim a thin layer of lightweight spackle to smooth the surface, sand, and then prime and paint.
Leftover sticky residue without torn paper is the easiest case. A little adhesive remover, rubbing alcohol, or even a dab of cooking oil softens the gum so you can roll it off with your fingers or a plastic scraper, after which you wipe the area clean and dry. The lesson for your next place is to test how strips behave before trusting them with anything heavy, and to remove them well before move-out day rather than in the chaos of the final hours, when a torn strip becomes a deduction you did not budget for.
The lesson for your next place is to remove these strips long before move-out day, not in the final scramble. Adhesive that has cured on the wall for months releases most cleanly when you have time to warm it and pull slowly, while a last-minute yank almost guarantees torn paint. Taking the hooks down a few days early, while you can still patch and touch up any small damage at a relaxed pace, turns a potential deduction into a non-issue and keeps the walls looking untouched.
Frequently Asked Questions
How do I fix Command strip damage?
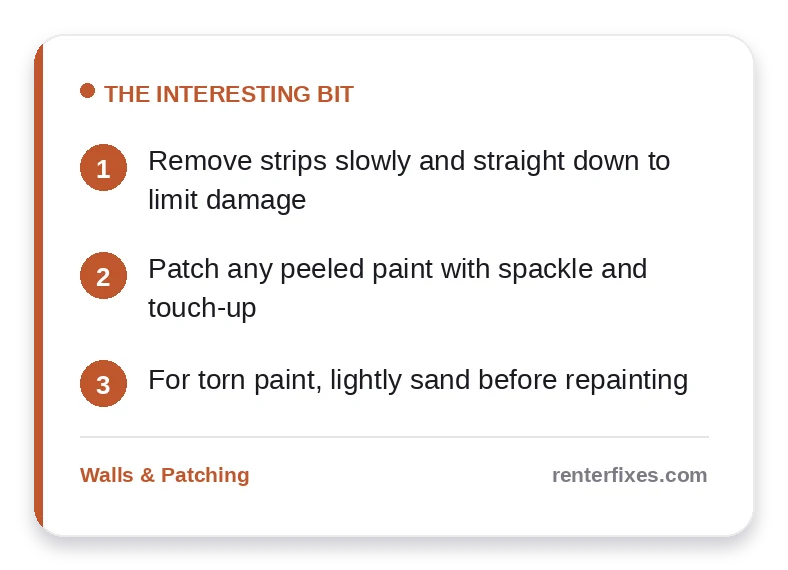
Patch peeled paint with spackle, sand lightly, and touch up.
How do I prevent it?
Remove strips slowly and straight down per the instructions.
Will it cost my deposit?
Torn paint can, so repair it before move-out.
Related reading
- What to Do With Furniture Damage You Caused in a Rental
- How to Remove Grease Stains From Kitchen Walls in a Rental
- Rental Floor Damage Checklist: What to Fix vs. What to Disclose
- Painting Over Water Stains on Rental Walls
Sources & further reading
Related official resources:
- HUD — Rental Assistance & Tenant Rights — Tenant rights and rental-assistance guidance by state
- USA.gov — Tenant Rights — How to handle landlord disputes and deposit issues
- EPA — Protect Your Family From Lead in Your Home — Lead-paint precautions when sanding or patching pre-1978 walls