Nail Holes: Small Issue, Big Deposit Impact
If you have lived in your apartment for more than a few months, you almost certainly have nail holes in your walls. Picture frames, shelving, curtain rods, and decorative items all leave holes behind. While a single small nail hole is often considered normal wear and tear in many states, a wall full of holes across multiple rooms is consistently cited as one of the top reasons renters lose part of their security deposit. The fix is inexpensive, fast, and requires almost no skill. There is no good reason to leave nail holes unpatched.
What You Need
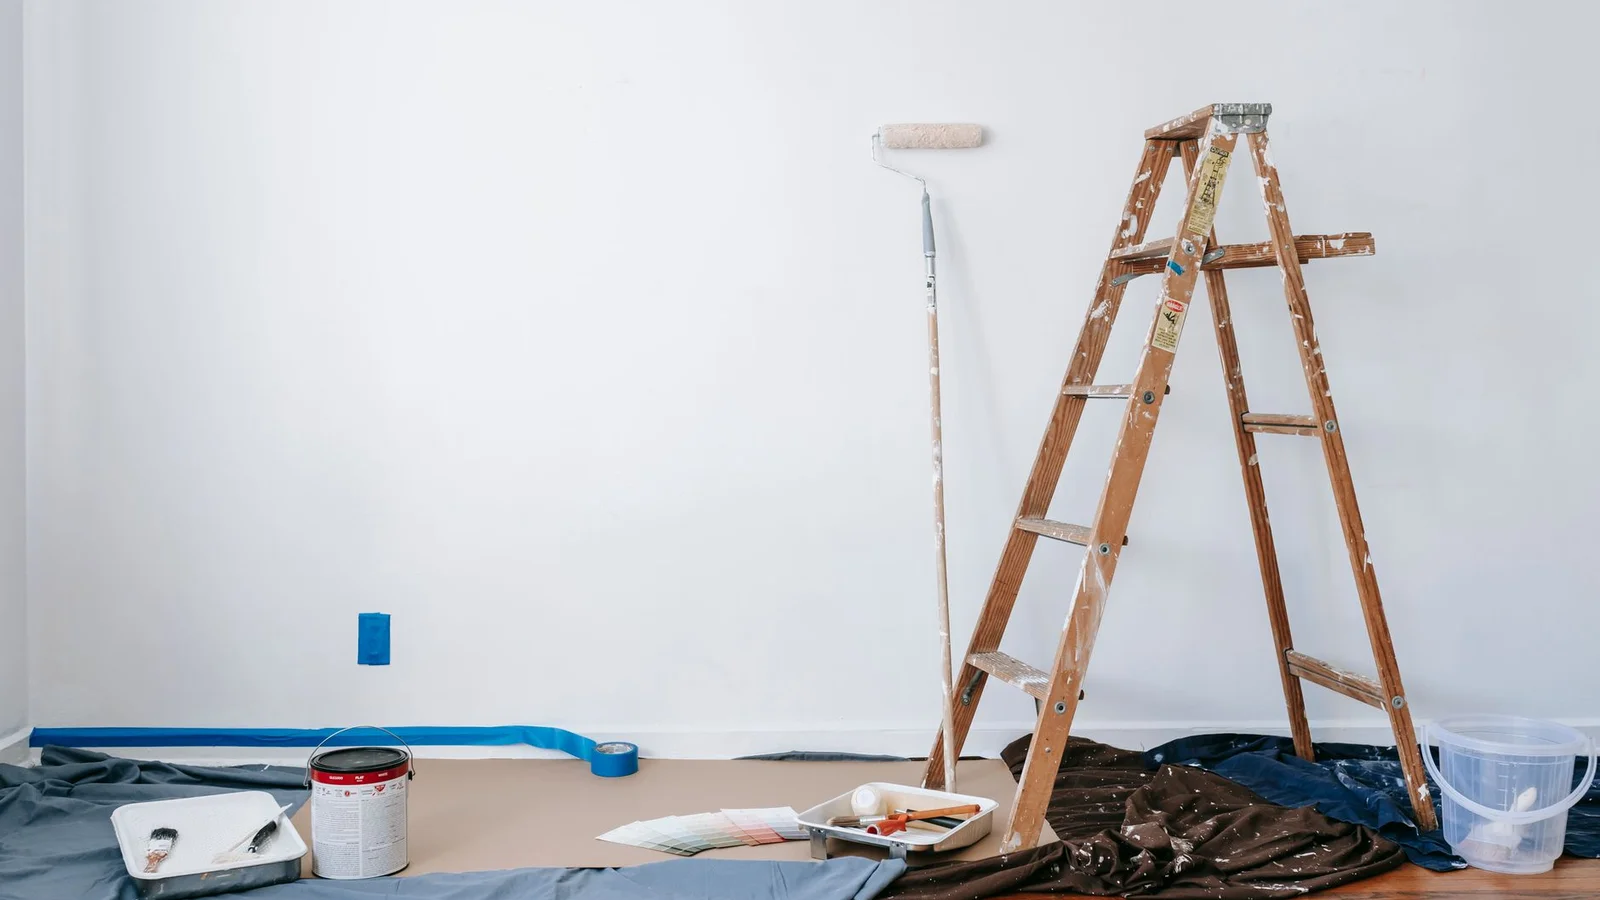
For standard nail holes, you need lightweight spackle, a putty knife or even just your finger, fine-grit sandpaper, and matching touch-up paint. A small tub of spackle from any hardware store costs under five dollars and is enough for dozens of holes. The entire patching process for a typical apartment with 15 to 20 nail holes takes about 30 to 45 minutes of hands-on work, plus drying time.
The Patching Process
Remove any nails still in the wall with a pair of pliers. If a nail is flush with the wall, use a nail set to tap it slightly below the surface before spackling. Apply a small amount of spackle to each hole using the tip of your putty knife, pressing firmly and dragging the knife flat to leave the surface as smooth as possible. Slightly overfill each hole since spackle shrinks slightly as it dries. Let the spackle dry completely, which typically takes 30 minutes to two hours depending on the product and the depth of the hole.
Moving Out Soon?
Get our free room-by-room move-out checklist and keep your deposit.
See the Checklist →Sanding and Painting
Once the spackle is fully dry, sand each patched hole lightly with fine-grit sandpaper until it is flush with the surrounding wall. Run your finger over the patch to check that it is smooth. Wipe the sanding dust away with a slightly damp cloth and let dry. Apply matching touch-up paint over the patch in a thin coat. Feather the edges slightly outward to help the patch blend into the surrounding wall. Let dry and check if a second coat is needed.
Larger Nail Holes and Anchor Holes
Drywall anchors leave larger holes than standard nails. For holes up to about half an inch in diameter, the same spackle process applies, but you may need two coats to fully fill the hole. Apply the first coat, let it dry, and apply a second thin coat to fill any shrinkage. Sand smooth after the final coat is dry before painting.
Before You Leave
Do a final pass through every room with a flashlight held at an angle to the wall. Raking light reveals small holes that are invisible in normal overhead lighting. This technique catches holes you might have missed and gives you one last chance to address them before your landlord does.
Get a complete nail hole patching kit for your move-out: nail hole repair supplies on Amazon.
More help: Walls and Patching guides
Dealing With Anchor and Screw Holes the Right Way
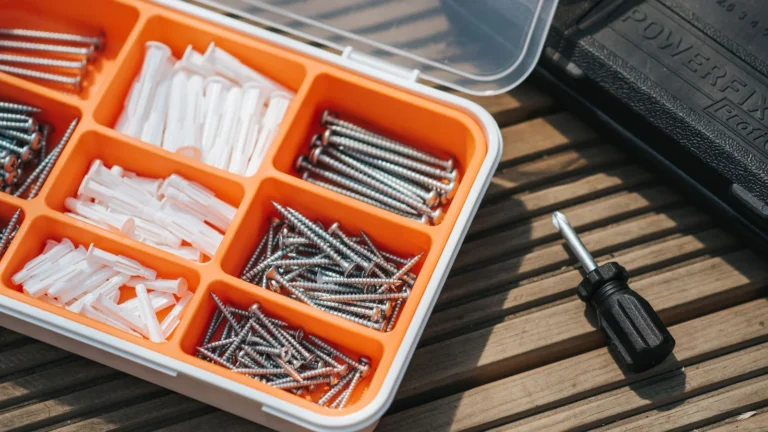
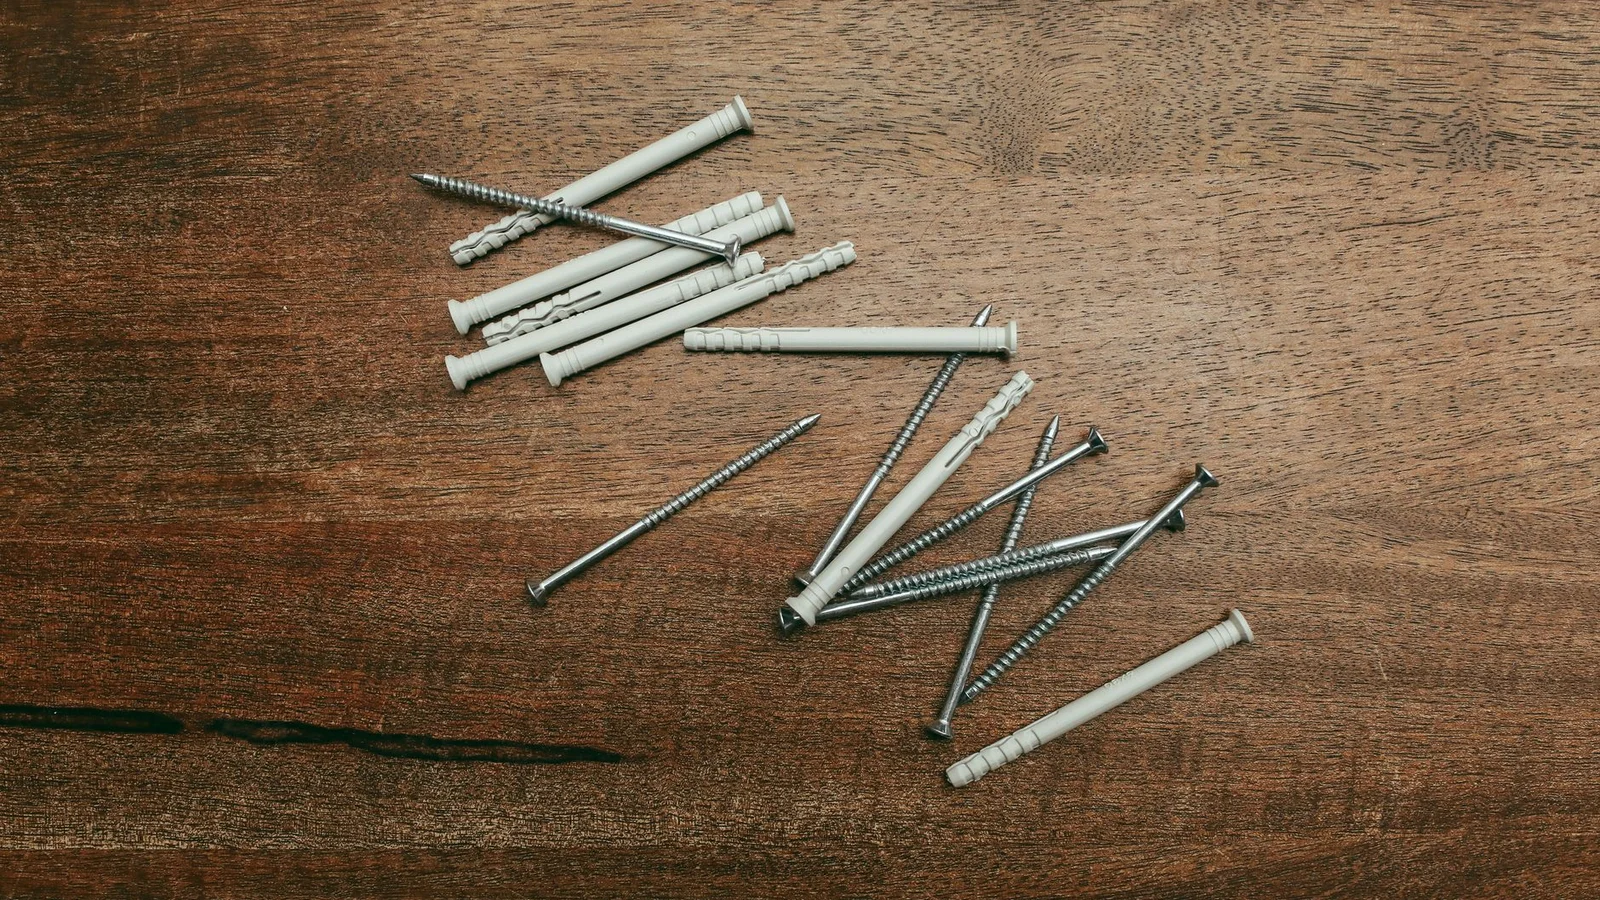
Wall anchors hold up everything from floating shelves to heavy mirrors, and they leave behind the trickiest small holes to patch because of how they are built. A plastic expansion anchor flares out behind the drywall, so yanking it straight forward tears a ragged crater and lifts the paper face around the opening. The cleaner method is to back it out: thread a screw a few turns into the anchor, then pull on the screw head with pliers so the anchor comes out along the same path it went in.
Threaded self-drilling anchors, the cone-shaped ones that look like a giant screw, can simply be unscrewed counterclockwise with a screwdriver. Once any anchor is out, you are usually left with a hole the width of a pencil ringed by a slightly raised lip of torn paper. Press that lip flat with the back of your putty knife or trim it with a utility knife so nothing protrudes above the wall surface. A raised edge will telegraph straight through your spackle no matter how carefully you fill the hole.
Because anchor holes are deeper than nail holes, fill them in stages. Push lightweight spackle firmly into the cavity to pack it solid, scrape flush, and let it dry. The patch will usually sink a little as it cures, so a second thin coat brings it level with the wall. Sand smooth, prime, and touch up the paint. Tackling all of your anchor holes a few days before the final walkthrough gives the compound time to fully cure and gives you a chance to catch any spots that shrank and need one more pass.
If you are still living in the unit and want to keep hanging things, plan ahead to minimize future patching. Picture-hanging strips and adhesive hooks rated for the weight of your item leave no holes at all when removed correctly. For anything heavy enough to truly need an anchor, place it where a future patch will be inconspicuous rather than in the center of a feature wall. Every anchor you avoid now is one fewer hole to fill, sand, and paint in the rush of moving week, and a wall with two neat patches reads very differently to a landlord than one dotted with a dozen.
Frequently Asked Questions
How do I patch anchor holes?
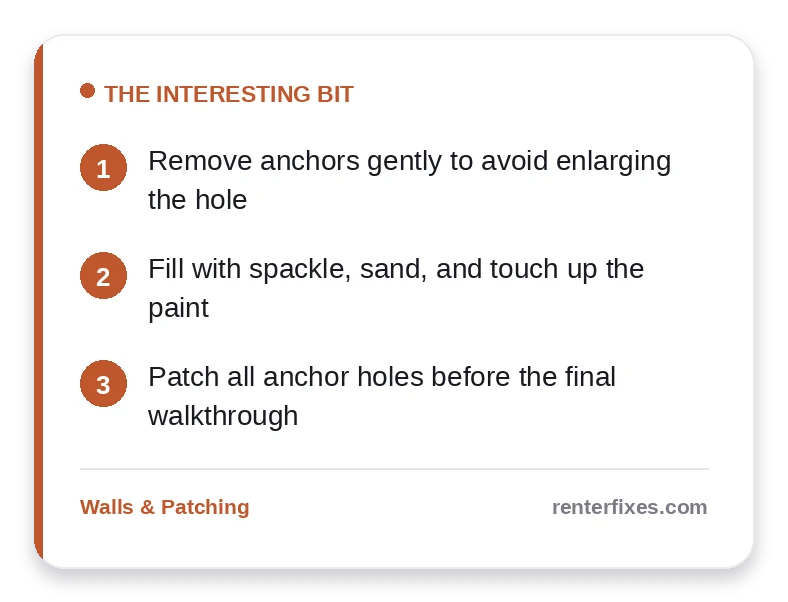
Remove the anchor gently, fill with spackle, sand, and touch up the paint.
Will anchor holes cost my deposit?
Often yes if left unpatched, so repair them before the walkthrough.
What if the hole is large?
Use a wall patch or compound in layers, then prime and paint.
Related reading
- How to Patch Nail Holes So Your Landlord Never Sees Them
- What Happens If You Don’t Fix Things Before Move-Out?
- How to Do a Move-Out Walkthrough Before Your Landlord Does
- Best Products to Clean Baseboards Before Move-Out
Further reading
Related official resources:
- HUD — Rental Assistance & Tenant Rights — Tenant rights and rental-assistance guidance by state
- EPA — Protect Your Family From Lead in Your Home — Lead-paint precautions when sanding or patching pre-1978 walls