Scuffed, scratched, or dull-looking floors are one of the most common move-out surprises for renters — you don’t notice the damage accumulating day by day, and then you’re standing in an empty apartment on move-out day staring at scratch marks you swear weren’t there when you moved in. The good news is that most surface-level floor damage is fixable, cheap, and doesn’t require refinishing an entire room or calling your landlord in a panic. This guide walks through exactly how to assess what you’re dealing with, fix it yourself, and know when it’s smarter to just document the damage and let it go.
First, Figure Out What Kind of Floor You Actually Have
Before you touch a single product, identify your flooring. This matters because the wrong fix can make things worse — a wax-based scratch cover on laminate will smear and attract dirt, and an abrasive cleaner on vinyl plank can dull the finish permanently.
- Solid or engineered hardwood: Real wood grain, feels slightly warm underfoot, and you can often see subtle color variation between boards.
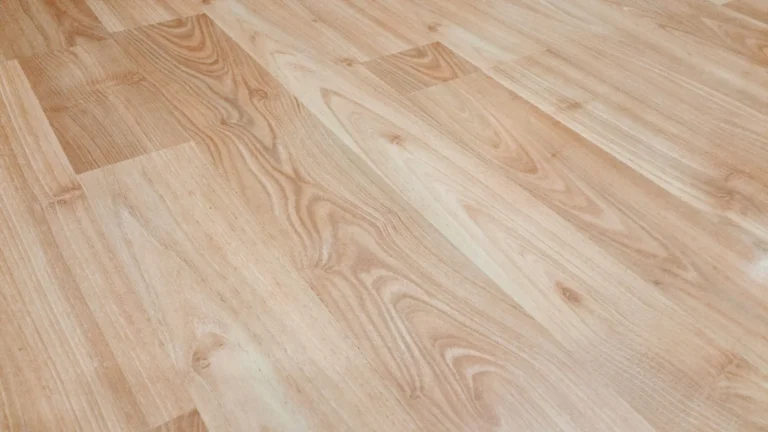
- Laminate: A photographic wood image under a clear wear layer. Tap it — laminate sounds hollow and slightly plasticky compared to real wood.
- Luxury vinyl plank (LVP) or vinyl: Flexible, slightly soft, and the pattern often repeats every few planks if you look closely.
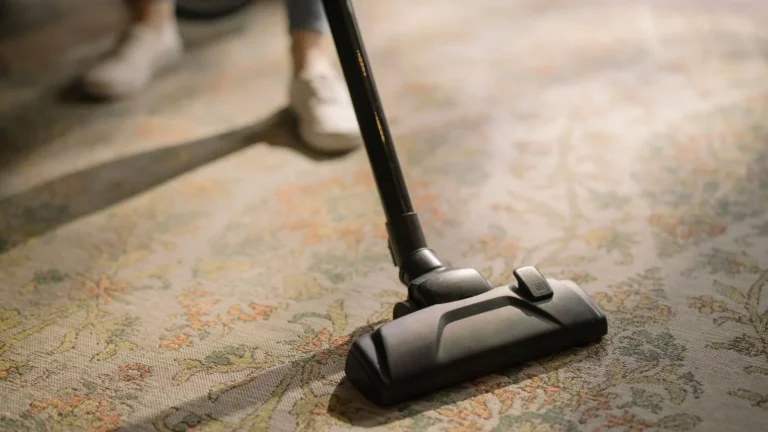
- Carpet: Obvious, but the fix approach depends on whether it’s a matted patch, a stain, or a snag/pull.
If you’re not sure, look for leftover flooring boxes in a hall closet or storage area — landlords sometimes leave a spare box or two for exactly this kind of repair.
Moving Out Soon?
Get our free room-by-room move-out checklist and keep your deposit.
See the Checklist →Light Scuffs: The 10-Minute Fix
Most scuff marks — the black streaks from shoe soles or furniture legs — sit on top of the finish rather than in it. These are almost always fixable with things you already have:
- Try a dry microfiber cloth first. A surprising number of scuffs buff right out with friction alone.
- Move to a barely damp cloth with a small amount of dish soap. Rub in the direction of the wood grain or plank pattern, not across it.
- For stubborn marks on hardwood or laminate, put a small amount of baking soda on a damp cloth and rub gently — it’s mildly abrasive without being harsh enough to strip the finish.
- On vinyl or LVP, a magic eraser-style melamine sponge works well, but test it in a closet corner first since it can dull glossy finishes with repeated use.
Always dry the area completely afterward. Standing moisture is worse for your deposit than the scuff was.
Real Scratches: Filling Instead of Sanding
Scratches that catch your fingernail need more than cleaning, but that doesn’t mean you need to refinish anything. Refinishing is a landlord-level, whole-room job — as a renter, your goal is to make the scratch visually disappear, not restore the floor to factory condition.
For Hardwood
Buy a wood touch-up marker or filler stick in a color close to your floor (hardware stores sell multi-packs with several wood tones for under $15). Clean the scratch, then run the marker along the scratch line, wipe away excess with a cloth, and buff lightly. For deeper gouges, a matching wax fill stick worked into the scratch with a plastic putty knife, then buffed smooth, disappears surprisingly well from a few feet away — which is exactly the distance a landlord’s move-out inspection actually happens at.
For Laminate
Laminate can’t be sanded or refilled the same way since you’d be sanding through a printed layer, not real wood. Laminate repair pencils and putty (sold in matching wood-tone sets) are made specifically for this — warm the putty slightly between your fingers, press it into the scratch, scrape flush with a card, and let it cure.
For Vinyl and LVP
Vinyl repair kits use a heat-set colored compound melted into the scratch with a small tool, then leveled flush. If the scratch is shallow, a vinyl scratch-repair wax stick (similar to the hardwood version) is faster and nearly invisible once buffed.
Carpet Damage: Snags, Matting, and Small Burns
Carpet issues scare renters more than they should, because most of the common ones are quick fixes:
- Matted or crushed carpet from furniture legs usually bounces back with an ice cube. Place a cube directly on the flattened spot, let it melt slowly over a few hours, then fluff the fibers with a spoon or your fingers once dry.
- Loose snags should never be pulled — trim them flush with sharp scissors instead so the tuft doesn’t unravel further.
- Small burns or singes (a dropped cigarette or curling iron) can sometimes be fixed with a carpet patch kit, which uses a small hole punch to cut a plug from a hidden area — inside a closet, under a vent cover — and swap it for the damaged spot. It’s more involved than the other fixes here, but a single patch takes about 20 minutes and costs under $20.
Deep Gouges and Water Damage: Know When to Stop DIYing
Some damage is beyond a touch-up marker, and trying to force a fix can actually cost you more than leaving it alone. Be honest with yourself about these:
- Warped or cupped boards from water exposure usually mean moisture got underneath the flooring, which is a structural issue, not a cosmetic one. Attempting a surface fix won’t address the cause and can mask a bigger problem your landlord needs to know about.
- Gouges deep enough to expose subfloor or backing on laminate or vinyl typically require replacing the individual plank, which is a bigger job involving matching material and, on click-lock floors, sometimes disassembling several rows to reach it.
- Large sections of pulled or unraveled carpet are a job for a professional patch, since matching pile direction and carpet age by eye is hard to do invisibly.
In these cases, your best move is to report the issue to your landlord in writing rather than attempt a repair that could be judged as making things worse. Framing it as “I noticed this and wanted to flag it” tends to go over much better than silence followed by a surprise at move-out.
What to Do Before You Even Start Fixing Anything
Two habits will save you money and stress regardless of which fix you use:
- Check your move-in condition report. If you documented the scratch (or a similar one nearby) when you moved in, you may not owe anything for it at all — pull out your photos before spending money on repairs for damage that predates you.
- Photograph the area before and after your fix, in good lighting, with something for scale like a coin or your foot nearby. If a landlord ever disputes the condition, dated photos are your best evidence that you addressed it responsibly.
Matching Products to Your Actual Floor Color
The single biggest reason DIY floor touch-ups look worse than the original damage is color mismatch. A few tips that make a real difference:
- Buy filler and marker kits with multiple shades rather than a single color — you’ll almost always blend two together to get a true match.
- Test on an inconspicuous spot first, like inside a closet or under where a rug normally sits.
- Apply less than you think you need. It’s much easier to add a second light layer than to remove excess product that’s gone too dark.
- Do the repair in daylight if possible — most rental lighting has a yellow or cool cast that can trick you into a mismatched color.
A Simple Floor Repair Kit Worth Keeping on Hand
You don’t need a garage full of tools to handle floor damage as it happens — a small kit stored in a closet means you can fix a fresh scratch the day it happens, before it gets ground in by foot traffic. A reasonable starter kit costs under $40 total and covers almost everything in this guide:
- A wood touch-up marker set in 3-4 shades (for hardwood and stained trim)
- A laminate repair putty kit in matching wood tones
- A vinyl/LVP scratch repair wax stick
- A small carpet patch kit with a hole-punch tool
- A box of soft microfiber cloths and a melamine sponge
- A plastic putty knife or old gift card for leveling fillers
Keep the receipt and product names in your phone’s notes app too — if you ever need to touch up the same spot again, you’ll want the exact shade you used the first time rather than guessing from memory.
Renting Furnished or With Area Rugs? Check Underneath Regularly
A lot of floor damage goes unnoticed for months simply because it’s hidden under a rug, a couch, or a bed frame. Make it a habit to lift furniture and rugs every couple of months, not just before you move out. Catching a small scratch or a spill stain early means a five-minute fix with a marker or cloth; catching it for the first time during your move-out walkthrough means you’re rushing a repair with your landlord standing in the doorway. This is especially true for rugs with rubber backing, which can occasionally react with vinyl or laminate finishes over long periods and leave a faint discoloration — something you’d much rather address in month three of your lease than in your final week.
Cleaning Habits That Prevent Scratches in the First Place
The cheapest floor repair is the one you never have to make. A few small habits go a long way over the life of a lease:
- Add felt pads to every chair and table leg, and replace them once they wear thin — a bare wood or metal leg dragging across the floor is the number one cause of the scratches renters end up fixing.
- Use a doormat both outside and inside your entry to catch the grit that acts like sandpaper under shoes.
- Sweep or vacuum hard floors weekly. Loose dirt and sand are what actually cause most fine scratching, not the shoes themselves.
- Lift furniture instead of dragging it, even for “just a few inches.” Ask a roommate or friend to help rather than sliding a couch across laminate.
- Wipe up spills immediately, especially on laminate and engineered wood, where standing liquid can seep into seams and cause swelling that’s much harder to fix than a scratch.
Helpful resources for renters
Helpful authoritative reading on this topic:
- HUD — Rental Assistance & Tenant Rights — Tenant rights and rental-assistance guidance by state
- USA.gov — Tenant Rights — How to handle landlord disputes and deposit issues
The Bottom Line
Most floor scuffs and scratches renters encounter are cosmetic, not structural, and can be handled for the cost of a small repair kit and twenty minutes of your time. The key is matching the right method to your actual flooring type, testing in a hidden spot first, and knowing the difference between damage you can quietly fix and damage you should flag to your landlord before it becomes a bigger conversation at move-out. Handle it early, document your work, and your floors — and your deposit — will thank you.