
Cutting Through Grease on Kitchen Walls
The walls around a stove and behind a kitchen counter collect a film of airborne cooking grease that bonds with dust into a sticky, yellowing layer, and because it is oil-based, plain water just smears it around. Removing it calls for a cleaner that breaks down grease, applied with enough dwell time to soften the buildup before you wipe. The reward is walls that look noticeably brighter, since most people do not realize how much the grease film had dulled them.
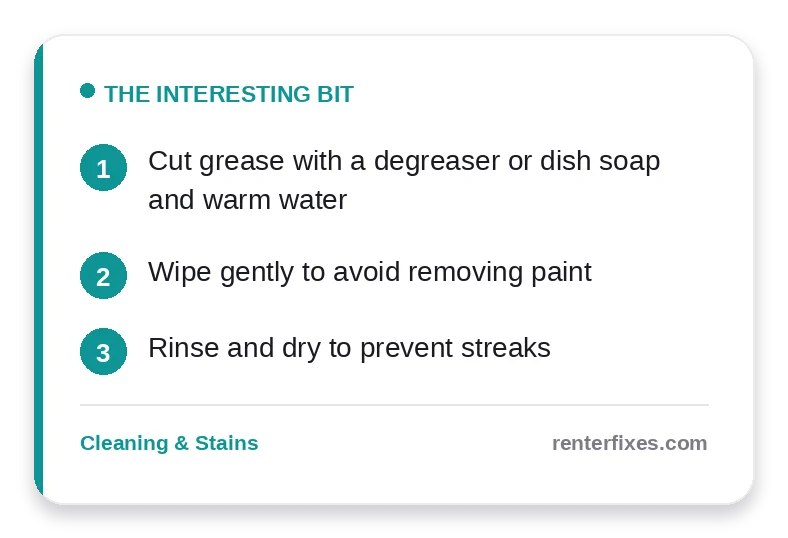
A degreasing dish soap is the gentlest effective option and a smart first choice on painted walls. Mix a few drops into warm water, apply it with a sponge or cloth, and let it sit on the greasy area for a minute to cut the oil before wiping. For tougher buildup, a paste of baking soda and water provides mild abrasion that lifts stubborn grease without harsh chemicals, and a solution of white vinegar in warm water dissolves grease film well on most surfaces.
Technique protects the paint while you clean. Work in small sections, wipe in gentle circles, and rinse your cloth often so you are lifting grease away rather than spreading a thin layer across the whole wall. Always rinse the cleaned area with a cloth dampened in plain water afterward, because leftover soap or degreaser residue stays tacky and attracts dust, leaving the wall looking dingy again within days. Test any stronger cleaner on a hidden spot first to be sure it will not dull or lift the paint.
Moving Out Soon?
Get our free room-by-room move-out checklist and keep your deposit.
See the Checklist →Be especially careful on flat or matte paint, which is common in rentals and far more delicate than glossy kitchen paint. Scrubbing too hard on flat paint can burnish a shiny spot or lift color, so use the least aggressive cleaner that works and light pressure. If a greasy stain simply will not release from flat paint without damaging it, a careful touch-up with matching paint over the spot may be the cleaner-looking solution. Preventing future buildup is as simple as running the range hood while cooking and wiping nearby walls down occasionally.
Cut the Grease Without Stripping the Paint
Grease on kitchen walls needs a degreaser, but most painted rental walls cannot take a harsh scrub. Start mild with warm water and a few drops of dish soap, wiping gently in small sections, and step up to a baking soda paste or a vinegar solution only if the film resists.
The technique that protects the paint is light pressure and a damp, not soaking, cloth. Rinse with clean water and dry each section so you do not leave streaks or thin the finish. Working top to bottom keeps drips from marking the wall you just cleaned, and a grease-free wall removes a charge landlords often write up near the stove.
Protecting the Wall Going Forward
Once the grease is off, a thin coat of wipeable paint (satin or semi-gloss rather than flat) in the cooking zone makes the next cleanup take minutes instead of an afternoon. A stick-on splash guard behind the stove, or even a sheet of clear contact paper on the worst section of wall, catches most splatter before it ever reaches the paint. Wiping down the wall right after cooking, while grease is still warm and hasn’t had time to bond to the surface, is the single easiest habit for avoiding this chore again before move-out.
Frequently Asked Questions
How do I remove grease from kitchen walls?
A degreaser or dish soap with warm water cuts through grease.
Will it damage the paint?
Wipe gently and test first, since scrubbing can remove paint.
How do I avoid streaks?
Rinse with clean water and dry the wall afterward.
Related reading
- Painting Over Water Stains on Rental Walls
- How to Remove Old Tape Residue From Walls and Windows
- How to Get Rid of Roach or Ant Smell in a Rental Kitchen
- How to Remove Crayon or Marker From Walls Without Repainting
Sources & further reading
Related official resources:
- USA.gov — Tenant Rights — How to handle landlord disputes and deposit issues
- EPA — Protect Your Family From Lead in Your Home — Lead-paint precautions when sanding or patching pre-1978 walls
- EPA Safer Choice — EPA-certified safer cleaning products