The spackle aisle can be confusing because several products that look interchangeable behave very differently on the wall. Choosing the right one for the job in front of you, rather than grabbing whatever tub is cheapest, is what actually determines whether a patch disappears or telegraphs through the paint.

Lightweight Spackle: The Right Default
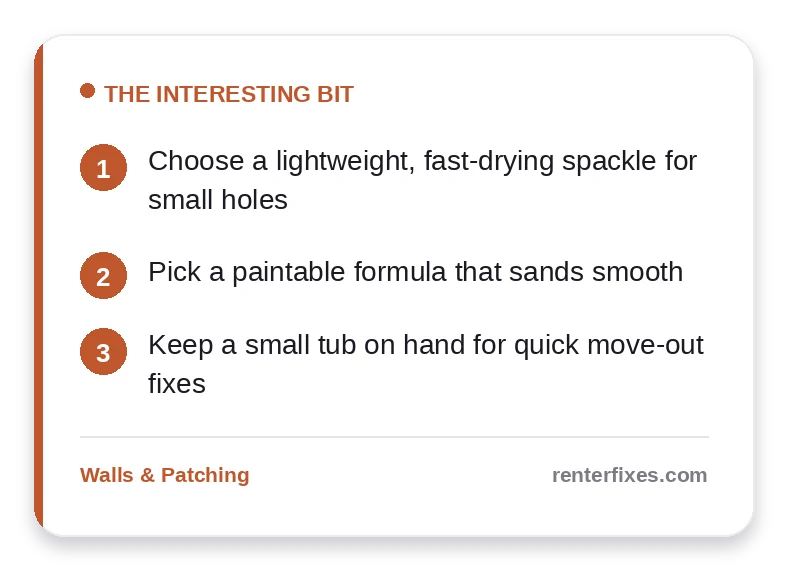
Lightweight spackle is the right default for renters. It is whipped with tiny air-filled microspheres, goes on like cake frosting, barely shrinks, and sands to powder with almost no effort. For the nail holes and small anchor holes that make up the vast majority of move-out wall repairs, a small tub of lightweight spackle is all you will ever need, and one container easily covers an entire apartment.
Moving Out Soon?
Get our free room-by-room move-out checklist and keep your deposit.
See the Checklist →Standard, Vinyl, and Setting-Type Compounds
Standard or all-purpose spackle is denser and a little tougher once cured, which makes it better for spots that might get bumped, like a hallway corner, but it shrinks more and takes longer to sand than the lightweight version. Vinyl spackle is meant to be built up in layers for slightly deeper damage than a simple nail hole. Avoid reaching for setting-type joint compound for small holes; it is designed for taping drywall seams, dries rock hard, and is far harder to sand flush than anything a quick nail-hole fix calls for, even though it is sometimes shelved right next to the products meant for renters.
Larger Holes Need Backing, Not Just More Spackle
Holes bigger than about a quarter inch cannot simply be filled with spackle on its own, since the spackle has no backing to hold it in place and will crack, fall out, or sink into the wall as it dries. For holes in the one-to-two-inch range, a self-adhesive fiberglass mesh patch gives the spackle the backing it needs; press it over the hole, cover with joint compound, sand smooth, and paint. For two-to-four-inch holes, the California patch method uses a scored piece of drywall with the paper facing left intact as its own backing, avoiding the need for any specialty tools. Holes larger than four inches need an internal wood backing board screwed through the drywall before a cut patch goes over it. In every case, applying two or three thin coats of compound, rather than one thick one, prevents the cracking that a single heavy application almost always produces.
Two Features Worth Paying For
Color-changing spackle goes on pink or blue and turns white when it is dry, which removes the guesswork about sanding too soon and tearing a patch that is not fully cured. A pre-loaded spackle applicator with a built-in tip lets you fill holes without a separate putty knife, which is genuinely handy if you are patching a dozen holes the night before a walkthrough and want to move quickly from one to the next.
Buying the Right Amount
A small tub in the four-to-eight-ounce range covers the typical apartment’s worth of nail holes with plenty to spare, while a full quart is usually overkill unless you are also handling several larger patches. Seal the lid tightly between uses, since spackle that has dried out in the tub turns grainy and will not feather smoothly; a lid left even slightly loose overnight is often enough to ruin a partially used container.
Getting the Texture and Finish to Match
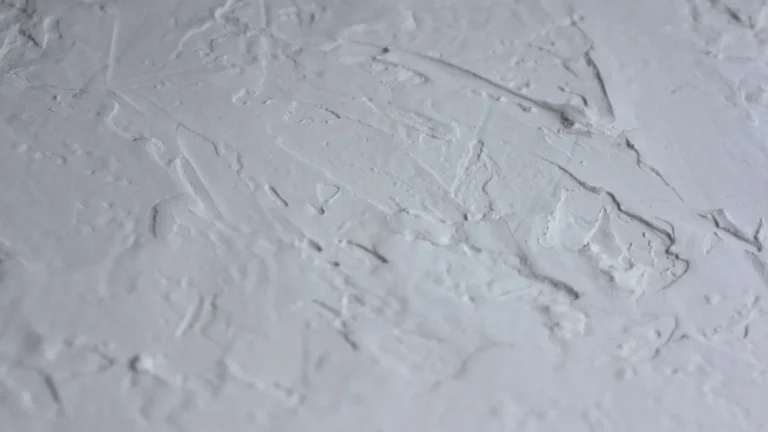
Smooth walls are the easiest to patch invisibly. If your walls have any texture, replicate it before painting: a lightly stippled texture comes back with a sponge or stipple brush, while orange-peel texture needs a spray texture product from the hardware store. Practice on a scrap of cardboard first to dial in the pattern, since a patch with the wrong texture is often more noticeable than the hole it replaced.
Rounding Out the Kit
A small putty knife, a square of fine sandpaper or a sanding sponge, and a little matching touch-up paint round out a kit that handles every hole in a typical apartment for a few dollars total. Buying a tiny single-use tube of spackle may seem cheaper up front, but it usually dries out before you finish a full walkthrough of the apartment, and you end up making a second trip anyway. One quality tub of lightweight spackle plus a couple of basic tools is the most economical way to protect a deposit worth hundreds.
Find lightweight spackle, mesh patches, and color-changing formulas: spackle and patching supplies on Amazon.
More help: Walls and Patching guides
Powder vs. Pre-Mixed Compound
Most renters reach for pre-mixed spackle in a tub, and for the small jobs described here, that is the right call: it is ready to use straight out of the container and there is no measuring or mixing to get wrong. Powder-based joint compound, mixed with water yourself, is cheaper by volume and preferred by contractors for large jobs, but it requires practice to get the consistency right and dries in the bucket if you do not use it fast enough. Unless you are already comfortable mixing compound, a pre-mixed tub is the more forgiving choice for a one-time move-out repair pass.
Reading the Label Before You Buy
Look for words like “lightweight,” “fast-drying,” and “paintable” on the label, which signal a product built for exactly this kind of small repair. Skip anything labeled specifically for exterior use or texture-matching unless that is your specific need, since those formulas behave differently under a putty knife and are not optimized for the smooth, sandable finish a nail hole calls for.
A Simple Rule of Thumb
If you are only patching nail holes and small anchor holes, which covers the overwhelming majority of what shows up on a move-out inspection, one small tub of lightweight, color-changing, paintable spackle is genuinely all you need to buy. Save the mesh patches and backing methods for the handful of larger holes that actually require them, rather than assuming every hole in the apartment needs the more involved approach.
Storing Leftover Spackle So It Doesn’t Go to Waste
Press a piece of plastic wrap directly onto the surface of the compound before sealing the lid, which keeps air from drying out the top layer between uses. Store the tub at room temperature rather than in a garage or storage unit subject to temperature swings, since repeated freezing and thawing can change the texture and make it harder to spread smoothly. A tub stored this way stays usable for months, which matters if you are patching a handful of holes now and expect a few more before your actual move-out date.
Tools Beyond the Putty Knife
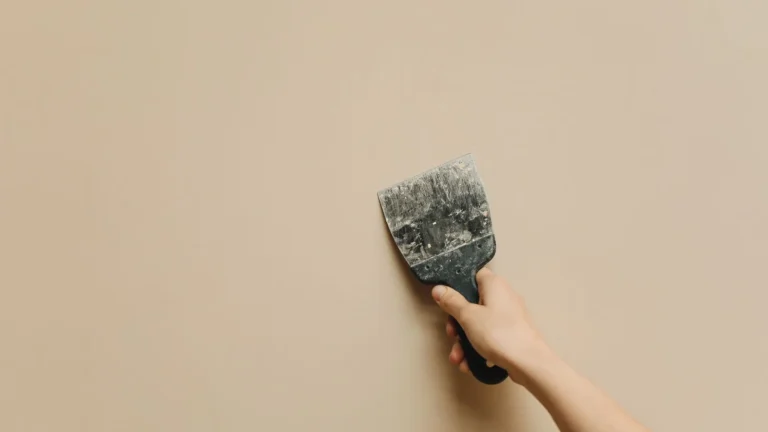
A small flexible putty knife, roughly one to two inches wide, handles the vast majority of nail-hole and small-anchor-hole repairs better than a wider taping knife, since the narrower blade gives you more control in a tight area. A sanding sponge, which conforms slightly to the wall as you work it, is more forgiving than flat sandpaper for beginners and less likely to create a visible flat spot at the edge of a patch. Keep a small bowl of water and a rag nearby while you work; a putty knife wiped clean between holes spreads compound more smoothly than one caked with dried residue from the last patch.
Common Mistakes With Spackle Specifically
Overloading the knife and trying to fill a hole in one heavy pass is the most common mistake, and it is exactly what causes visible shrinkage and cracking as the thick fill dries unevenly from the outside in. Sanding before the compound has fully dried, rather than testing with a light touch or watching for a color-change indicator, smears rather than powders and often pulls some of the patch back out of the hole. Skipping the wall-cleaning step before applying compound, leaving dust or loose paper edges in place, means the patch has a weaker bond and is more likely to need redoing.
When Spackle Alone Genuinely Isn’t the Answer
If you find yourself reaching for a second or third coat of spackle on a hole that keeps sinking no matter what you do, it is a sign the hole is larger than spackle alone can handle and needs a backing patch instead. Recognizing this early, rather than fighting a hole with just compound for an hour, saves time and produces a better-looking result once you switch to the appropriate method for the actual size of the damage.
A Quick Buying Checklist
Before checkout, confirm the tub says lightweight and paintable, check that the size roughly matches how many holes you actually have rather than buying the largest tub out of habit, and grab a small piece of sandpaper or a sanding sponge if you do not already own one. That short checklist is really the whole decision; everything else on the shelf is a variation for a job most renters will not encounter.
Frequently Asked Questions
What spackle is best for rental walls?
A lightweight, fast-drying, paintable spackle handles nail holes and small dents well.
Do I need to sand it?
Yes, a light sanding once dry gives a smooth surface for paint.
How much do I need?
A small tub covers many holes; keep one on hand for move-out touch-ups.
Related reading
- How to Remove Grease Stains From Kitchen Walls in a Rental
- Painting Over Water Stains on Rental Walls
- Removing Command Strip Damage From Rental Walls
- How to Fix Scuffed and Scratched Rental Floors Without Losing Your Deposit
Sources & further reading
Want to dig deeper? These trusted, independent resources are worth a read before you start:
- USA.gov — Tenant Rights — How to handle landlord disputes and deposit issues
- EPA — Protect Your Family From Lead in Your Home — Lead-paint precautions when sanding or patching pre-1978 walls