
Getting Every Dollar Back Requires a Systematic Approach
Security deposits often represent one to two months of rent. That is real money, and getting it back in full requires more than a quick clean before handing over keys. Renters who consistently get their full deposits back share a common pattern: they start early, they address everything systematically, they document thoroughly, and they understand the legal framework that protects them. This guide covers each of those elements.
Start the Process Three to Four Weeks Out
The single biggest advantage you can give yourself is time. Starting deposit prep three to four weeks before move-out means you can repair, clean, document, and address any issues that arise without the pressure of a deadline. Repairs done with adequate time produce better results than rushed repairs done in the final 48 hours. Give yourself a week for repairs and a week for cleaning, with buffer time for anything that needs a second treatment.
Make a Complete Repair and Cleaning List
Walk every room with a notepad and write down every item that needs attention: holes in walls, damaged fixtures, stained carpet, appliance issues, cleaning tasks. Then prioritize the list by cost impact. The items most likely to result in charges are wall damage (very high contractor rates), carpet and floor stains, appliance cleaning (especially oven and refrigerator), and bathroom mold or fixture issues. Tackle the high-impact items first.
Moving Out Soon?
Get our free room-by-room move-out checklist and keep your deposit.
See the Checklist →Clean to Landlord Standards, Not Everyday Standards
Move-out cleaning is not the same as regular weekly cleaning. It requires deep cleaning every surface that would be cleaned before a new tenant moves in. This means inside appliances, behind furniture and appliances, grout lines, window tracks, cabinet interiors, and baseboards. Everyday cleaning never reaches these surfaces. Move-out cleaning specifically targets them because they are what landlords inspect.
Document and Notify
On move-out day, photograph every room and email the photos to your landlord. Send a written move-out notification confirming the date, the condition, what repairs you made, and the address to return your deposit. This email serves as timestamped evidence of the condition you left the unit in and formally starts the clock on your landlord obligation to return the deposit within the legally required timeframe.
Get everything you need for a full deposit-back move-out: deposit-back prep supplies on Amazon.
More help: Moving Out Checklist guides
A Proactive Strategy for a Full Deposit Return
Getting your entire deposit back is less about a frantic cleaning push at the end and more about a strategy that runs from the day you move in to the day you hand over the keys. The renters who consistently recover their full deposit treat it as a process with three phases: documenting the starting condition, maintaining the unit through the tenancy, and executing a thorough, well-documented exit. Each phase removes ammunition a landlord could use to justify a deduction.
It begins at move-in, long before you are thinking about leaving. A detailed move-in inspection with photos of every existing flaw, submitted to your landlord in writing, establishes the baseline that protects you later. Anything you can prove was already there cannot be charged to you. This single step, done at the start, resolves more move-out disputes in the tenant’s favor than any amount of end-of-lease scrambling, because it settles the before-and-after question with evidence.
Through the tenancy, small habits compound. Addressing spills and minor repairs as they happen, rather than letting them set or accumulate, means you are not facing a mountain of damage at the end. Reporting maintenance issues in writing keeps building problems from being blamed on you and creates a paper trail. Avoiding unauthorized changes, or getting written permission for any you make, keeps you clear of restoration charges.
The exit phase is where preparation pays off. Give proper written notice as your lease requires, since missing notice terms can itself trigger charges. Repair what you reasonably can, deep clean to the standard an inspector applies, and document the final condition with dated photos and video. Provide your forwarding address in writing so the deposit and any itemized statement can reach you, and know your state’s deadline for the landlord to return the deposit. A tenant who has documented the start, maintained the middle, and executed a clean, well-recorded exit leaves a landlord very little to deduct.
The single highest-leverage step in the whole process happens at the very start of your tenancy, not the end. A detailed, photographed move-in inspection submitted to your landlord in writing establishes the baseline that settles nearly every later dispute, because anything you can prove was already there cannot be charged to you. Renters who skip it are left arguing from memory, while those who did it can simply show the before-and-after. If you are reading this with a move still ahead, make that move-in record your first priority.
Stack the Odds Before You Hand Over Keys
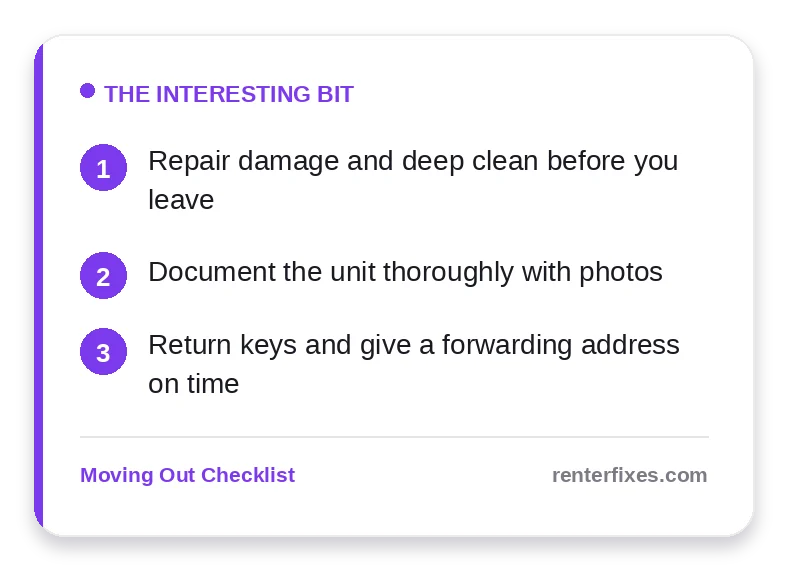
Getting your full deposit back is less about one big action and more about removing every easy reason for a deduction. Walk the unit as a landlord would, fix the visible damage, deep clean the spots inspectors open first, and document the finished result with dated photos of every room.
Timing helps too. Return the keys on schedule, leave a forwarding address in writing so the landlord can mail your deposit within the legal window, and request a joint walkthrough if your state allows one. Catching a disagreement while you are both standing in the unit is far easier than fighting it by mail weeks later.
Frequently Asked Questions
How do I get my full deposit back?
Repair damage, deep clean, document the unit, and return keys on time.
What is most overlooked?
Documentation and the final deep clean.
Does a forwarding address matter?
Yes, provide one so the deposit can be returned.
Related reading
- What to Do If Your Landlord Keeps Your Security Deposit Unfairly
- How to Fix Scuffed and Scratched Rental Floors Without Losing Your Deposit
- Renter Move-Out Mistakes That Cost You Your Deposit
Sources & further reading
Related official resources:
- HUD — Rental Assistance & Tenant Rights — Tenant rights and rental-assistance guidance by state
- USA.gov — Tenant Rights — How to handle landlord disputes and deposit issues